



On a warm summer evening, there's nothing like the soft glow rising off your pool. When that light flickers out, swimming in the dark just isn't very inviting. Swapping a pool light bulb can feel intimidating with water and electricity in the mix, but with a little guidance it's about as manageable as changing any bulb in your house.
The first time I did it, it felt like a big deal. A few simple tools and a clear plan later, the job turned out to be easy. It comes down to preparation: know which bulb you need, have your tools ready, and understand the basic steps. Some fixtures come loose with a single screw; others take a bit more finesse. Either way, any pool owner can handle it.
Your Action Plan
- Cut power at the breaker and confirm zero voltage with a multimeter.
- Gather your tools: screwdrivers, towels, a multimeter, and the new bulb (an LED is worth it).
- Unscrew the fixture and lift it onto the deck on a towel.
- Swap the old bulb for the new one, snug but not over-tight.
- Check the gasket and seal, then watch for air bubbles as you lower it back in.
- Restore power and enjoy the glow.
Upgrade to LED Pool-Lights
One small upgrade turns a nighttime swim into something you actually look forward to. Switching to LED pool lights does exactly that. Once the sun drops, LEDs bring the water to life with rich color and a warm glow. They use a fraction of the power old incandescent bulbs did and last for years.
More than just efficiency
LEDs set a mood. Picture an evening where the water shifts from calm blue to festive pink, or a quiet solo swim under the stars with soft color on the surface. A friend swapped her lights for LEDs, and her first evening swim under those shifting colors felt like a whole new pool. Installing them is simple, but you still need to be careful around water. If anything makes you unsure, calling a pro saves time and worry.
LEDs use far less electricity and last for years, so the upfront cost pays for itself.
Enhance Nighttime Pool-Vibes
A well-lit pool is hard to resist after dark, and it's about more than seeing where you're going. It's about setting a mood. When I replaced our tired old halogens with LEDs, the change floored me. The kids went from avoiding night swims to hosting them, eager to show off the color to their friends.
Beyond looks, LEDs cut energy bills by a good bit, which helps when the lights stay on for a spur-of-the-moment midnight dip. You don't need a full overhaul to get there, just the right bulb. Flip a switch and you can go from a lively party glow to a quiet blue hideaway.
Ensure Safe Installation
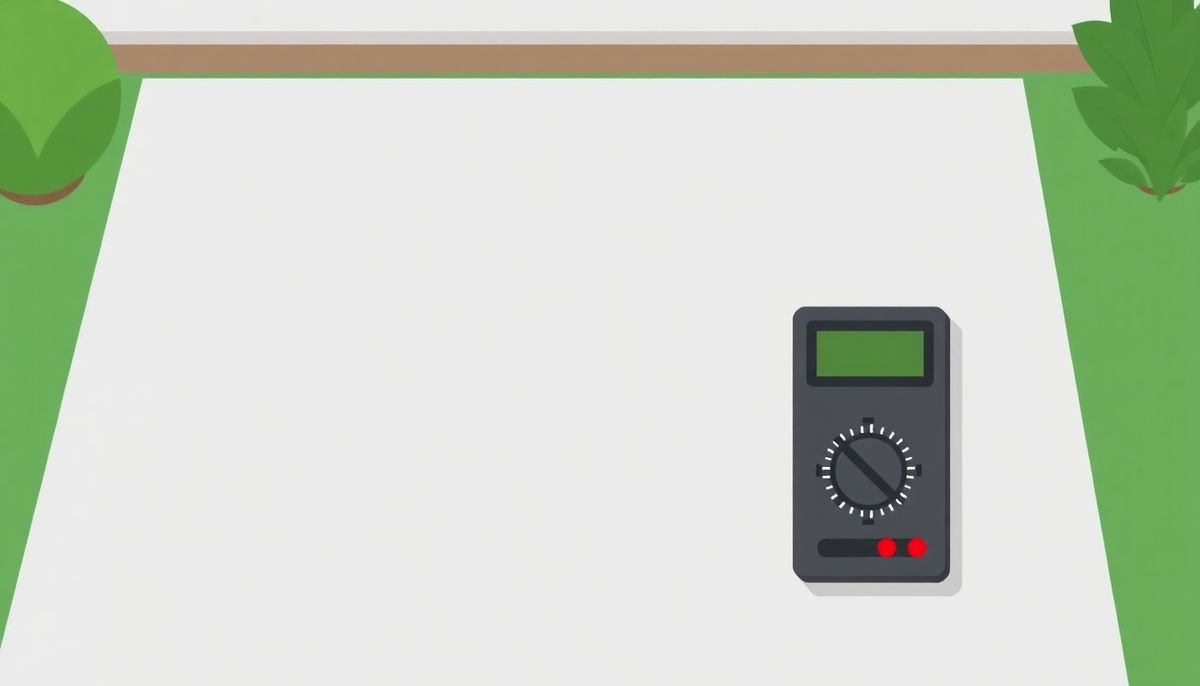
No job that mixes electricity and water should be treated casually, and a pool brings the two right together. Start by cutting the power. Find the breaker tied to the pool lights and switch it off, then confirm with a multimeter, a small tool that reads voltage, that nothing is still live. Trust, but verify.
Set up your work area
Gather your tools before you begin so you're not walking back and forth. Spread towels on the deck so screws and the fixture can't slip into the water. Metal parts left in the pool aren't just a pain to fish out, they're a safety hazard.
Check the fixture while it's open
Pool lights and their parts corrode over time, especially in saltwater pools. Look at the lens gasket (the rubber seal) and the face ring (the outer metal ring) for wear, and swap them if they're shot. A bad seal lets water in and makes the new bulb unsafe. Once everything's back together, watch for air bubbles as you lower the fixture under. Bubbles mean the seal isn't right. Fix that before you ever turn the power back on.
Choose Energy-Efficient LED Bulbs
Good LED bulbs are the finishing touch on your pool lighting. They draw far less power than old incandescent bulbs, which trims your bill and stretches the bulb's life. When I swapped ours, the colors turned evening swims into a light show and the savings showed up on the next statement.
LEDs are brighter, and they come in a range of colors, so a plain dip becomes something with atmosphere. They also last longer, which means less waste and fewer trips up the ladder. The upfront cost feels like a splurge, but the long-term payoff beats it easily.
Ensure Pool-Light Safety

Putting safety first protects you and keeps your pool's electrical parts working longer. As before, make sure the power to the pool area is fully off, and use that multimeter to confirm zero voltage. It's a small device that buys a lot of peace of mind.
Have the right tools within reach
A screwdriver set with several bits saves time and hassle. Set up a dry, non-slip spot to rest parts as you take the fixture apart. Some people partly drain the pool for easier access, just remember you'll need to top it back up and rebalance the chemistry afterward. If the job makes you uneasy, call a professional. There's no shame in it, and if your fixture looks corroded or damaged, a pro can tell you whether the whole thing needs replacing instead of just the bulb.
#
Replace Burned-Out Bulbs
Safely
Replacing a burned-out bulb sounds simple, and it is, as long as you respect the electricity underwater. Cutting all power is the single most important step, so triple-check it. Then gather your tools, a screwdriver, a multimeter, and the replacement bulb, before you start.
Open the fixture and swap the bulb
Unscrew the fixture and lift it out gently. The wires should be long enough to rest it on the deck, so no debris drops into the pool. Confirm there's no current with the multimeter, then take apart the lens and gasket, noting any corrosion. Wipe the area with a dry towel. If the corrosion is bad, you may need to replace the whole assembly. Screw in the new bulb gently but firmly so you don't crack the glass. Put it back together and give it a quick test. As you lower the fixture, watch for air bubbles, then dry it, reseal it, and test again until it's right.
Air bubbles rising from the fixture mean the seal failed, so dry it and reseal before it goes back underwater for good.
Upgrade to Energy-Efficient LEDs
LEDs make it easy to turn a plain pool into a bright nighttime spot. They glow brighter than incandescent bulbs on a fraction of the power, so you can leave them on for hours without wincing at the bill. Many come with adjustable colors, so you can shift from calm blue to bright pink with a click.
A friend switched theirs and wouldn't stop talking about the drop in their electric bill. On top of that, LEDs often last around ten times longer than incandescent bulbs, so you replace them far less often. Just check that the new bulb fits your fixture before you buy, since some need specific models. If you're not sure, ask a pro.
Hire a Pro for Complex Tasks
Pool light maintenance can feel like a puzzle with high stakes. Changing a bulb sounds simple, but submerged fixtures and the mix of electricity and water make it tricky fast.
A good pro brings the right knowledge and equipment and clears away the parts that leave a DIYer stuck. My neighbor called one in after a frustrating weekend trying to fix it himself, and the technician had it sorted in a fraction of the time. Pros also catch problems you might miss, like early water seepage, and can suggest LED upgrades that save energy. Handing off the job isn't only about safety, it's about less hassle and more time in the water.
Replace Burned-Out Bulbs

One summer I jumped into my own pool and was met by a dim, murky glow. Swimming in the dark just isn't inviting, so the bulb had to go. It's a simple swap, just a bit more involved than changing a lamp in the living room.
First, make it safe. Shut off the pool lights completely and triple-check, because skipping that step is a mistake you only make once. Then gather your tools: a screwdriver, a replacement bulb, and a multimeter to check for stray current.
Loosen the screws and lift the fixture out onto the deck, away from the water. Handle the bulb gently, and use a towel over your hand so your grip doesn't slip. Once the new bulb is seated, test it quickly, then lower the fixture back under. No bubbles should escape. If they do, take it apart, reseal, and test again.
Ensure Safety Precautions
Safety isn't one step in this job, it's the whole staircase. Before you reach for a screwdriver, flip the switch and cut all power to the pool area, then confirm every circuit is truly off. With electrical work, thorough always wins.
A screwdriver with a comfortable grip cuts the risk of slipping, which matters when your hands are damp. Work away from the pool edge when you're handling screws and small metal parts. Gloves give you grip and a little insulation, and goggles keep splashes out of your eyes. Keep a dry towel nearby as a safe landing spot for tools. And if handling the electrical connections makes your heart race, bring in a professional.
Upgrade to LED Lighting
Switching to LEDs is like going from a black-and-white movie to full color. The first thing you notice is efficiency, since they use far less power than old incandescent bulbs, which trims your bill and is easier on the planet.
They also come in a range of colors you can tune to any mood. At my last get-together the water shimmered blue, green, and purple, and my guests loved it. They last longer too, so you spend less time on a ladder. Keep safety first: power off before you start, and call a pro if pool wiring isn't your thing.
Test and Reassemble Fixtures
Testing and reassembling is the moment of truth. Before the fixture goes back under, flick the switch to confirm the bulb lights up, but only for a quick second, because running a pool light out of water isn't good for it.
Once you've seen it work, cut the power again. With the fixture dry and every part snug, watch for stray air bubbles as it goes under. Bubbles point to an imperfect seal, so dry and reseal until none escape. Feed the wiring back into its compartment, nestle the fixture against the pool wall, and line up the screws, that alignment keeps the fit secure. Tighten everything, flip the switch one last time, and you're done.
Test Pool Light Functionality

Same idea here, worth repeating because it's the part people rush. With the bulb seated, reassemble the fixture and make sure the seals are tight, then restore power slowly. A flick of the switch should light up the water.
Once you've confirmed it works, turn it off right away, since pool lights are built to cool in water and can overheat when dry. Watch for air bubbles as you lower it, and if any appear, dry the fixture and tighten it further. Then tuck the extra wire back into the wall, line up the screw holes, secure it, and do one final test.
Ensure Pool Safety First
Before any job with electricity and water, a careful approach isn't optional. First, make sure the power to the pool area is completely off, and confirm the wires are dead with a multimeter. That small device can be the difference between a smooth repair and a bad accident.
Gather your tools, screwdrivers, towels, and the new bulb, and keep them close. If you feel uneasy, call a professional. Hiring someone experienced spares you the hazards and gives you peace of mind, so every swim under that freshly lit pool is as safe as it is enjoyable.
Upgrade to Energy-Efficient Lighting
Upgrading to energy-efficient lighting is a great way to refresh your pool's mood. Modern LEDs sip electricity and offer vibrant colors that turn a plain night swim into something special, blue, green, or a playful pink to match the evening.
They also outlast old incandescent bulbs by a wide margin, so you change them less and swim more, and they're gentler on the planet. When I helped a friend switch theirs, the pool became the star of their next party. The change wasn't just visual, it set a mood that felt both relaxing and modern.
Replace Pool Light Successfully
A well-lit pool makes a night swim inviting and turns your backyard into a great place to hang out after dark. Here's the whole job in one pass.
Gather your supplies
You'll want a new pool light bulb, flathead and Phillips screwdrivers, a towel, and a multimeter. Double- and triple-check that all power to the pool area is off, and test with the multimeter to be sure.
Remove and open the fixture
Unscrew the fixture from the pool wall. There's usually plenty of wire to bring it up to deck level, so set it on a towel to avoid scratches. Remove the screws or clamps to reach the bulb, and handle every part with care, especially if corrosion has set in.
Swap the bulb and reseal
Wipe out the inside of the fixture, then install the new bulb snug but not over-tightened, or it may break. Reassemble and make sure the lens gasket forms a watertight seal. Briefly test the bulb, switch the power off again, reattach the fixture, and check that no air bubbles escape as it goes under. Once it's firm, restore power and enjoy the glow.
Handle Pool Light Fixtures Carefully
Handling pool light fixtures with care isn't a suggestion, it's a necessity. They're built to keep water out while standing up to a harsh, chlorinated environment, so treat them like the delicate insides of a watch.
Keeping the inside dry matters most. Moisture slips in easily if the lens isn't sealed right, and that leads to corrosion or electrical shorts. A friend's pool party ended early once because a rushed bulb change left the fixture leaking. Always take the fixture apart over a dry surface so nothing drops into the pool, and pay attention to the lens gasket. It looks like a throwaway rubber ring, but it's what keeps the seal watertight. If it's cracked or worn, replace it, that small part is what keeps water out of the fixture.
Ensure Safety Before Starting
Changing a pool light bulb starts with a firm commitment to safety. Before you touch that flickering light, head to the breaker box and cut power to the pool area. Electricity and water are a dangerous mix, so this step can't be stressed enough.
Then reach for the multimeter to confirm no current is sneaking through the wires. Even seasoned DIYers get caught out by a forgotten switch, so double-check, then triple-check. If the pool is still full, watch for wet surfaces, non-slip shoes help, and keep a couple of towels nearby for wet fixtures and dry tools. Be honest about your comfort level, too. If you have any doubt, calling a professional is the smart call, not a defeat.
The switch can lie, but a multimeter won't, so always confirm zero voltage before your screwdriver touches anything.
Select the Right Tools
Success starts with rounding up the right tools. The difference between a smooth swap and a frustrating mess often comes down to having your gear ready before you start. I learned that the hard way, with an extra trip to the store mid-job.
The short tool list
A dependable screwdriver comes first, flathead or Phillips depending on your fixture. A multi-bit ratcheting screwdriver handles the mix of screws you'll find and is easier on your hands. Next, the multimeter, which confirms there's no electricity in the wires before you work near water. Add a couple of clean, dry towels for setting the fixture down without scratching it, and a pair of gloves for grip and protection from corrosion on the old fixture. Lay it all out ahead of time and the whole job gets a lot less daunting.
Conclusion

Now that your lights are safely back on, you're ready for your next backyard project. A bulb swap looks intimidating from the deck, but with the power off and your tools laid out, it's routine upkeep you can knock out in an evening.
Want to get better at the rest of it? Our free Pool School course covers everything from basic upkeep to advanced troubleshooting, so you can:
- Save thousands on pool repairs and chemicals
- Keep your water clear year-round
- Prevent and solve common pool problems
- Master water chemistry with confidence
Over 10,000 pool owners have already changed how they care for their pools. Get started with our free Pool School course today!
What you need
Grab a matching replacement bulb (an LED is worth it), a fresh lens gasket, a screwdriver set, a multimeter, and a couple of dry towels before you start.