

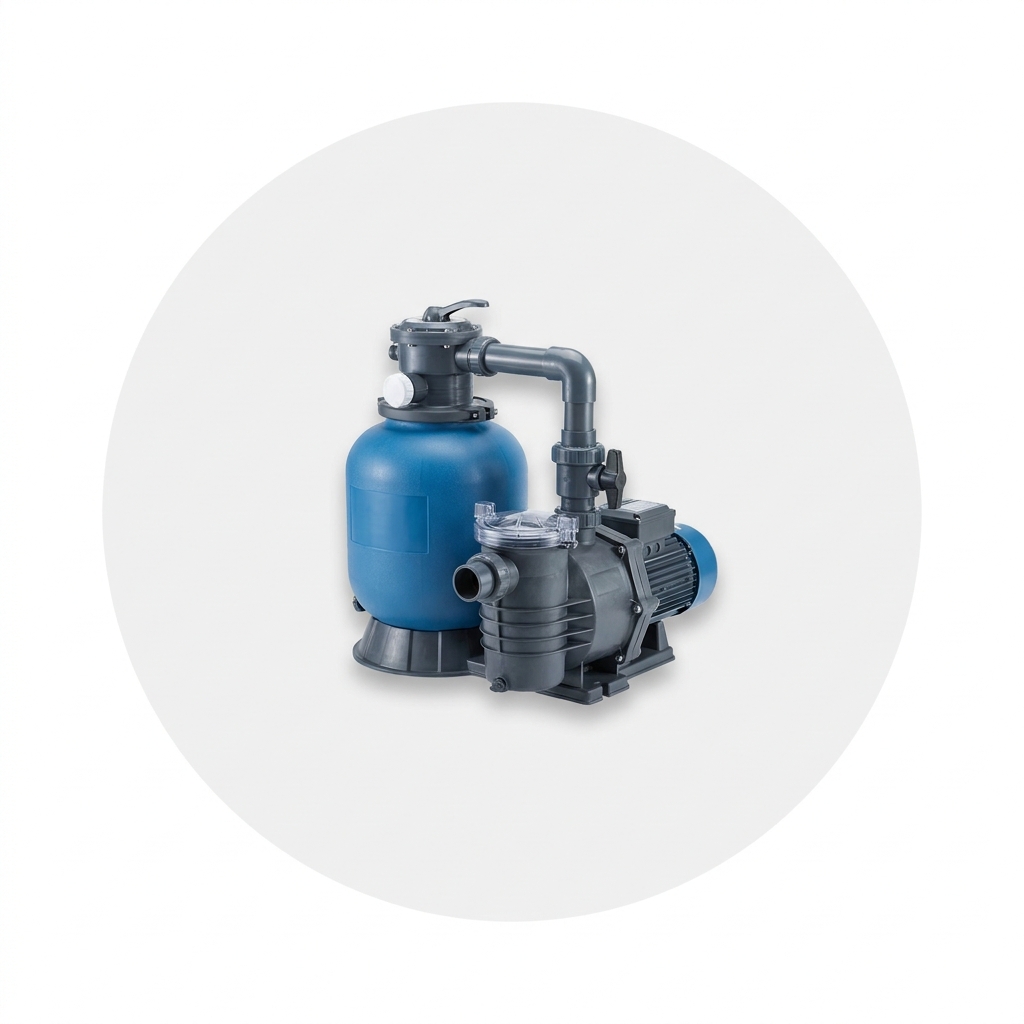

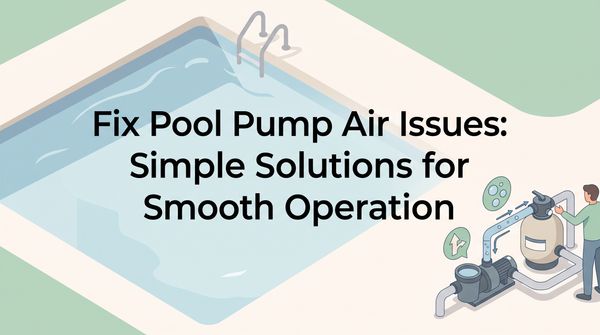
There's nothing worse than relaxing by the pool and hearing your pump start sputtering. Often the cause is just trapped air. Left alone, that little nuisance can make your pump run poorly or even damage it. But don't worry. Air in a pool pump is common, and the fixes are well within your reach.
A pool pump is a closed system built to move water in a smooth loop. When air slips in, usually through a tiny leak or a poorly sealed connection, it breaks that flow and the pump loses its prime.
Spotting the symptoms is half the battle. You might hear odd noises, see weaker flow, or notice bubbles in your pool. It feels intimidating, but it's simple once you break it into clear steps. Learn where air sneaks in, pick up a few tricks, and you can get your pump running right again.
Your Action Plan
- Top off the water to the middle of the skimmer.
- Check the skimmer basket and weir for damage.
- Inspect and lubricate the pump lid O-ring.
- Seal the drain plugs with plumber's tape.
- Check any plumbing unions and their O-rings.
- Prime the pump and watch the return jets.
Stop Air Leaks Fast
Air leaks can creep up on you. Often you won't notice until bubbles show up in your clear water. Dealing with them quickly keeps your pump from long-term damage and keeps your pool running well.
Start with the water level and skimmer
Ideally, your water sits at the middle of the skimmer. Too low, and the skimmer sucks in air instead of water. A garden hose fixes this fast. Next, look at the skimmer basket and weir. A cracked basket or a jammed weir door can throw off the flow and let air in. Swapping a damaged basket or freeing a stuck weir often solves it right away.
Move on to the pump and plumbing
The pump lid O-ring is a common troublemaker. Carefully take off the lid and check the O-ring for wear or cracks. If it's in good shape, a coat of Teflon-based lubricant improves the seal and helps it last. If it's damaged, replace it. Don't forget the drain plugs on the pump housing. They should be tight and leak-free, and a little plumber's tape seals minor leaks through the threads. Finally, if you have an inground pool, check any plumbing unions. A misaligned O-ring there can be a hidden source of leaks.
Nine times out of ten, low water in the skimmer is what's feeding air into your pump.
Identify Skimmer Issues
Air bubbles are annoying and a little baffling. But focus on the skimmer, where water first enters your filtration system, and you can usually track down the cause. A skimmer has one job: pull water, not air. So when you see bubbles, something's off.
Start with the water level. If it doesn't reach the middle of the skimmer's opening, the skimmer draws in air, so top off the pool. Next, check the basket for cracks or a poor fit, and make sure it sits snugly with no gap.
Then look at the weir, the flap that manages water flow. A jammed or sticky weir can slow the incoming water and give air a way in, so make sure it swings freely. If your skimmer doesn't have a weir, think about adding one.
Inspect Pump Components
When you're chasing air problems, checking each part in turn is key. Every piece keeps your pool running smoothly, and skipping one can leave you with those frustrating bubbles.
Start with the skimmer, a main entry point for air. Make sure the baskets are intact and seated where they should be. A damaged or misaligned basket disrupts flow and pulls air in. Next, look at the weir. A jammed or broken flap lets air get sucked in, and if your skimmer doesn't have one, consider adding it.
People often overlook the pump lid's O-ring. Turn off the pump, take off the lid, and check the O-ring for wear or cracks. Replace a damaged one right away, and a bit of pool lube keeps it soft. Last, check the drain plugs. Loose or leaking plugs can be fixed with plumber's tape. And keep in mind, even if everything looks fine, you'll need to prime the pump after any maintenance.
Seal Drain Plugs Securely
Tightening the drain plugs isn't a small detail. It's a key step in stopping air leaks. A plug that isn't sealed right lets air seep in and throws off your pump's flow and efficiency.
In my experience, drain plugs are one of the most overlooked culprits. People check the obvious suspects, the skimmer and the O-rings, and the bubbles still won't quit. Then a loose plug turns out to be the problem all along.
So give those plugs a close look. Unscrew them and wind a few layers of plumber's tape around the threads to reinforce the seal and block air. Once they're tight, run the pump and watch the return jets. The water should come back steadily and bubble-free. Keeping every part sealed clears the bubbles and extends the life of your equipment.
Troubleshoot Pool Pump Issues
Air bubbles from your return jets can turn a relaxing swim into a puzzle. To sort it out, start with the suction side of your system.
Work through the suction side
First, check the water level. If it drops below the middle of the skimmer opening, the skimmer pulls in air. Getting the level right might be the easiest fix there is. Then check the baskets for wear or a poor fit, since a misaligned or damaged basket disrupts flow and lets air in. The weir, that little flap inside the skimmer, should swing easily. If it's stuck, it breaks up the flow and mixes air in.
Then check the pump
Once those are in order, turn to the pump. A cracked O-ring in the pump lid is a sneaky source of leaks, so it should be flexible and intact. Even if it looks fine, coat it with a little Teflon lube. Tighten the drain plugs well and use plumber's tape for a solid seal. If your plumbing has unions, check their O-rings. One that's undamaged and seated properly is key to keeping air out.
Identify Air-Leak Sources
Air bubbles in your pool are a sign something's off. It's not a disaster, but dealing with it now saves bigger headaches later. First, figure out where the air is sneaking in.
Start with the skimmer, which often sits at the center of airflow problems. Make sure your water level rests in the middle of the skimmer's opening. Too low, and the skimmer gulps air instead of water. Next, check the baskets. They should be damage-free and seated snugly. Give the weir a once-over too, and make sure it moves smoothly and isn't blocked.
Next, the pump lid's O-ring. With the pump off, take off the lid and check for wear or cracks. A damaged O-ring is a sure way for air to get in. Even if it looks fine, a spray of lubricant improves the seal and helps it last. Finally, make sure the drain plugs are snug and not leaking, and use a bit of plumber's tape. Every connection point is a possible way in for air, so check them all.
A worn or cracked O-ring is the single most common reason air gets into a pool pump.
Inspect and Replace O-Rings
Checking and replacing O-rings seems like a small job, but it matters a lot. The O-ring is the small piece of rubber standing guard against air getting into your pump. Over time these rings wear down, and that's when bubbles escape from your jets.
First, switch off your pump so you don't get any surprise splashes. Carefully remove the lid and check the O-ring underneath. Bend it gently and look for cracks or dry rot. If it's damaged, replace it, choosing O-rings made from tough materials that hold up against chlorine and UV.
Even if the O-ring looks fine, a little preventive care never hurts. Coat it with Teflon lube before you put it back. This gives you a tighter seal and helps the ring last by cutting friction and keeping it from drying out. And don't forget the unions in your plumbing if you have an inground pool. They hold O-rings too, and those need checking.
Secure and Seal Connections
A pump problem often hides in plain sight: those air bubbles. They tell you air is slipping in, and tightening and sealing your connections is your best move for getting the water back to calm.
First, look closely at the pump lid and its O-ring. This rubber ring creates the seal. If it's brittle or worn, replace it right away. A small dab of lubricant on a healthy O-ring gives a snug fit. Next, turn to the skimmer. Make sure the baskets are intact and seated properly. Even a small crack can become a doorway for air.
Don't overlook the drain plugs at the pump's base. Loose or leaking plugs are well-known culprits, and wrapping the threads with plumber's tape seals them tight. Finally, check any unions in the plumbing. These connectors have their own O-rings, which need to be intact and seated correctly. Take care of these weak spots and you can clear out the bubbles.
Seal Skimmer for Better Suction
A skimmer's seal quietly does a lot of work. When it's working, it helps balance water flow and debris filtration. Neglect it, and it can be the reason behind those bubbles.
Ever noticed your water sitting below the middle of the skimmer's opening? That could be the problem. Skimmers work best at the right water level. Otherwise they gulp air instead of water. The weir, that small flap, plays a big part in keeping air out. Make sure it swings freely, because a jammed weir is an easy invitation for air. If your skimmer doesn't have one, think about adding it. It's a small cost for peace of mind.
Also make sure the basket is intact and seated properly. A cracked or misaligned basket seems minor, but it can throw off the balance and let air slip through. Pay attention to these details and you get better suction, which means fewer bubbles.
Identify Air-Intake Sources
Tracing how air sneaks into your pump takes patience. The first place to look is the skimmer, the gateway where water enters the filtration system. Make sure the water level sits in the middle of the opening. Too low, and the skimmer guzzles air along with water. Sometimes the cause is a damaged or badly seated basket blocking smooth flow. Check the weir too, and make sure it swings freely, since it controls the water intake.
Next, the pump itself. Focus on the O-ring in the lid. These rings often dry out or crack over time. Bend it slightly between your fingers and you can spot hidden cracks. If you see damage, replace it. If it looks fine, a bit of Teflon lube helps prevent future wear.
Finally, don't overlook the drain plugs at the base of the pump housing. A loose or leaking plug can be an unnoticed way in for air, hurting efficiency. A bit of plumber's tape tightens the seal and keeps air out.
Maintain Skimmer Functionality
Keeping a skimmer working well protects your whole system. It catches debris and keeps water flowing clean, but when air gets in, the process is thrown off and you end up with bubbles.
First, watch the water level. An underfilled pool makes the skimmer gulp air, so make sure the water reaches the middle of the opening. This simple fix is often all it takes. Next, check the basket. A crack or bad fit lets air slip in, and a quick basket swap often puts everything back to normal. Regular checks keep the basket intact and seated right.
Don't overlook the weir door, which manages debris and water flow. A stuck or missing weir lets air into the system. A gentle nudge or a replacement can set it right. Keep these parts in good shape and you protect the health of your whole pool.
Check and Replace O-Rings
The O-ring often goes unnoticed, yet its role is huge. These small rubber rings form the critical seals in your pump system, keeping air out. When bubbles show up, the O-ring is your prime suspect.
Start by powering down the pump and gently removing the lid. Run your fingers around the O-ring, feeling for cracks or wear. Like an old rubber band left in the sun, an O-ring can turn brittle and start leaking air. If you find any flaws, replace it. A cracked O-ring might still work, but not well.
If the O-ring looks intact, a coat of Teflon lube can work wonders. It improves the seal and extends the ring's life by keeping it soft. If your setup has unions, those threaded connectors in the plumbing, check their O-rings too. Making sure they sit snugly in their grooves can be the difference between a calm swim and a bubble party.
Inspect Pump O-Rings
Air bubbles often point back to the pump O-rings. These small but crucial parts make a tight seal that keeps air out. Here's how to check them right.
First, switch off the pump and remove the lid. That gives you access to the O-ring, which usually sits around the edge of the lid. Gently bend it between your fingers and look for cracks or brittleness. If it's dry-rotted or split, replace it to restore the airtight seal. If it looks intact, a dab of Teflon lube improves the seal and protects against future wear.
While you're at it, check the other O-rings in the system, like the ones inside the plumbing unions. These connectors can also cause leaks if their O-rings are damaged or poorly seated. Lubricating and seating them properly keeps air out. The health of your O-rings has a big effect on how well the whole system runs.
When air crashes the pool party, tracking down where it gets in takes patience. The first suspect is the skimmer. This key part of your circulation can pull in air when the water level drops too low. If the water sits below the skimmer's mouth, top it up. A level at the center of the opening makes sure only water, not air, gets sucked in.
Next is the basket. A damaged or badly seated basket disrupts flow and lets air sneak in, so check for cracks or a poor fit. The weir at the skimmer's entrance needs to move freely to avoid hiccups in water intake. Think of it as a little bouncer, letting only water and small debris through.
Further down the line, the pump is a likely suspect. Don't ignore the pump lid's O-ring. Cracks or wear let air slip through. Test it by bending it gently, and any signs of aging mean it's time for a replacement. A generous coat of lubricant extends its life. Finally, check the drain plugs and any unions. Loose fittings give air an easy way in.
Check O-Ring Condition
When you're dealing with pump trouble, the O-ring often plays a starring role. This rubber seal, tucked under the pump lid, is key to a watertight system. Over time, heat and chemicals wear it down. A quick look can tell you a lot about your pump's health.
First, make sure the pump is off and the pressure has dropped before you carefully remove the lid. With the O-ring exposed, gently flex it and look for cracks or brittleness. Those are clear signs it's at the end of its life. A worn O-ring lets air into the system, creating those bubbles.
If your O-ring is still in one piece but seems dry, a generous coat of Teflon lube can work wonders. It keeps the seal solid and extends its life, so your pool stays bubble-free longer. Coat the whole ring before you put it back. A thorough O-ring check is often the simple answer to a baffling problem.
Apply O-Ring Lubricant
One step people often skip is putting the right lubricant on the O-ring. This small but mighty part makes a snug seal in your pump lid and keeps air out. A dry, neglected O-ring is one of the most common causes of streams of bubbles.
Start by turning off the pump and removing the lid. Check the O-ring for wear or cracks. If there's no visible damage, give it some care with a Teflon O-ring lubricant. This improves the seal and extends the ring's life, keeping it soft and less likely to crack.
Apply it generously, covering the whole ring. When you set it back into the lid, you can almost feel how much snugger the fit is. This simple task saves you the headache of more complicated repairs later. Once the O-ring is back in place, secure the lid and check for lingering bubbles. Often a well-lubricated O-ring is all it takes.
Replace Faulty Drain Plugs
Tiny details make the biggest difference. Take the drain plug on your pool pump. It's easy to overlook, but these small parts can be the reason air is getting in. If you've already checked the skimmer and O-rings without luck, give those drain plugs a look.
I've found more than once that a small crack in a drain plug was causing the bubbles. It's an easy fix, but it takes a sharp eye. Turn off the pump and find the drain plugs at the base of the pump housing. Gently unscrew them and check for damage. A cracked or worn plug won't seal right, and that lets air in.
Replacing a bad drain plug is simple. Grab a new one at your local pool supply store, making sure it fits your pump model. Before installing, wrap the threads with plumber's tape to tighten the seal and stop air leaks. Checking your drain plugs regularly and replacing them when needed saves you future headaches.
Identify Air Leaks in System
The telltale sign of air in your system is bubbles bursting out of the return jets. It seems like a small annoyance, but air mixing with water hurts efficiency, and left alone, it grows into bigger problems.
Check the water level and skimmer first
An easy thing to miss is a low water level, which makes the skimmer draw in air. Make sure the water sits at the middle of the skimmer opening. A quick hose top-up at the start of the season often prevents this. Then check the basket for cracks and make sure it's seated right, since a misaligned basket can break the seal. A cracked basket you never noticed can cause bubbles that won't quit until you swap it out. Look at the weir too, the skimmer door that controls flow. It sometimes sticks, which restricts flow and lets air in.
Then move to the pump and fittings
If skimmer maintenance doesn't clear things up, check the pump. Start with the pump lid's O-ring, a well-known troublemaker. Remove it, check it for wear, and lubricate it even if it looks fine. Finally, don't neglect the unions and drain plugs. A bit of plumber's tape on the threads gives a snug fit and keeps air out.
Work from the suction side to the pump, and you'll almost always find the leak before you run out of things to check.
Conclusion
With these simple checks, you can clear out that trapped air and get back to enjoying your swim.
Want to become a pool maintenance expert? Our free Pool School course covers everything you need to know about pool care. From basic upkeep to advanced troubleshooting, you'll learn how to:
- Save thousands on pool repairs and chemicals
- Keep your water crystal clear year-round
- Prevent and solve common pool problems
- Master water chemistry with confidence
Join over 10,000 pool owners who have already transformed their pool care routine. Get started with our free Pool School course today!
What you need
Grab a fresh pump lid O-ring, a tube of Teflon pool lube, and a roll of plumber's tape so you can reseal every connection in one go.