



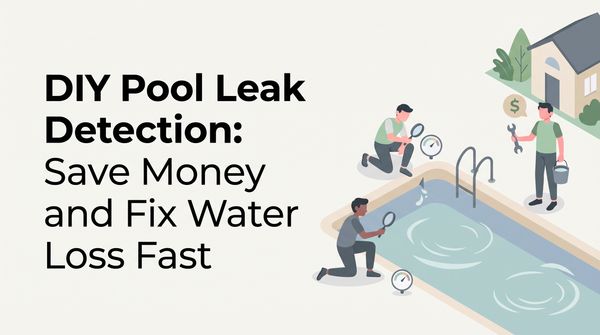
There are few things more frustrating than watching your pool's water level drop and knowing something is wrong. A leak might look like a small annoyance at first, but leave it alone and it can turn into an expensive repair. The good news? You can often handle it yourself and save both time and money once you know a few basic techniques.
Years ago, a strangely high water bill tipped me off that my pool was losing water fast. I had no maintenance experience, but I was set on finding the leak without paying a pricey professional. With a few simple tools and a careful, step-by-step approach, I tracked down the source and got my pool back in shape.
Finding a pool leak doesn't take advanced skills or fancy gear. A sharp eye and a little patience usually do the job. By checking the pool's surface, looking over the equipment fittings, and using a few proven tricks like the bucket test, you can find the leak yourself. Here's how to turn a task that feels overwhelming into one you can actually manage.
Your Action Plan
- Rule out evaporation with the Bucket Test.
- Inspect the pump, filter, heater, and O-rings for drips.
- Use the Ink Test to pinpoint leaks in the pool's surface.
- Check the vinyl liner for visible tears.
- Patch small leaks underwater with tape or a vinyl kit.
- Call a pro for underground plumbing problems.
Identify Pool Leak Sources
Rule out the easy stuff first
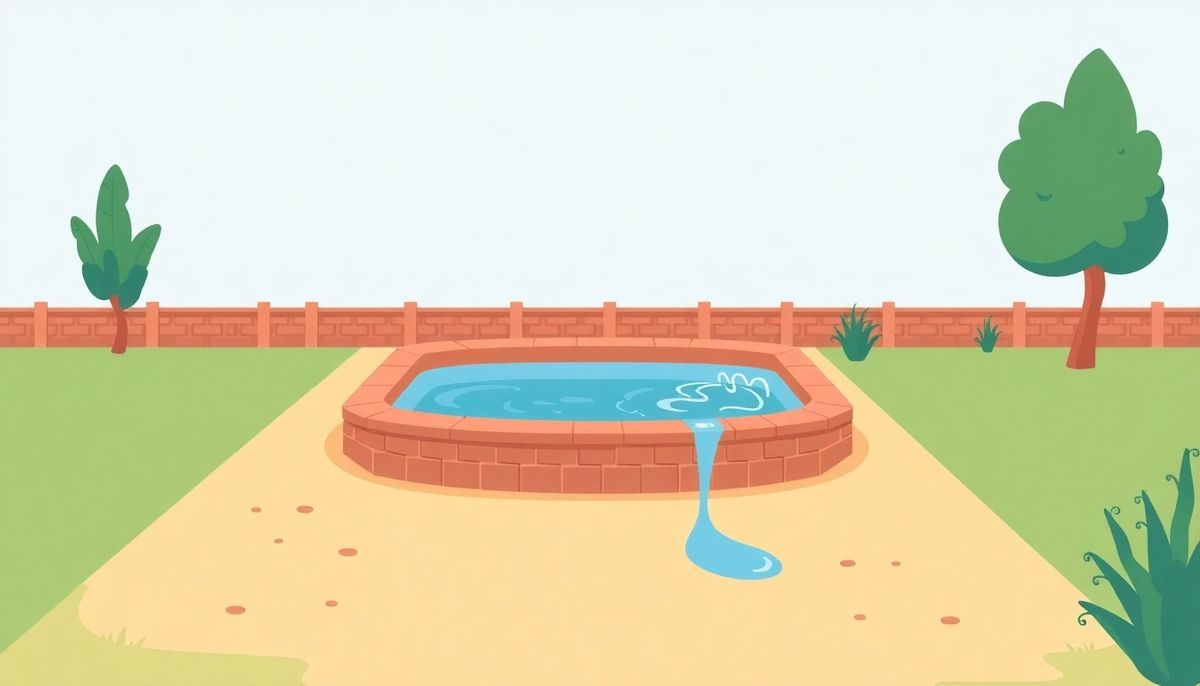
Tracking down a pool leak takes patience, not magic. Start by ruling out the usual suspects, like evaporation or a plumbing hiccup. A quick look at the filter area often turns up leaks around the pump, filter, or heater connections. These spots are easy to reach, but they're also common trouble points, especially if an O-ring (the rubber seal that keeps joints watertight) has worn out.
Once you've crossed plumbing off the list, look at the pool itself. The Bucket Test tells you whether you're losing water to evaporation or a real leak: set a bucket of pool water on a step, mark the level inside and outside, and check back in 24 hours. If the pool dropped more than the bucket, you've got a leak to find.
For pinpoint accuracy, the Ink Test is your next move. Squeeze a leak-finder dye near likely spots like cracks, fittings, or seams, and watch where it drifts. The dye pulls toward the leak. If it's at the bottom of the pool, grab goggles, dive down, and stay still so you don't stir up the water.
Always rule out evaporation with the Bucket Test before you go hunting for a leak, so you don't chase repairs you never needed.
Check Plumbing and Equipment
Check your plumbing and equipment
A hidden leak often masquerades as plain evaporation, but a closer look at your plumbing can reveal the real cause. Give your filter system a careful once-over: the pump, filter, heater, and chlorinator. Check every joint and O-ring, since these are common leak spots. Last summer a neighbor found a drip from a loose pump connection that was costing gallons a day.
These parts are easy to check, but don't ignore underground piping, especially with inground pools. Cracked pipes below the surface are hard to spot and only get worse if you leave them. Before you assume the leak is underground, run the Bucket Test we covered above. If the plumbing turns out to be the culprit, you may need a pro, but catching visible issues early saves real money.
Test for Water Evaporation
The Bucket Test, step by step
The Bucket Test is the simplest way to separate evaporation from a leak. Grab a large, sturdy bucket and set it on the pool steps with the rim above the waterline. Fill it with pool water to match the level outside. Mark both water lines with waterproof tape, then compare how fast each drops over 24 to 48 hours.
If the pool falls more than the bucket, that's a strong sign of a leak. If both drop at the same rate, evaporation is to blame. Heat, wind, and humidity all speed up evaporation, so this test is especially useful in harsh weather. Run it over a couple of days for the most accurate read.
Repair Pool Liner Leaks
Fixing a vinyl liner
Repairing a vinyl liner is more manageable than it looks. First, check the liner's overall condition. If it's in good shape and the tear is small, a DIY patch is practical and easy on your wallet. Older liners get brittle, though, and may need replacing sooner rather than later.
For small punctures, waterproof tape works as a short-term fix. It's clear, holds up to UV rays, and can be overlapped for bigger areas, but it tends to peel over time. Peel-and-stick vinyl patches made for pools go on underwater and handle minor damage well. For bigger tears, a vinyl patch kit with underwater adhesive gives you a longer-lasting repair. If your fix won't hold or you suspect something more complicated, call a pro.
All of the common liner repairs work underwater, so you never have to drain your pool to fix a small tear.
Prevent Evaporation Misdiagnosis
Don't mistake evaporation for a leak
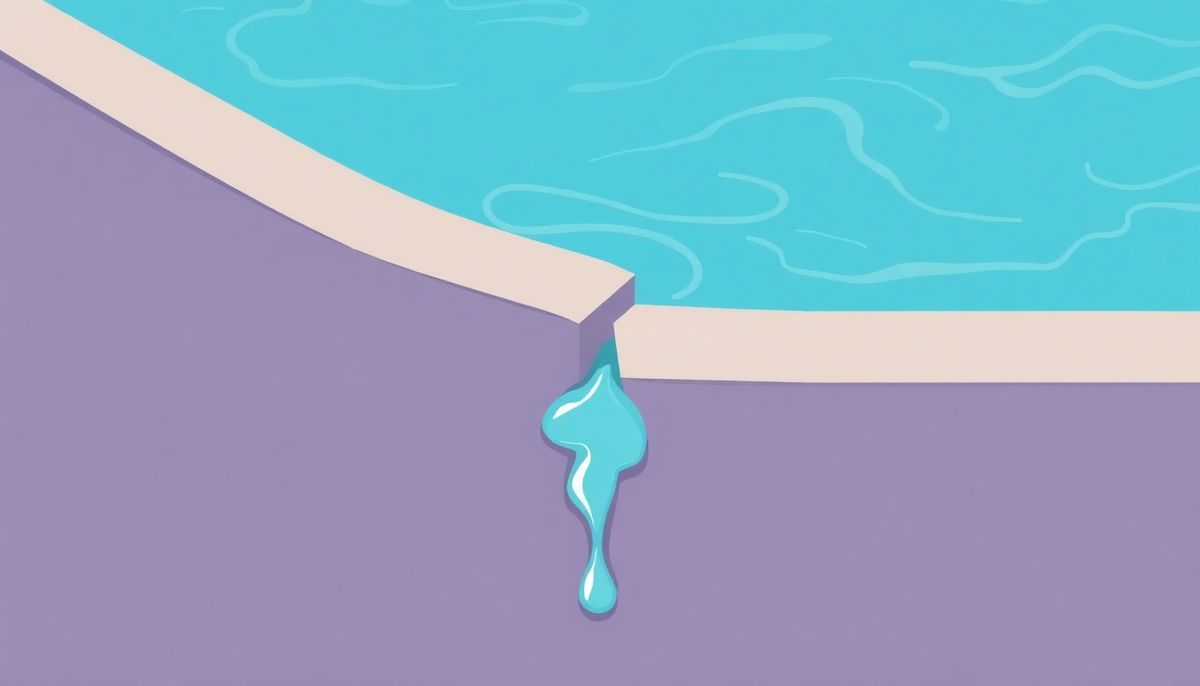
A common mistake is confusing normal evaporation with a bigger problem. Every pool loses some water on hot days or in dry climates, and assuming there's a leak can send you chasing repairs you don't need. Use the Bucket Test we talked about earlier to be sure. Leave it 24 hours without swimming or topping off, and if the pool drops more than the bucket, you may have a leak.
I once spent a summer convinced my pool was leaking. It turned out to be nothing but a run of sunny days. That taught me to always rule out evaporation first. It's a small step that saves a lot of worry.
Rule Out Evaporation First
How much water loss is normal?
Water seems to vanish overnight, and it's easy to jump to conclusions. Evaporation rates change with climate, humidity, wind, and water temperature. On a hot day, your pool can lose up to a quarter-inch to evaporation alone. Before you worry about plumbing failures or structural damage, run the Bucket Test to check.
If it points to a leak, the Ink Test helps you find smaller ones. With a steady hand, release colored dye near the spots you suspect and watch it drift toward the source. Ruling out evaporation first makes the whole process simpler.
Inspect Pool-Equipment Thoroughly
A closer look at your equipment
The hidden details of your equipment often reveal a stubborn leak. Go through each part of your filtration system: the pump, filter, heater, and any chlorination devices. Even the smallest crack in an O-ring or pipe joint can cause serious water loss.
My neighbor Sarah recently had this happen. After checking her equipment, she found a sneaky drip at her pool heater's connection, hidden by condensation. A replacement gasket fixed it and saved her a lot of money and frustration.
Don't skip the less obvious spots, like underground piping. Look for damp patches around the pool or unusual plant growth, which can signal hidden leaks. For inground pools, an ongoing problem may call for a pro to pressure test your plumbing lines.
Utilize DIY Leak-Detection Methods
Narrowing it down with two tests
A couple of DIY methods let you narrow things down with confidence. The Bucket Test tells water loss from evaporation apart from a real leak, and you know the drill by now. For pinpointing the exact spot, the Ink Test is the way to go. With a syringe full of dye, swim near the areas you suspect, like the pool floor or around fittings, release the dye, and watch it drift toward the leak. Wear goggles so you can see clearly. If you have a vinyl liner, scan it for visible tears and use waterproof tape to flag any spots you'll need to repair.
Test Pool Water for Leaks
Trust the simple tools
Your first job is always making sure the problem isn't evaporation, and a plain household bucket handles that. If the pool's level falls more than the bucket over 24 hours, it's time to look for leaks. For the structure itself, the Ink Test shines: add a few drops of food coloring or leak-detection dye near suspected spots, stay still, and let the dye trace a path toward the leak. It works especially well around fixtures, lights, and cracks. These tests tell you a lot, but reach out to a pro if the leak stays hidden or is beyond a simple fix.
Identify Evaporation Issues
When it's just the weather
Before you assume the worst, remember that every pool loses water to evaporation, shaped by weather, humidity, and how much you use it. A sunny day with a light breeze can carry off a surprising amount and look just like a leak. The Bucket Test settles it. If both levels drop equally, evaporation is the cause; a bigger drop in the pool points to a leak.
Cutting down on evaporation can be as easy as using a pool cover or adjusting your water features to reduce splashing. That saves water, keeps your chemistry steady, and lowers your upkeep costs.
Check the pipes and fittings
One spot people overlook is the tangle of pipes and equipment that keeps the pool running. Before you blame a torn liner or a crack in the structure, give the filter system a thorough check: pump, filter, heater, chlorinator, and every O-ring or connection. Run your fingers along the joints, feeling for dampness that signals a slow leak. A gasket swap or a tightened fitting often takes care of it. Underground pipes in older or inground pools can leak too, from ground shifting or age, and that usually calls for a professional pressure test.
Perform Leak Detection Tests
Diagnose before you dial a pro
Notice the water isn't where it was yesterday? Before you reach for the phone, run the tests yourself. Start with the Bucket Test to rule out evaporation. For trickier leaks, pick up some leak-detection dye at a pool supply store, put on goggles, and release a small amount near suspected spots like fittings or skimmer edges. If the dye swirls quickly toward a crack or seam, you've found your leak. Finding it is the first step to protecting your pool, whether the fix is a simple patch or something bigger.
Repair Vinyl Pool Liners
Repair or replace the liner?
A leaky vinyl liner isn't as big a job as it seems. First, decide whether the damage is worth repairing or whether it's time for a replacement. Older liners get brittle and more prone to future leaks, so weigh your options. Once you commit to a repair, you've got three choices, all safe underwater. Waterproof tape is cheap and easy for minor leaks but won't hold long in high-stress areas like stairs or fittings. Vinyl patches made for pools press into place and last longer, ideal for small punctures. For larger holes, a vinyl patch kit with special adhesive gives you a more permanent fix. None of these require draining the pool.
Detect Pool Leaks Efficiently
Match the repair to your pool
Once you've confirmed it isn't evaporation, turn to the pool itself with the Ink Test, releasing dye near suspected spots and watching where it gets pulled. Structural leaks in concrete or gunite (sprayed concrete) pools, especially around the skimmer, may need plaster repair. Vinyl liners can be patched with kits, though patches are temporary and aging vinyl tears more easily. Check around stairs and fittings, since those spots take constant pressure from the water. DIY methods save money, but underground plumbing problems usually need a professional.
Inspect Plumbing and Equipment
Inspect every part methodically
Finding a leak usually starts with a thorough check of the plumbing and equipment. Work through the filter system piece by piece, from the pump to the chlorinator, looking for moisture or water loss. Pay close attention to O-rings and connections, which are notorious for small leaks that slip by unnoticed. Visible parts are easy to inspect; underground plumbing is trickier. If your pool loses water fast with no wetness around the equipment, an underground problem may be to blame, but run the Bucket Test first to rule out evaporation.
Choose the Right Repair Method
Choosing the right fix
Picking the right repair comes down to knowing your pool. A vinyl liner calls for different tactics than a concrete or gunite (sprayed concrete) pool. Vinyl cracks less often, and when it does, patches or vinyl kits applied underwater do the job without draining the pool. Concrete and gunite pools crack at stress points, like where the skimmer meets the wall, and there plaster repair is the answer: more work, but a solid fix. Keep waterproof tape on hand as a temporary patch. And if the plumbing is the problem, especially underground pipes, calling a pro to pressure test the lines is the smart move.
Patch Leaks Underwater Safely

Patching a leak underwater
Patching underwater sounds intimidating, but it's a job you can handle. Gather the essentials: waterproof adhesive, a patch kit that matches your pool's material, and a good pair of goggles. Move slowly, because underwater even a small motion sends dye and debris swirling and throws off your work. Confirm the exact spot with a dye tester first.
Once you've found the leak, you're finally ready to fix it. For a vinyl liner, cut a patch a little larger than the tear, apply plenty of adhesive, and press it firmly over the leak, smoothing out any air bubbles that could weaken the seal. On concrete or gunite pools, clean the surface before you apply the patch. There's real satisfaction in knowing you handled it yourself.
Take your time underwater, because one careful, well-pressed patch beats three rushed ones that peel away in a week.
Identify Potential Leak Sources
Start with the common causes
Before elaborate tests, rule out the causes that pass for leaks. Look over your plumbing, including the filter area, pumps, heaters, and chlorinators, and check connectors and O-rings carefully. Not every leak is visible; underground piping in inground pools can crack and may need a professional. But test for evaporation first with the Bucket Test. Once that's off the table, the Ink Test helps you narrow down structural leaks around skimmers or underwater fittings. Leaks come from the least expected places, so being thorough pays off.
Perform DIY Leak Tests
Be your own leak detective
With a little knowledge and a few simple tools, you can find the leak yourself. Start with the Bucket Test to separate evaporation from something bigger. For hard-to-find leaks, load a syringe with leak-detection dye and release it slowly near cracks or seams, watching it move toward the source. Do this on a calm day so water movement doesn't skew your results. Patience and a sharp eye can save you a few hundred dollars, and if things get complicated, don't hesitate to call a pro for tough or underground leaks.
Conclusion
Finding a leak yourself takes a bit of time, but it's easier than you think, and it saves you a ton of money.
Want to go further? Our free Pool School course covers everything you need to know about pool care. From basic maintenance to advanced troubleshooting, you'll learn how to:
- Save thousands on pool repairs and chemicals
- Keep your water crystal clear year-round
- Prevent and solve common pool problems
- Master water chemistry with confidence
Join over 10,000 pool owners who have already transformed their pool care routine. Get started with our free Pool School course today!
What you need
Grab a sturdy bucket, some leak-detection dye, goggles, and a vinyl patch kit or waterproof tape, then start with the Bucket Test to see what you're dealing with.