



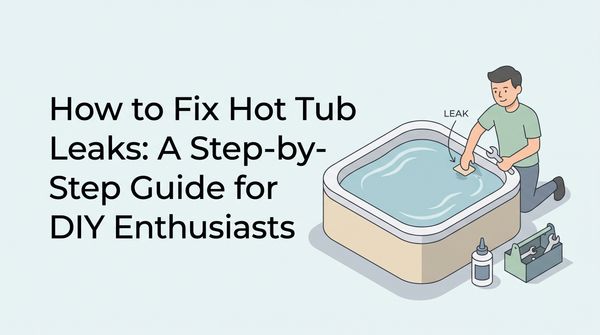
A hot tub is the heart of a lot of backyard evenings, a warm, bubbling spot where the day's stress melts away. That calm disappears fast when you find water pooling around the base. I know the feeling, and I know it can look like a small catastrophe.
Take a breath. Most leaks come down to a worn seal or a loose connection, and the culprits are usually the same handful: the pump, the heater, the union fittings, and the valves. These sit out of sight, but they keep the whole system watertight.
The tools are simple: some plumber's tape, a wrench for a couple of jobs, and a careful eye. There's real satisfaction in getting your tub running again without a big repair bill.
Your Action Plan
- Cut the power and check under the pump for a failing seal.
- Inspect the heating assembly (element, pressure switch, sensors) for drips.
- Hand-tighten the union fittings on the pump and heater.
- Check the knife and ball valves for worn gaskets.
- Look over the jets and PVC pipes for cracks.
- Use leak-detecting dye to pinpoint a hidden leak, and call a pro if it won't quit.
Locate the Leak Efficiently
Finding a hot tub leak goes faster when you work in order instead of guessing.
Start with the pump
Switch off the power before you peek underneath. Water pooling below the pump usually points to a worn seal, and swapping it is often a simple fix. If the pump's dry, check the heating parts. The heating element, pressure switch, and sensors all tend to spring leaks, and a little work here can save you the cost of a whole new heater.
Check the fittings and valves
Next, look at the union fittings, the connectors that join the pipes to the pump and heater. They tend to loosen, so tightening them by hand often stops the leak. Be gentle, since tools do more harm than good. Don't skip the valves either. Knife and ball valves fail often, and their gaskets wear out, so a close look usually shows one that needs replacing.
If the leak still hides from you, try the dye test. A few drops of leak-detecting dye, or even dark food coloring, reveal the gap and lead you right to it. And if the leak sticks around no matter what, there's nothing wrong with calling a pro.
Inspect Common Leak Sources
Start with the parts that fail most often.
First is the pump, a classic leak magnet. Turn off the power, then look beneath it. Puddles usually point to a failing pump seal. A new seal is often a quick fix, but if the leak keeps going, the pump itself may need a closer look or a full replacement.
Check the heating parts too. The heating assembly, made up of the heating element, pressure switch, and sensors, can spring leaks. If you find water here, you may need to replace those parts. If several are dripping, a new heater might be the smarter move.
Next, look at the union fittings on the pump and heater, usually behind the main equipment access panel. These connections work loose over time. Tighten them with your hands and keep the tools in the toolbox, since too much force can crack the piping. Finally, check the valves and jets. Knife valves, ball valves, and even plastic pipes can all leak, and a bad gasket in a jet is a common cause. Rule out each spot one by one, and before long your tub will be back in service.
Test with Leak-Detecting Dye
To find a hidden hot tub leak, a splash of color might be your best friend: leak-detecting dye. It turns guesswork into something you can see. Add a bit of dye, or reach for dark food coloring, and watch where it goes. The dye gets pulled toward the leak, showing you the exact spot you missed.
In my experience, this cracks the cases that make no sense. I've watched owners spend hours tightening, sealing, and swapping parts with nothing to show for it, then use dye and spot a nearly invisible crack tucked into a corner of the shell within minutes. That saves real time and money.
Once you know where the leak is, you can put your effort where it counts instead of taking apart half the tub. Next time a leak has you stumped, give this colorful trick a try.
Leak-detecting dye turns a frustrating guessing game into a repair you can aim right at the problem.
Consult a Professional
When every DIY attempt gets slippery or complicated, calling a pro is often your best move. A specialist can spot problems that slip past an untrained eye, and their fixes tend to be quick and long-lasting.
I've seen owners spend weeks wrestling with a leak, only to make it worse. Bringing in an expert saves time and often cuts costs by heading off more damage. Pros carry a lot of experience, and they usually have advanced tools that make finding the leak precise and quick.
Every hot tub has its quirks, and an expert knows where to look, whether it's a hidden valve or a gasket you'd never suspect. They size up your specific model and tailor their approach. Sometimes the damage from a leak you let sit costs far more than paying for help up front. Doing your own repairs can be rewarding, but sometimes peace of mind is worth the call.
Inspect Common Leak Spots
Tracing a hot tub leak is a step-by-step process, with each clue leading you closer.
Pump and heater first
Start with the pump. Once the power is off, check beneath it for water. If the pump seal is worn, a replacement is a quick fix. If the trouble sits deeper in the pump's mechanics, brace yourself for a possible repair or replacement.
Next, look at the heating assembly. Made up of the heating element, pressure switch, sensors, and thermostat, this cluster is known for developing leaks. A careful look might show you the source, so be ready to swap out any faulty part.
Then the fittings, valves, and plumbing
Union fittings around the pump and heater loosen over time. A gentle hand-tighten should do it, since wrenches can cause damage. Then check the knife and ball valves, since their gaskets fail often.
Don't forget the jets and plumbing connections. A loose connection often just needs a quick snugging up, while a damaged jet gasket might need replacing. For cracked PVC pipes, reach for a plastic repair kit unless a full replacement is the better call. If the shell itself leaks, a similar repair usually works.
Identify Pump and Heater Leaks
Two of the usual suspects are the pump and heater. They're essential but sensitive, and a leak here calls for a careful look and a bit of elbow grease.
Start with the pump, the heart of your tub's circulation. Switch off the power first so you don't risk an electrical accident. Then slide under the pump and check for puddles or moisture. If you find a leak, the pump seal could be to blame, and replacing it is often the simplest fix. Sometimes the whole pump needs attention, which might mean a repair or a full swap if it's too far gone.
Turn next to the heater. Check the whole heating assembly, including the heating element and the various sensors. Drips here could mean a part has worn out, and replacing faulty parts one by one can head off a bigger problem later. Look at the union fittings too, since these loosen over time. Snugging them by hand might be all you need; skip the wrench, since it can cause damage you didn't have before.
I've seen a single loose fitting stand between a constant drip and a steady, calming soak. The fix can be that simple. But if these steps don't solve it, call a pro.
Union fittings are built for your hands only, so keep the wrench in the toolbox to avoid cracking the parts you're trying to save.
Examine Valves and Fittings
Once you've ruled out the pump and heater, look at the valves and fittings, the quiet workhorses inside your hot tub. They keep water flowing where it should, and over time they can turn into the surprise source of a leak.
Start with the knife valves, also called slice or gate valves. These shut off water flow while you service other parts, and they're known for gasket failure. If the gasket's gone, a new one could solve the problem.
Next, check the ball valves. You'll usually find these near the pump, set up so you can do maintenance without draining the tub. Handy as they are, a bad ball valve can add to your troubles. Tightening it may be enough, but sometimes replacement is the only fix.
Don't overlook the union fittings around the pump and heater. Rely on your grip here rather than a tool, and a firm hand-tighten often clears up small leaks. If you're still unsure, or the leak won't quit, calling a pro is a smart investment.
Inspect Pipes and Jets
Tracing a hot tub leak often leads to the pipes and jets, sneaky troublemakers where even the tiniest crack causes chaos. I've been here, watching water vanish and finding nothing wrong with the obvious parts, only to realize the problem was hiding in the pipes.
Checking these areas takes patience and a sharp eye. Look over each pipe for wear or damage, and feel along the piping for dampness, since that often points to a break. A tiny crack can blend right into the shadows of the PVC. A plastic repair kit works wonders and often bonds stronger than the original material. If the damage is bad, replacing the pipe outright might save you time and future headaches.
Next, look at the jets. These loosen or wear down over time, causing leaks around their seals, and a failing gasket is a common culprit. A quick replacement usually brings relief. Always check your manual or the manufacturer for the right parts so everything fits. Fix these issues and you can reclaim those long, lazy evenings under the stars.
Repair Faulty Seals and Gaskets
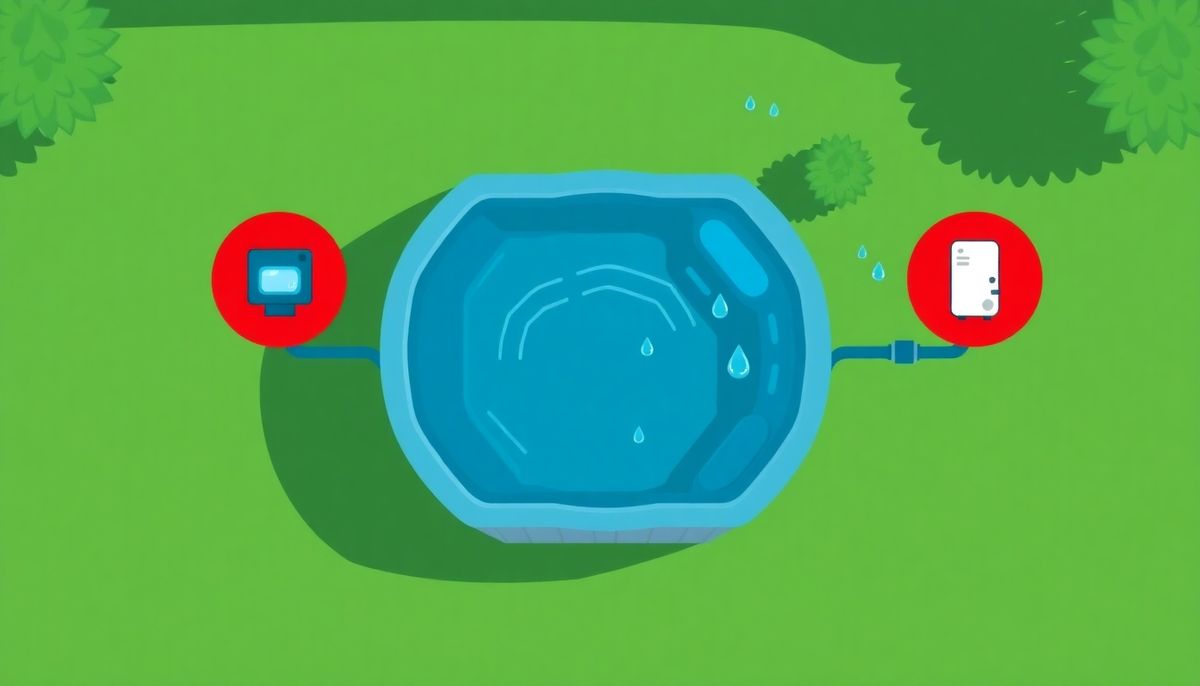
Seals and gaskets are easy to ignore, but they can be the difference between relaxing and pulling your hair out. They keep your tub watertight, and over time they break down, causing small leaks that seem harmless at first.
I ran into this myself when a tiny puddle showed up under my hot tub. I traced it to a bad gasket and replaced it on my own. Here's how you can do the same. Start by checking around the pump and heater, since these spots leak often. If you spot water seeping around a connection, the gasket may be shot. Replacing one usually takes just a few tools: a screwdriver, a new gasket, and some waterproof lubricant.
When you pick a replacement, make sure it matches your hot tub model. A quick call to the manufacturer or a look at the manual can save time and prevent mistakes. Once the new gasket is in, tighten the connection firmly, but don't overdo it, since over-tightening can cause leaks down the road. This simple repair can save you real money and hassle.
Locate and Identify Leaks
With a sharp eye and a step-by-step approach, you can often find and fix these leaks yourself.
Start with the pump housing, where leaks show up a lot. Switch off the power, then look beneath the pump for water. A leaky pump seal is usually the cause, and replacing it is often simple. If the seal is fine, the pump itself may need a repair or replacement.
Next, check the heater assembly, a frequent leak source thanks to parts like the heating element and pressure switch. Look over each part for built-up moisture. If several parts are leaking, it might be time to replace the whole heater.
Don't skip the union fittings on the pump and heater. These loosen over time and let water out. A firm hand-tighten often does the trick, since a wrench can do more harm than good. Also look over the valves and pipes. Loose connections or bad gaskets are common causes, and fixing them usually means tightening or replacing the part. For stubborn leaks, leak-detecting dye can pinpoint hard-to-find spots. And if nothing works, a pro's help might be what it takes.
Replace Faulty Components
Replacing a faulty part can seem like a lot, but with a little patience and guidance, it's a DIY job you can pull off. The first step is always finding the problem part. Often, it's a worn-out seal or gasket. If you see water pooling around the pump, the seal may have broken down, and a new one usually gets the pump running right again.
Next, look at the heater assembly. It has several parts, including the pressure switch and thermostat, and each one can leak. If you find moisture around any of them, replacing them is the way to go. Manufacturers often provide part-specific directions that make the swap easier.
Valve upkeep matters too. Over time, knife and ball valves fail and leak, so check them now and then. When one's bad, replacing the valve or its gasket stops the water loss. Remember, using your hands instead of a tool is the key to avoiding damage, especially with union fittings.
Then there are the PVC pipes. Cracks or holes need attention right away. A repair kit offers a short-term fix, but replacing the damaged pipe lasts longer. I constantly see small pipe cracks left alone turn into much bigger problems, so acting fast keeps things from snowballing. If the problem sticks around or feels beyond your skills, calling a pro gets you a thorough, lasting fix.
Consult a Hot-Tub Professional
For a stubborn leak that won't be found or fixed, calling a pro isn't just a luxury, it's often a must. These folks have years of experience with all kinds of hot tub problems, and they can zero in on a hidden leak fast.
Think back to the last DIY project that looked simple. Maybe it was replacing a faucet or fixing a creaky door, and what you figured would take an hour ate up your whole weekend. Hot tub leaks can be just as tricky. Some you can fix with a turn of a wrench or a dab of sealant, but others hide in less obvious places and call for special tools and technical know-how.
A pro's trained eye catches what others miss, whether it's a tiny crack in the plumbing or a worn gasket you thought was fine. They bring the right tools, so the diagnosis and repair are spot-on, and that helps you avoid the extra damage an amateur fix can cause. Bringing in a pro buys you peace of mind too. Before long you're soaking in warm water instead of worrying about a growing repair bill.
Tighten Loose Union Fittings
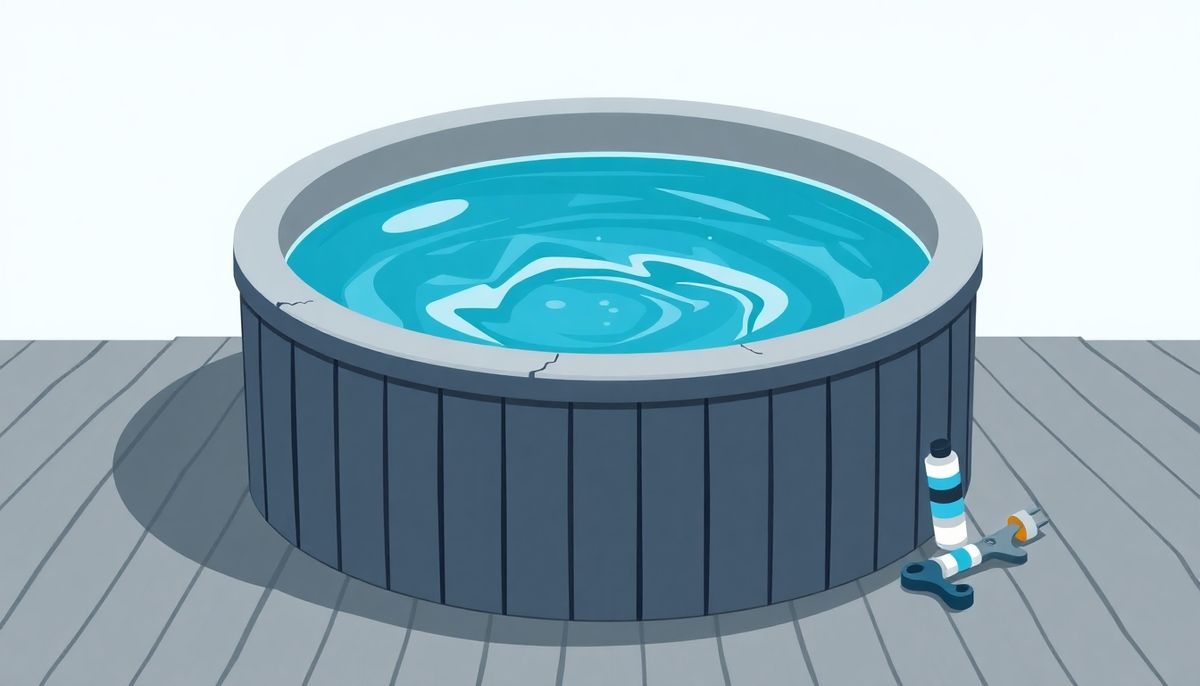
One usual suspect is the union fittings, the humble connectors that join key parts like the pump and heater. Over time, they loosen and let water seep out. This is often an easy fix that needs barely any tools, just your own two hands.
I've watched an owner fuss over the complicated parts for ages and get nowhere, then finally check the union fittings and end the leak with a simple hand-tighten. Grabbing a wrench for a firmer grip might be tempting, but it's risky. These parts are meant to be tightened by hand only, so you don't crack the piping or equipment.
While you're down there, check all the nearby fittings. Making sure each one is snug can head off future leaks. If you still see wetness after checking the fittings, look over the surrounding seals and gaskets for wear. Sometimes it's the smallest adjustment that makes all the difference.
Inspect Pump and Heater Fittings
Small as they are, the pump and heater fittings do a lot to keep your hot tub from turning into a mini waterfall. Checking them can often show you where the leak is coming from.
Start with the union fittings connected to the pump and heater, behind the equipment panel. Over time they loosen from constant vibration and water pressure, and a simple hand-tightening might be all it takes. Resist the urge to use a wrench; these fittings aren't built for that force and can crack under it.
Next, look at the rubber seals, which wear out with age and exposure to chemicals. Cracks or brittleness are a clear sign they need replacing. Keeping a spare set of seals on hand can get your hot tub back in service quickly.
If the fittings and seals look fine, check the connections for corrosion or wear. A quick once-over might turn up rust or mineral buildup, which points to a bad seal. Regular upkeep, like cleaning these parts, prevents future leaks and adds years of enjoyment to your hot tub.
Secure Loose Union Connections
Often the cause of a puddle is a loose union connection, one of the key spots that link the pipes and equipment. Over time, vibration and temperature swings loosen these fittings and let your water slip away.
Start by powering down your hot tub for safety. Once everything's off, find the union fittings around your pump and heater. Look them over closely for moisture or visible gaps, and run your fingers gently along the connections, feeling for dampness. If you find a leak, skip the tools. Your grip is your best friend here. Too much force can crack the fittings or damage the parts they connect, which means bigger repairs.
A tip from experience: turn the fitting until you feel firm resistance, then give it one more snug little twist. That has saved me from those dreaded leaks more than once. If the connection still drips after tightening, it might be time to replace the O-ring inside the fitting, a small part that does a big job sealing connections. Once all the unions are secure, power your tub back on and keep an eye on those connections for a few hours.
Hand-Tighten Without Tools
Ever notice how easily a valve loosens and causes trouble? Sometimes a quick twist is all you need. Union fittings, those innocent-looking connectors between the pump and heater, often fall victim to time and vibration, slowly working loose until they drip an unwelcome surprise. Before you grab the nearest wrench in frustration, remember that a gentle hand-tightening could be your best ally.
Say you've just found a stubborn puddle under your hot tub and you're weighing the cost of calling in the pros. Instead, you crouch down, find the union fittings, and use just enough pressure with your bare hand to snug them up. It's a satisfying moment, a lot like fixing a bike chain or tightening a loose screw. There's real satisfaction in knowing that, with a little effort and no cost at all, you may have saved yourself hundreds in repairs.
This approach needs no special tools, just a careful eye and a bit of elbow grease. Not every leak will give in to a manual twist, but tackling those fittings by hand is a simple first step that often solves the problem right there.
Diagnose Heating Assembly Issues
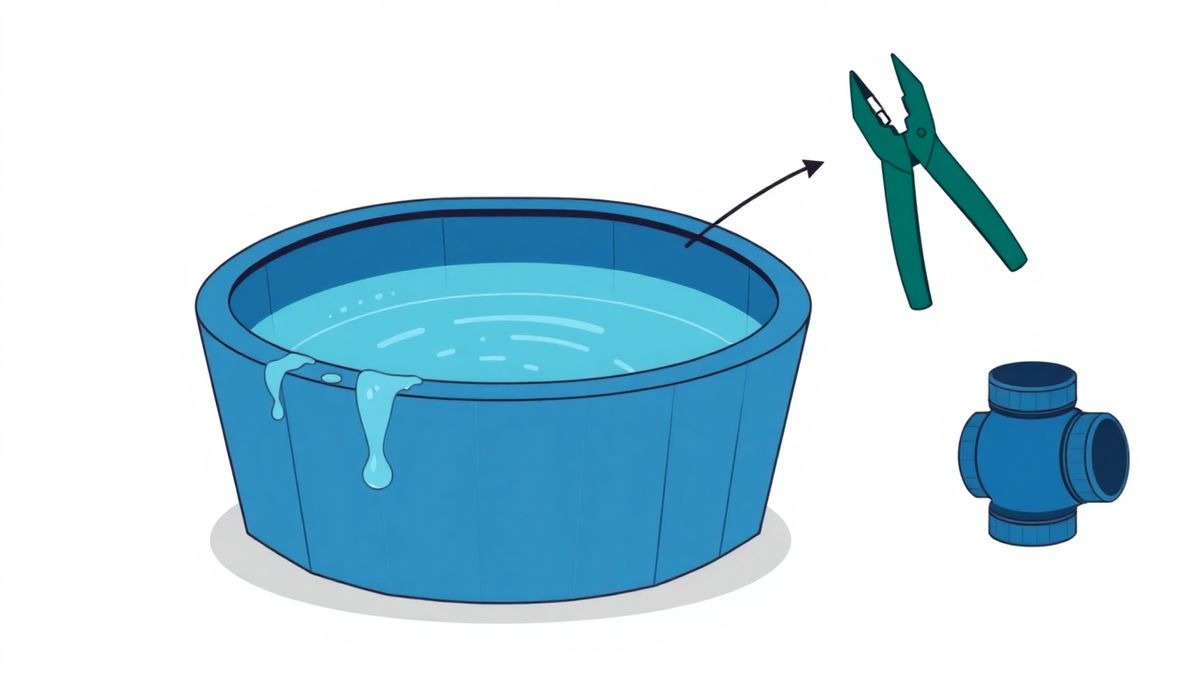
One spot people often skip is the heating assembly, and it can be the source of sneaky leaks. Start by turning off the power, then head to the heart of the heating system, usually behind the main access panel. It's made up of the heating element, thermostat, pressure switch, and sensors, and each one helps keep the water warm.
Leaks here often come from loose fittings or worn-out seals. A small puddle under the heater usually means a leak you can handle with a careful eye and a steady hand. Give each union fitting a gentle twist to make sure it's snug, and remember that too much force can crack delicate parts.
Sometimes you'll notice moisture around the pressure switch or temperature sensors, which points to seals that need replacing, or the parts themselves. I once replaced a faulty thermostat for someone and watched their hot tub come right back to life, saving them a pricey service call. If several parts seem to be failing, though, it may be the end of the road for the heater, and a new one might be the smart choice.
If several parts of the heating assembly are dripping at once, replacing the whole heater usually beats patching them one by one.
Locate Common Leak Sources
With a little patience and know-how, you can find those trouble spots without an expert, saving both time and money. Start with the pump, a notorious leaker. Make sure the power is off. A wet area under the pump often points to a bad seal, which you can easily swap out. If the seal looks fine, look at the pump itself for a repair or replacement.
After the pump, turn to the heater assembly. Parts like the heating element and pressure switch are frequent culprits. A careful look shows where moisture is escaping and which part needs replacing. The union fittings, which connect the pipes to the pump and heater, deserve a good check too. These loosen over time, and tightening them by hand (never with a wrench) might solve your problem.
If the valves catch your eye, take a closer look. Knife valves, ball valves, and similar parts wear out, with the gaskets often failing first, and a simple gasket swap usually clears it up. Along the way, you might also find leaks from the jets or PVC pipes. For those, replacing gaskets or using a plastic repair kit is your best bet.
Use Leak-Detecting Dye
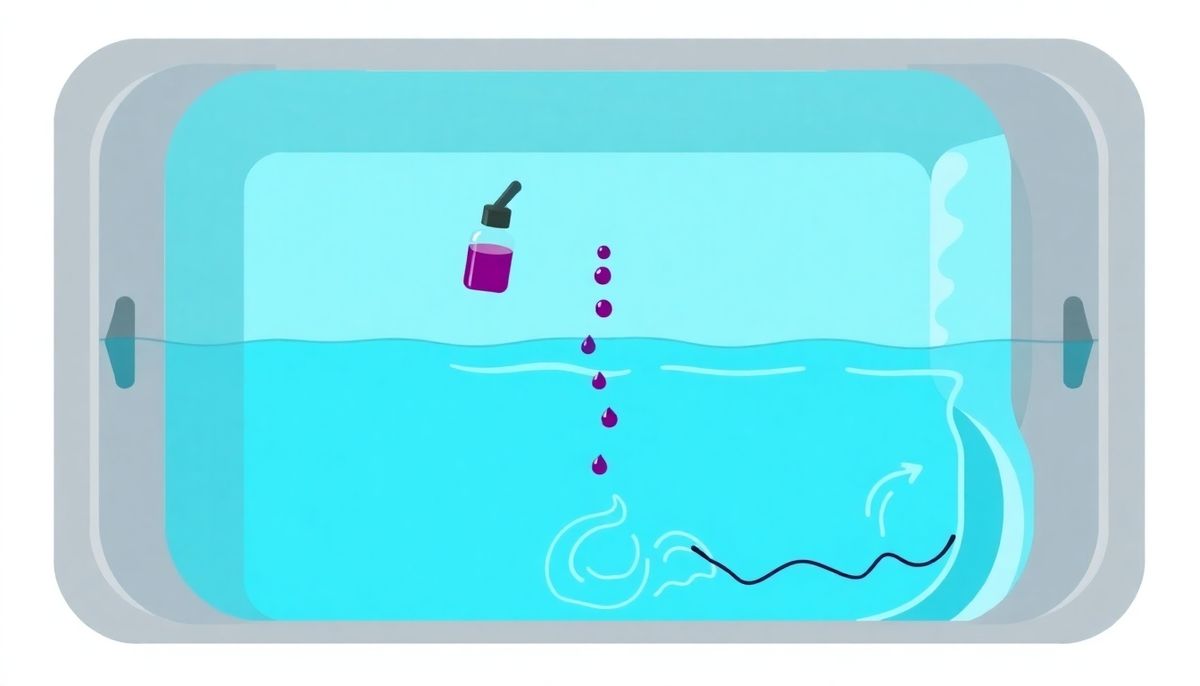
A small drip escaping your hot tub can drive you up the wall, and the source can be hard to find. There's a clever trick that helps: leak-detecting dye. It turns a guessing game into a much clearer investigation. Add the dye to the water and watch where it goes. It gets pulled right into the leak, showing you exactly where the crack is.
I've seen this work when nothing else would. One owner I know had a hot tub that seemed to mock her with a dropping water level and no visible clue. Then she tried the dye and watched it snake its way to a small crack near a jet, something she'd missed on her first look.
Regular food coloring works too if you don't have specialized dye on hand, which makes this an easy option for most people. It saves time and can spare your wallet from repairs you don't need. Once the dye has done its job, you can aim your repair right at the spot, whether it's a fitting, gasket, or valve.
Conclusion
This article walked you through keeping your hot tub leak-free and ready for a soak. Start your spa-care routine today.
Want to get even more confident with your hot tub and pool care? Our free Pool School course covers everything you need to know. From basic maintenance to advanced troubleshooting, you'll learn how to:
- Save thousands on repairs and chemicals
- Keep your water crystal clear year-round
- Prevent and solve common problems
- Master water chemistry with confidence
Join over 10,000 owners who have already transformed their care routine. Get started with our free Pool School course today!
What you need
Keep leak-detecting dye, a matching set of seals and gaskets, plumber's tape, and a PVC repair kit on hand so you can pinpoint the drip and fix it in one afternoon.