




















The crisp autumn air and amber leaves are your first hint that winter's on the way. If you own a hot tub, that seasonal shift is a nudge to get it ready for the cold. A few years back I skipped proper winterizing on a chilly November evening, and it cost me a cracked pipe and a repair bill I didn't want. I only needed to learn that lesson once.
Winterizing isn't only about dodging mechanical trouble. It's about looking after a spot you've come to love. Every part, from the small jets to the sturdy heater, deserves a little care. With a few focused steps, you protect what you've paid for and keep it ready for the first warm day of spring. The exact methods vary, but good winterizing comes down to knowing your own model and your local climate.
In this guide I'll walk you through the steps that shield your hot tub from a rough winter. Follow along, and what looks like a big chore turns into a simple routine.
Your Action Plan
- Stop adding chemicals so the sanitizer level drops to near zero.
- Cut the power at the breaker before you touch any water.
- Drain the tub with a garden hose or a submersible pump.
- Blow out the plumbing, jets, and filter compartment with a shop-vac.
- Clean and fully dry the shell and the cover.
- Strap the cover down tight with locks and wind straps.
Winterize Your Hot Tub
Wind down the chemicals, then cut the power
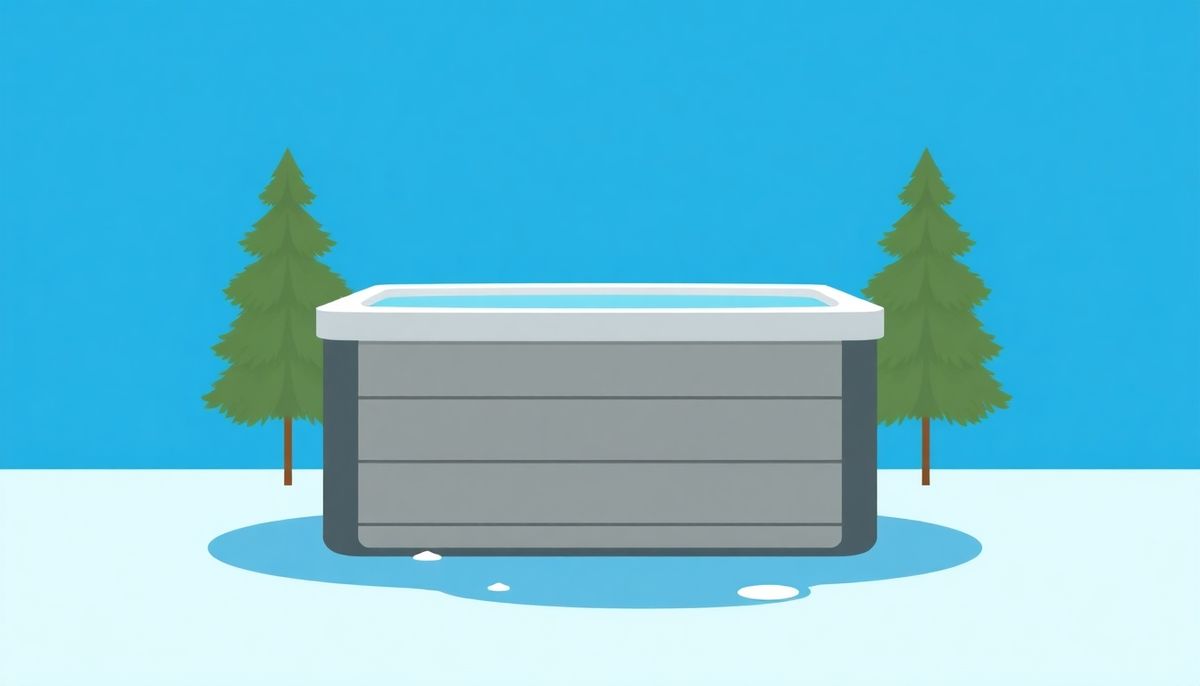
Closing your hot tub for winter is more than sealing it up until spring. Start by cutting off the chemicals so your chlorine or bromine levels drop on their own, leaving no residue on the parts while the tub sits idle. Once the water tests near zero, cut the power completely. That stops the tub from switching on by accident while you work on it.
Then drain it. A standard garden hose works fine, but a submersible pump saves a lot of time. Just don't let it run dry, or you'll wreck it. Once the tub's mostly empty, deal with the water hiding in the plumbing. A shop vac set to blow mode pushes the last drops out of the pipes and jets.
Wipe down the shell with a mild, non-abrasive cleaner, then pull the filter cartridges for a deep clean or a replacement. Finally, clean and thoroughly dry the cover to keep mold away, then strap it down against winter winds with locks and wind straps.
Drain and Remove Water
Getting the water out
Before the first hard freeze, get your hot tub ready for its winter rest. After you've cut the power, turn to the water inside. Attach a garden hose to the drain spout so several hundred gallons flow where you want them, not across your yard. Emptying a full tub takes more planning than dumping a kiddie pool.
Short on time? A submersible pump moves most of the water fast. A few stubborn inches will still cling to the shell, and that's where a shop-vac does the final pass. Don't shrug those puddles off. They can freeze, expand, and crack the shell.
You're not done when the tub looks empty. Loosen the PVC pipe unions, the plastic fittings that connect your pipes, and pull any drain plugs on the pump so no hidden water lingers.
Even a couple of inches of leftover water can freeze, expand, and crack your shell or pipes, so don't rush the final cleanup.
Clean and Protect Surfaces
Think of this next step as giving your spa its own spa day. Scrub the inside shell with a non-abrasive sponge and a hot tub surface cleaner. A no-rinse option like diluted white vinegar handles waterline marks and any scum that's built up. Get into the corners where dirt hides, and lift out the headrests to clean underneath. You'll be surprised what collects there.
Then move to the cover. Wipe the top, sides, and undersides with a cleaner that also protects, especially if it lives outdoors. Leave no residue, and let it air dry all the way so you don't trap moisture that turns to mold. Secure it with wind straps when you're done. A little time now means you come back to a clean tub, and plenty more relaxing soaks, once it warms up.
Secure and Protect Cover
A hot tub's cover is its main line of defense against the cold. Skip this step and you could face pricey repairs or a full replacement come spring.
Clean the cover with a protectant cleaner to shield it from UV rays and slow weather damage. Check every seam and stitch, since those are the weak points where water sneaks in. Once it's clean, make sure it's completely dry before you set it back. Moisture trapped underneath breeds mold and mildew, which you don't want during the cold months.
Fasten it firmly over the spa. If your cover has locks, use them to keep out curious animals or neighborhood kids. Put in this effort and you're not just covering the tub. You're protecting your investment for many seasons.
Drain and Clean Thoroughly
Draining and cleaning before storage keeps your spa in top shape for spring. First, power it down completely. Unplug it or flip off the breaker so no electricity is flowing. Nobody wants a shocking surprise mid-winterizing.
Attach a garden hose to the drain spout to send the water where you want it, or use a submersible pump to speed things along. A couple of inches may still sit at the bottom, but that's easy to handle. Switch to a wet-dry vac to blow out any water left in the plumbing lines, jets, and the filter compartment. Take your time and get every drop.
Then clean. A non-abrasive sponge and a dedicated hot tub cleaner scrub away residue and those tricky waterline rings. Don't skip the headrests, since water sneaks in under them. Finish with the cover: clean it, dry it fully, and strap it down.
Power-Off Safety Measures
Cut the power first
Don't skip the safety steps here. Completely cut the power before doing anything else. Find your hot tub's breaker and switch it off, or unplug the tub if you can, then double-check that no power reaches any part of it. This protects you and anyone helping.
A friend of mine once skipped this and ended up with a ruined control panel after water splashed onto live parts. Mishaps like that lead to costly repairs and real danger. The few extra minutes it takes to secure the breaker or cord are worth avoiding both the heartache and the headache. With the power off, you're free to drain and clean, and you'll sleep easier knowing your spa is safe.
Cut the power at the breaker before you touch any water—it's the one step you should never skip.
Remove All Standing Water
Getting every drop out of the plumbing is where winter damage is won or lost. After the tub drains, switch your shop vacuum to the blow setting and aim the nozzle into every valve, drain, and jet. It's the best way to force out the water still clinging inside the pipes. Don't forget the filter compartment. Blowing through there often clears water you'd otherwise miss.
Once you've finished blowing, check the tub for anything left behind. Use a soft cloth or sponge to soak up puddles, paying attention to the little corners, especially under the headrests and around the edges. That care makes sure your hot tub is completely water-free, which cuts the risk of a hard freeze doing real harm.
When the temperature really drops, a clean, protected surface matters more than you'd think. A neglected shell grows mildew that looks bad and wears down the lining over time. With the tub drained and dry, wipe the shell with a non-abrasive sponge and a mild cleaner, or a homemade mix of vinegar and water. Let the cleaner sit on stubborn rings and calcium deposits before you scrub, and it comes off much easier.
Don't forget the headrests. They're easy to overlook, and they trap moisture and grime. Take them off so you can clean underneath. Once the inside is spotless, treat the cover with a quality UV-protecting cover cleaner. Before you seal things up, make sure everything is bone dry. Any moisture left behind is an open invitation for mold and mildew come spring.
Protect Your Hot Tub Pipes
Chase the hidden water
In the middle of winter, the last thing you want is cracked or burst pipes in an idle hot tub. After you disconnect the power and drain the water, using a garden hose for gravity draining or a pump for a faster job, stubborn pockets of water remain.
A shop-vac is your best ally here. Set it to blow mode and slide the hose into every jet, drain, and opening. Blow through each one for 10 to 15 seconds, then do it again. Don't forget the air blower if your tub has one, since trapped water there can cause damage.
Take it from me, I learned the hard way to dry every nook. After blowing out the lines, use towels or sponges to soak up leftover moisture in the footwell and filter compartment. That effort now saves you headaches later. Once you're sure no water remains, secure your clean cover with wind straps.
If you're not planning to soak through the colder months, prep the tub so nothing freezes and cracks. Lower the chemical levels first. Stop adding chlorine or bromine a few days before you drain. Then make sure the power is off at the breaker to rule out any electrical risk.
Once your spa is drained, a few stubborn inches of water may remain. A submersible pump or a shop-vac pulls it out of the nooks and crannies of the plumbing. Give the filters a thorough cleaning before you store them, so they're ready for spring. A filter-cleaning solution works best, and it's a good moment to check for damage that means it's time for a replacement.
Finally, take care of the shell and cover. Use a non-abrasive cleaner to scrub off residue, and let the cover dry completely before you secure it. That keeps mold from growing and leaves your spa fresh for its next use.
Winterizing takes more finesse than pulling a tap. Let the chemical levels drop on their own by stopping the chlorine or bromine, and test the water until the sanitizer nears zero. Cut the power at the breaker or unplug the spa before you go further. This isn't just a safety tip, it's a firm rule.
Now remove the drain cap and attach a garden hose. Point it toward a good drainage spot, since you'll release hundreds of gallons. A submersible pump is faster, but keep an eye on it so it doesn't run dry. Even then, a few inches will stubbornly stick around. Switch a shop-vac to blow mode and work it into every drain, jet, and crevice. Finish with a good clean of the surfaces using a non-abrasive cleaner, so every corner is ready to weather the coming storms.
Secure the Hot Tub Cover
Securing the cover is a real shield, not just the final step. A friend of mine skipped this detail and found a cracked shell from ice buildup come spring.
Start with a high-quality cover cleaner that doubles as a protectant, which guards the material against UV damage and keeps it looking fresh. Clean every surface, including the underside, edges, and the areas around the seams. Let it dry completely so no moisture gets trapped. Once it's dry, fasten it firmly over your hot tub and use the locks to keep curious kids and critters out. Take these steps and your spa is ready to warm you up again once the frost melts.
A locked cover can still blow off in a storm, so add wind straps for real protection.
Keep the cover in top shape
First, make sure the cover itself is in good condition. Any tears or weak spots invite trouble. Patch smaller issues with a sturdy vinyl repair kit, or buy a new one if it's worn out. Clean it thoroughly with a protectant cleaner made for outdoor use, which keeps it durable and shields it from sun damage, mildew, and mold.
Once it's clean and completely dry, securing it well is next. Wind straps wrap around the cover and hold it tight, so it stands up to even the fiercest winter gales. If your cover has built-in locks, use them to keep animals and snow-heavy surprises away. Done right, the cover becomes the gatekeeper that keeps your hot tub safe until spring.
Prepare for Winterization
As the leaves fall and temperatures dip, gather your supplies first: a garden hose, a submersible pump, a shop-vac, and cleaning materials. Stop all chemical treatments several days ahead so the sanitizers can dissipate. Once the levels are safely low, cut the power at the breaker.
Attach the garden hose to the drain spout to start the water flowing, or use the pump for a quicker job, watching that it doesn't run dry. With most of the water gone, focus on clearing every last drop from the plumbing. Set the shop-vac to blow mode and hit every jet, union, and drain, so no hidden moisture stays behind. Then wipe down the shell and under the headrests with non-abrasive cleaners, and secure the cover with wind straps against winter storms.
After years of owning a hot tub, I know draining and cleaning it thoroughly is what carries it through the harsh months. Let the chemical levels drop over a few days, so patience helps. Once the water is stable, cut all power. Electricity and water are a bad mix.
With the power off, connect a garden hose to the drain spout to let the water flow out gently, or use a pump if you're in a hurry. As the last trickles leave, turn to the less obvious spots: the pipes and air blower. Water left there can freeze and cause damage, so blow air through every connection with a shop-vac. Then clean the shell with a soft cloth and a non-abrasive cleaner, don't skip under the headrests, and make sure the cover is just as clean before it goes on.
Secure and Protect the Cover
Think of the cover as your hot tub's guardian against debris, rough weather, and unwanted visitors. Clean it with a cleaner made for hot tub covers, which often works as a protectant too, and pay close attention to the seams and crevices where grime gathers. After cleaning, let it dry all the way, because sealing in moisture leads to mold.
Once it's dry, secure it firmly. If your cover has locks, use them to stop accidental openings. But locks alone might not hold up against blustery winter winds, so add wind straps for extra security. In especially harsh climates, a thermal cover cap adds a layer of insulation and protects your investment even more.
Remove Water from Plumbing
Clear the pump, heater, and jets
Any water left in the plumbing can freeze, expand, and crack your pipes, which means costly repairs. Find the main drain, attach a garden hose snugly to the spout, and guide the water to a safe spot. If patience isn't your strong suit, a submersible pump makes quick work of it.
As the bulk of the water drains, turn to the hidden pools in the pump and heater. Open the access panel, loosen the PVC pipe unions, and let gravity do the work. Some pumps have a drain plug, so remove it to empty them fully.
Now for the smaller culprits, the jets and small hoses. Switch a shop-vac to blow mode and work through every jet, drain, and filter compartment. Finally, wipe any residue away with a soft sponge and a white vinegar solution, and your spa is ready for its winter rest.
Winterize the Hot Tub
As the first snow settles, letting your spa rest safely isn't just about pulling the plug. Stop adding sanitizer a few days ahead so it fades naturally. That protects both your skin and the environment when you eventually empty the tub. Once the levels are near zero, switch off the power. Mixing water and electricity is a risk you want to avoid.
Use a garden hose or a pump to drain the water to a proper drainage area. Even after the bulk is gone, moisture hides in the plumbing. Remove the access panel, open all the pipe unions, and run a shop-vac in blow mode through the jets, drains, and filter compartments. Clean the shell with a gentle, non-abrasive cleaner, then clean and dry the cover before securing it with locks and wind straps. Some people add antifreeze as a final safeguard, but it's usually unnecessary if your draining was thorough, and anything you add has to be cleared out before the tub's spring debut.
Conclusion
Want to get more confident with your whole setup, not just the winter shutdown? Our free Pool School course walks you through everything, from routine care to solving the problems that catch owners off guard. You'll learn how to:
- Save thousands on repairs and chemicals
- Keep your water clean and clear year-round
- Prevent and solve common problems
- Handle water chemistry with confidence
More than 10,000 owners have already changed how they care for their water. Get started with our free Pool School course today!
What you need
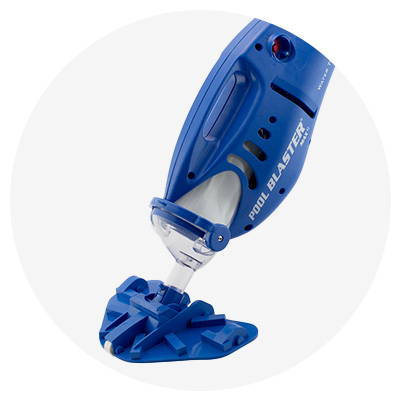
Grab a garden hose or submersible pump, a shop-vac, non-abrasive cleaner, fresh filter cartridges, and a good cover with locks and wind straps before your first hard freeze.