







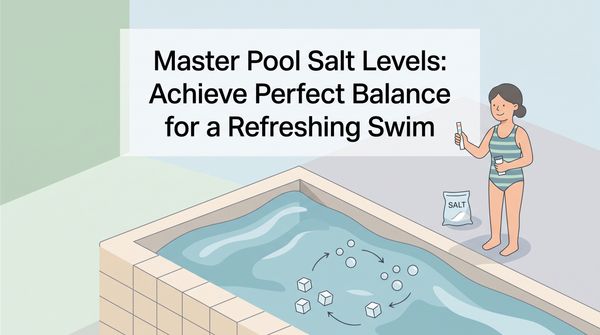
As summer comes around, a crystal-clear pool is hard to resist. But getting that perfect water usually takes more than filling the pool and jumping in. A great swim starts with getting your salt levels right, and after countless weekends fine-tuning my own backyard pool, I can tell you the real secret is nailing your salt calculation.
Saltwater pools are popular for good reason. They give you smooth, silky water and less upkeep. Instead of dumping in harsh chemicals, a salt chlorinator turns salt into chlorine, which is gentler on your skin and eyes. The trick isn't tossing salt in at random, though. It's knowing exactly how much your pool needs.
I still remember getting the mix wrong once and ending up with water that felt more like the ocean than a backyard retreat. It took some trial and error to hit the sweet spot. Whether you're new to saltwater pools or fine-tuning your water chemistry, this guide walks you through salt calculation so your pool is always ready for a swim.
Your Action Plan
- Test your current salt level with a digital salinity tester.
- Balance your pH and alkalinity before you add any salt.
- Calculate how much salt you need to reach 3,200 PPM.
- Turn off the generator, keep the pump running, and spread salt around the shallow end.
- Let it dissolve for up to 24 hours, then retest.
- Switch the generator back on and recheck after rain or heavy use.
Calculate Pool Salt Requirements

Working out how much salt your pool needs starts with an accurate reading of your current level, or salinity. If your water sits around 1,000 PPM (parts per million), you're not starting from zero. You just need to nudge it up toward the ideal 3,200 PPM. For a 10,000-gallon pool, that usually means four or five 40-pound bags of salt.
Accuracy matters. If your salt level is off, your chlorine generator won't work the way it should. Once you know where you stand, do a little math to find the gap between your current reading and 3,200 PPM. Then add salt slowly, letting each dose dissolve and circulate before you test again. Going slow keeps you from overshooting, which can harm your pool surfaces and equipment. A little goes a long way, and it's much easier to add more than to take it out.
Determine Current Salt Levels
How to check your current salt level
Knowing your pool's current salt level is the first step toward a smoothly running system. Your saltwater generator usually shows the salt concentration, but that reading can mislead you. Cold water or a unit that needs recalibrating will throw it off. If you've ever had a pool party in early spring, you know how chilly water messes with equipment readings.
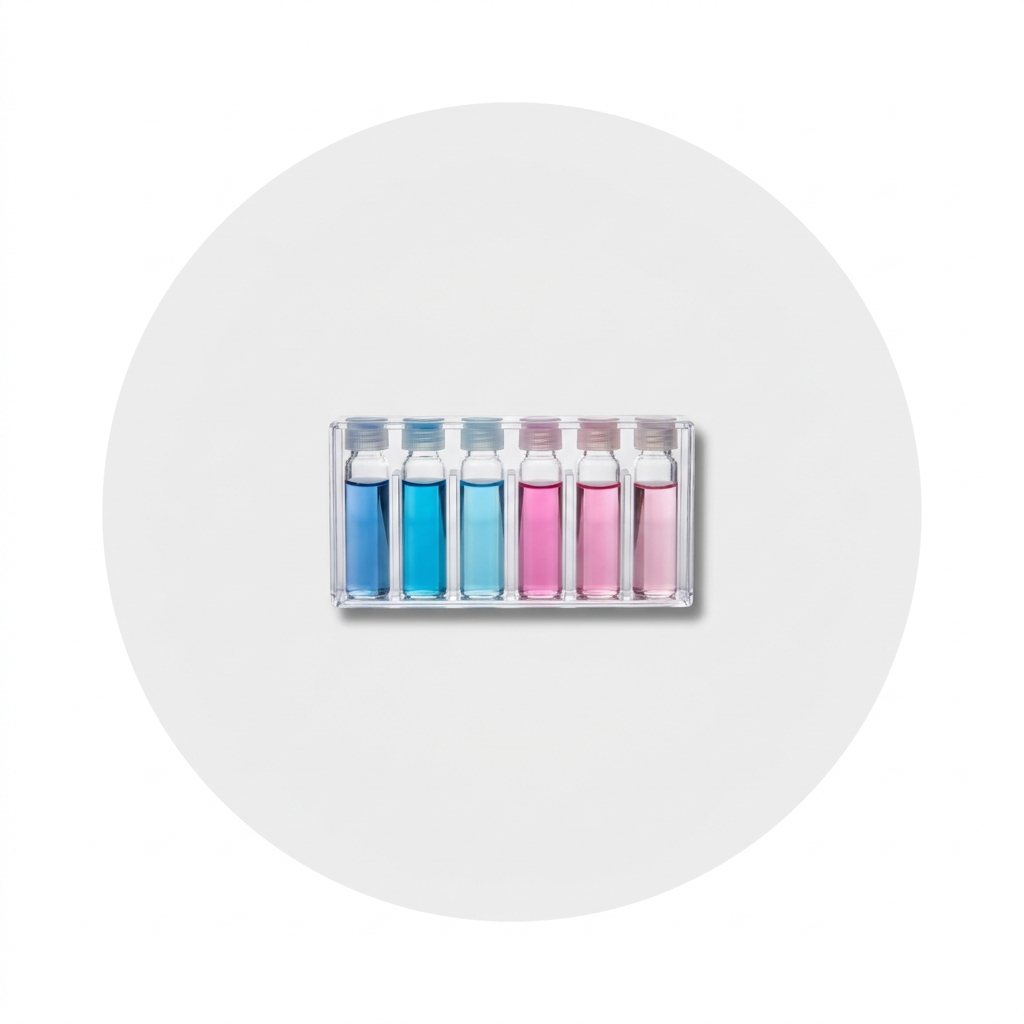
You've got three ways to check by hand. A digital salinity tester is the most accurate. You dip it in and read the number off a clear display, and many models also measure total dissolved solids (TDS) and water hardness. Salt test strips are cheaper and simpler, though less precise. You dip one in a water sample and wait a few minutes for the color to settle. Liquid test kits are the hands-on option. You add a reagent to a sample and watch the color change to show the concentration.
Whichever you choose, test regularly, maybe once a month, so you catch small problems before they grow.
Never trust your generator's display alone, because cold water or a dirty sensor can be off by hundreds of PPM.
Choose the Right Testing Method
You've met the three tools, so which should you reach for? If you want precision and you're willing to spend a bit more upfront, the digital tester is the gold standard. If you just need a rough number fast and want to save money, test strips do the job and cover a wide range of salt levels. And if you enjoy a careful, hands-on approach, a liquid kit rewards attention to detail with reliable results. Match the tool to your pool and your patience, then test often enough to stay near that 3,200 PPM mark. That's what protects your water and helps your equipment last.
Add Salt to Pool Safely
Adding salt without damaging your pool
Before you open a single bag, balance your water chemistry. Your pH and alkalinity need to be right for the salt to do its job, so use a reliable test kit to check those along with your current salinity.
The salt itself matters too. Go for pool-grade salt that's at least 99.8% pure. Skip anything with anti-caking agents. Those are additives mixed in to stop the salt from clumping in the bag, but in your pool they can leave residue or damage surfaces over time.
When you're ready, turn off the salt chlorine generator but leave the pump and filter running so the salt circulates. Spread it evenly around the shallow end. Don't pour it into the skimmer, which can clog your system and lead to costly repairs. Give the salt up to 24 hours to dissolve, then test again. Once you're near 3,200 PPM, switch the generator back on.
Adding salt isn't a regular chore. It's usually a once-a-year task, unless heavy rain or lots of splash-out dilutes the water.
Only add pool-grade salt that's at least 99.8% pure, and never pour it into the skimmer.
Test and Adjust Salinity Levels
Salt levels drift. They can look just right one day, then need tweaking after heavy rain or a splashy pool party. Start with a reliable reading, and cross-check your generator's display with a digital tester or test strips, since the display can lie when it's out of calibration or the water's cold.
Once you know your current level, do the math. Say your pool reads 1,500 PPM and you want 3,200 PPM. In a 10,000-gallon pool, that's about four more 40-pound bags. Sprinkle the salt around the shallow end, away from the skimmer, and let the pump run overnight. Recheck the next day. Anywhere between 2,700 and 3,400 PPM is fine. Check again after heavy rain or after you top off the water, so your chlorine generator isn't overworked or slacking.
Verify Current Salinity Levels
Your generator's readout can be finicky, especially in cooler water, so it pays to check by hand now and then. I once had my generator insist my pool was a saline desert when it was actually sitting comfortably in range. A quick dip with my digital salinity tester saved my sanity and a needless trip for more salt. On lazier days I'll grab a test strip instead for a fair, quick read. Whichever you use, an accurate salt reading is what sets up an easy swimming season.
Choose Accurate Testing Methods
Get in the habit of checking your salinity before you add salt each season, so you don't over- or under-treat the water. When I first set up my pool, I leaned on the generator's display and learned the hard way that temperature swings and stray minerals can skew it, which once left me with a cloudy pool. A digital tester gives you a fuller picture, often reading total dissolved solids and hardness too. Strips and liquid kits both work as backups. The point isn't convenience alone. It's keeping your pool safe and your equipment healthy all year.
Calculate Required Salt Amount
Doing the salt math
Getting the amount right is a balancing act. Too little salt leaves your water short on chlorine, and too much can damage your equipment. Aim for around 3,200 PPM.
Start with your pool's volume. A 10,000-gallon pool going from zero to 3,200 PPM needs about 267 pounds of salt, roughly six or seven 40-pound bags. If your pool already holds some salt, you'll need less. Starting at 1,200 PPM, for example, you'd only need about 200 pounds.
Salt doesn't evaporate. It only gets diluted by rain or fresh water, so keep testing. After you add salt, let it circulate for about 24 hours, then test again to confirm you hit the target.
Maintain Optimal Salt Levels

Salt might sound like an odd thing to put in a pool, but it's what keeps the water clean. At around 3,200 PPM, your chlorine generator can make the chlorine you need to fight bacteria and algae.
Because salt doesn't evaporate and only gets diluted, you have to keep checking it, even after that first dose. My water once looked cloudier than usual, and a test showed the salt level had dropped after heavy rain. A couple of 40-pound bags brought it right back. Just remember to balance pH and alkalinity first, then let the pump circulate the water so the salt dissolves evenly instead of settling on the bottom.
Verify Current Salt Levels
Plenty of owners trust only their generator's digital reading, but a faulty sensor or a temperature swing can steer you wrong, and you end up adding too much or too little. A digital salinity tester gives you an immediate, accurate read. Before you host a weekend crowd, it's worth confirming the water is balanced so everyone's swimming in clean, properly chlorinated water. Strips and liquid kits make fine quick checks too. Keep on top of it, and you can relax by the water knowing your pool is in good shape.
Choose the Right Pool Salt
Picking the right pool salt
Not all salt is the same. Purity comes first, so choose pool-grade salt that's at least 99.8% pure sodium chloride (NaCl). That way it dissolves cleanly without leaving residue behind.
Grain size matters too. Finely granulated salt dissolves faster, so you reach your target salinity sooner. Again, skip salt with anti-caking agents, which can stain or scale your pool surfaces. Switching to a high-quality, food-grade salt made my water clearer and helped my chlorine generator last longer. It's a small cost that saves you maintenance headaches. If you can, look for evaporated salt, often made from seawater, since it tends to be more consistent than mined salt.
Adjust and Monitor Salinity
When I first switched to a saltwater pool, the big lesson was to watch my salt levels closely. Your salinity keeps the chlorine generator running. Too little and it can't make chlorine. Too much and you risk expensive damage.
Patience helps when you adjust. After adding salt, let the pump run a full day so it dissolves evenly, then test. If you're close to 3,200 PPM, you're on track. If not, add a little more and recheck. Adding small amounts and testing as you go keeps you from overshooting.
After adding salt, let the pump run a full day before you test again, because rushing the reading is how people overshoot.
Choose Pool-Grade Salt

This isn't your kitchen table salt or the stuff you scatter on an icy driveway. Pool-grade salt is nearly pure sodium chloride, granulated and evaporated so it dissolves fast and spreads evenly. Cheaper bags often hide anti-caking agents that can discolor surfaces and damage fittings. When I switched from cheap rock salt to premium pool-grade salt, the water cleared up, upkeep got easier, and my generator stopped struggling against impurities. The salt you pick really does shape how clean and inviting your pool stays.
Test Current Salt Levels
It's worth saying again: don't rely on the generator's display alone, since cold water or a dirty salt sensor throws it off and leads you to over- or under-salt. When my neighbor converted his pool, his first reading was off by several hundred PPM because the water was too cold, and it nearly sent him out to buy salt he didn't need. A quick check with a digital tester, strip, or liquid kit once a month keeps mistakes like that from happening.
Select High-Purity Pool Salt
I learned about purity the hard way. After a rushed purchase of a generic salt, ugly stains showed up on my pool surface, all from the additives mixed in. Stick with evaporated, food-grade, granulated, non-iodized salt and no anti-caking agents. A fast-dissolving salt also blends in quickly and keeps your salinity steady, which helps the generator run smoothly. Check those labels, and your pool rewards you with clear water.
Calculate Required Salt Quantity
The formula, step by step
Once you have an accurate current reading, here's the math to reach about 3,200 PPM: multiply your pool's volume in gallons by 8.35, then multiply that by the difference between your target PPM and your current level, divided by 1,000,000. So a 12,000-gallon pool sitting at 1,200 PPM needs about 200 pounds of salt, which is five 40-pound bags.
After you add it, be patient. Let the salt dissolve and circulate for up to 24 hours before you switch the chlorinator back on and test again. Hitting the right level keeps your generator efficient and your pool clean.
Verify Salt Readings Manually

Even with a digital system, checking by hand guards against equipment problems and keeps chlorine production steady. A digital salinity tester measures the water's conductivity directly, so it stays accurate even on cooler days when built-in sensors drift. My friend swears his tester saved him from over-salting during a surprise cold snap. If you prefer the old-school route, a liquid kit and a little patience will get you there too. Pairing a manual check with your pool's readout gives you the full picture before you add anything.
Check Salinity with Digital Tools
Let the digital tools help
If you've ever squinted at a vague test strip, a digital salinity tester is a relief. One dip gives you a precise number, and many models also track total dissolved solids and water hardness. A friend of mine battled unsteady chlorine for weeks until he bought one, and the accuracy let him hold a steady salt balance so his generator ran cleanly. Strips still make a cheap second opinion, just follow the directions closely. Lean on the tools and you'll spend less time guessing and more time swimming.
Follow Safe Salt-Adding Practices
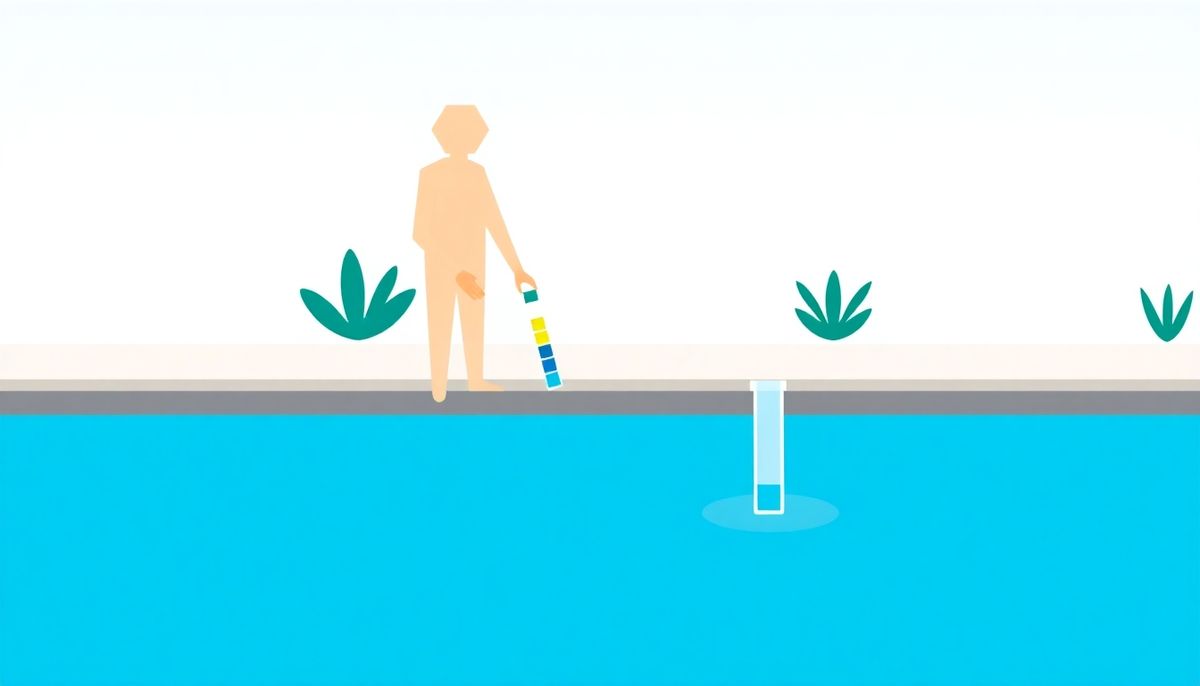
Measure your current salinity before you reach for a bag, so you don't overshoot. Turn off the salt chlorine generator but leave the pump running to circulate the water. Never dump salt into the skimmer. Spread it around the shallow end or along the edge instead. Give it up to 24 hours to dissolve, especially coarser salt, then switch the generator back on and test again. These few careful steps protect your investment and keep the pool safe to swim in.
Conclusion
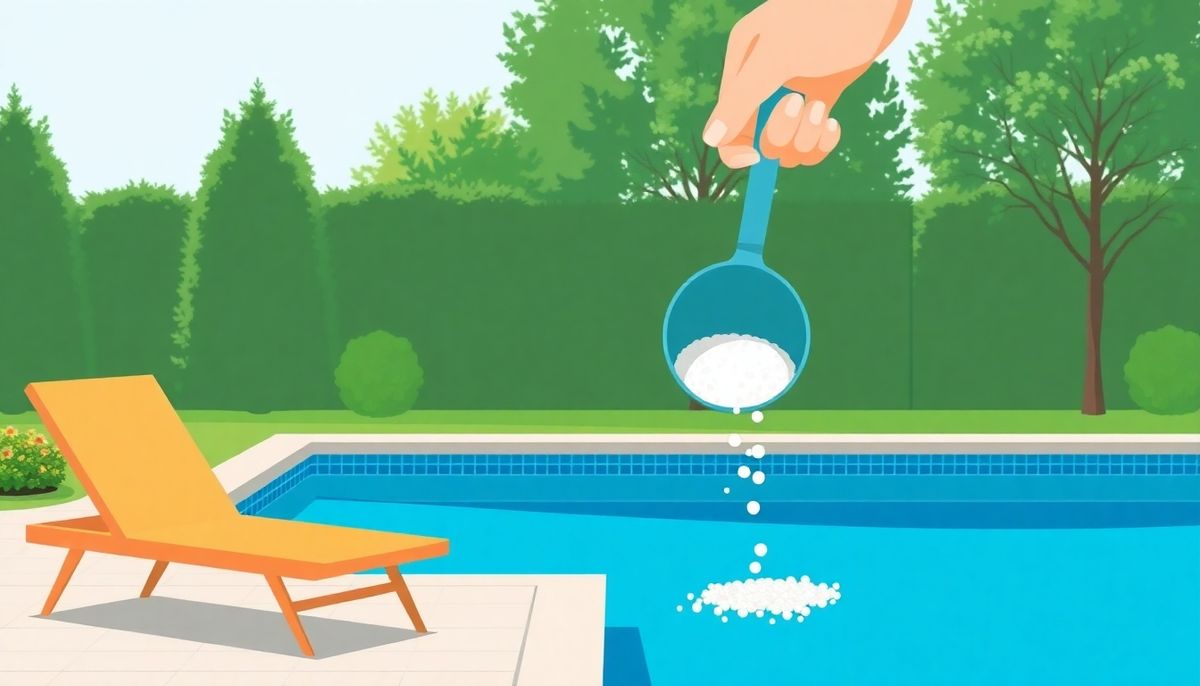
A little math upfront is all it takes. Get your first salt reading right, add slowly, retest, and you're set for a summer of easy swimming.
Want to go deeper? Our free Pool School course covers everything from basic maintenance to troubleshooting, so you can save money on repairs and chemicals, keep your water clear year-round, and handle water chemistry with confidence. Over 10,000 pool owners have already used it to sort out their routine. Get started with our free Pool School course today!
What you need
Grab a digital salinity tester, a reliable test kit for pH and alkalinity, and a few bags of pool-grade salt that's at least 99.8% pure, then test before you add anything.