




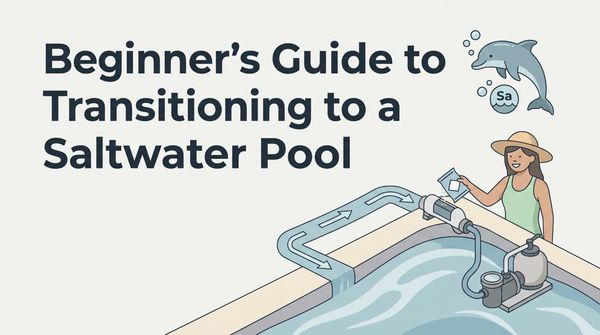
The appeal of a saltwater pool usually comes down to one promise: a more natural swim. The water feels gentler on your skin, and you get a break from the harsh feel of regular chlorine. When my family switched last summer, the change didn't just improve our swimming; it showed me how interesting pool care can be. Setting up a pool like this is more than swapping out chemicals. It's your first step into a small system where the equipment and the water chemistry work together.
Getting a saltwater system running can feel intimidating. It helps to know the job isn't just pouring salt into the water. You need a decent grasp of water chemistry, some familiarity with the equipment you already have, and a salt chlorine generator to install. Every step matters if you want water that's easy to keep up and pleasant to swim in.
I still remember the early doubt: was I getting the salt right, and was the generator actually working? But with good guidance and a steady approach, the whole thing turned from overwhelming to rewarding. Break the start-up into small steps and anyone can end up with a clean, comfortable pool. Whether you're brand new to pool ownership or a longtime owner thinking about switching, saltwater might be the change you're after.
Your Action Plan
- Test your water and measure how many gallons your pool holds.
- Balance alkalinity (80-120 PPM), pH (7.4-7.6), calcium hardness, and stabilizer before anything else.
- Test for metals like copper or iron and treat with a sequestrant if needed.
- Add pool-grade salt, spreading it evenly and brushing it across the floor.
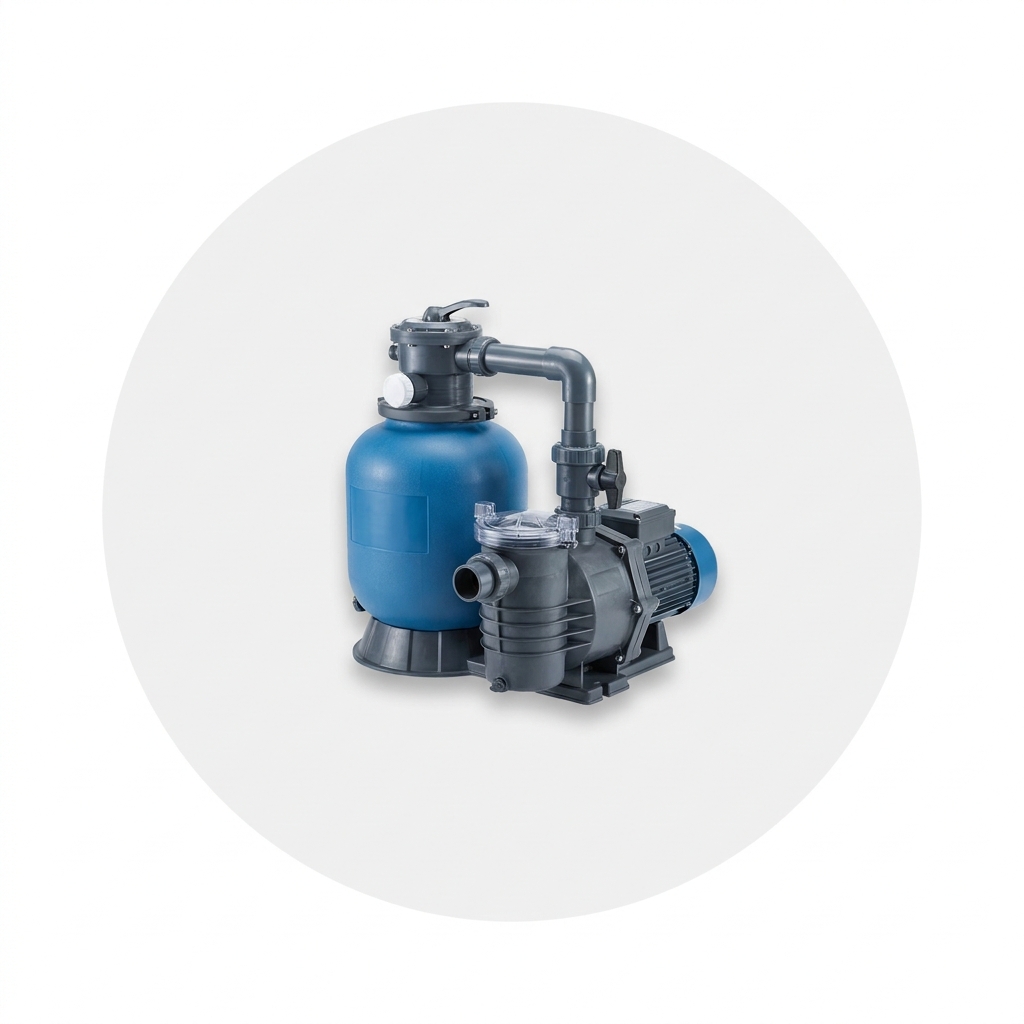
- Run the pump and filter for several hours to fully dissolve and circulate the salt.
- Switch on the generator, then test your water every week to keep it balanced.
Balance Your Pool Chemistry

Get your water balanced first
A clean, comfortable saltwater pool starts with the chemistry, and that means testing your water before anything else. Every reading plays a role in keeping things balanced.
Start with total alkalinity. It's the buffer that keeps your pH from swinging around. Aim for 80 to 120 PPM. Baking soda raises a low reading, and muriatic acid brings a high one down. Next comes pH. Salt systems naturally push pH up, so check it often and keep it between 7.4 and 7.6 for comfortable water and chlorine that actually works.
Your generator will handle chlorine later, but your first setup needs a head start. Keep free chlorine between 1 and 3 PPM. Use liquid chlorine or dichlor shock, a stabilized chlorine powder, to get there. Skip cal-hypo shock, a calcium-based shock, so you don't build up calcium.
Cyanuric acid (CYA) works like sunscreen for your chlorine, shielding it from the sun so it doesn't burn off. Keep it between 30 and 50 PPM. Last, check calcium hardness, which keeps corrosion and scaling in check. Vinyl and fiberglass want 175 to 225 PPM; concrete needs 200 to 275 PPM. Hit these numbers and you're ready to switch to salt.
Balanced water before you add salt is what lets your generator run clean and trouble-free all season.
Adjust Chemical Levels First
Fine-tune before the generator goes on
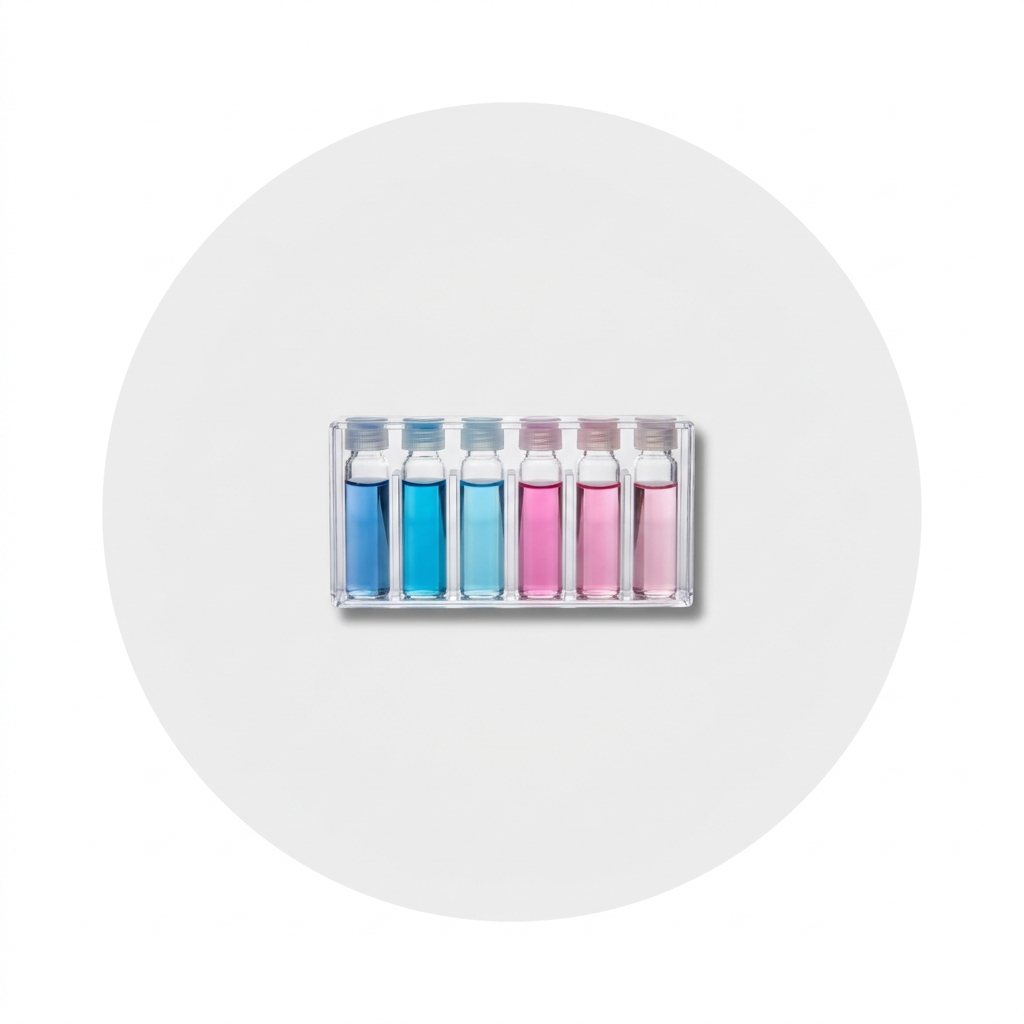
Balanced water sets you up for a clear pool and lets your generator do its job. Grab a reliable test kit or strips; they tell you exactly what your water needs.
Start again with alkalinity in that 80 to 120 PPM range, using baking soda to lift it and muriatic acid to lower it. Then check pH and hold it at 7.4 to 7.6 with a pH decreaser when needed. When pH drifts, your other chemicals lose their punch, so this steadiness matters.
Make sure chlorine starts between 1 and 3 PPM. And if metals like copper or iron are hanging around, add a metal sequestrant to keep them from throwing off your balance. Once every level sits where it should, you're set for the next steps.
Test Water Regularly
Test on a schedule, not a whim
Watching your pool's chemistry is a bit like checking vital signs. It's an ongoing habit, not a one-time job, and regular testing heads off problems before they turn into expensive repairs. With strips or a liquid kit, read your pH, alkalinity, and chlorine, plus salinity, which your system needs to run right.
My first go at a saltwater pool taught me this the hard way. One small pH mistake gave me a week of murky water and frantic fixes. Test every week and a fix is usually simple: a splash of muriatic acid or a scoop of baking soda. Over time you'll get a feel for what your pool wants. If you're the precise type, a digital tester gives sharper readings than strips and saves time.
Manage pH and Alkalinity
Keep pH and alkalinity steady all summer
Once your levels are set, the trick is holding them there. Test alkalinity first, since it buffers your pH; keep it at 80 to 120 PPM with baking soda or muriatic acid. One summer I fought pH that wouldn't settle, and the culprit was alkalinity I'd been ignoring. Fix that, and pH tends to hold.
Salt generators naturally cause your pH to drift up as they run, so expect to reach for a pH decreaser or muriatic acid now and then to keep it in the 7.4 to 7.6 range. Think of it as a routine check-up that keeps the pool ready whenever you want to swim.
Test for Metal Contaminants
Watch out for metals
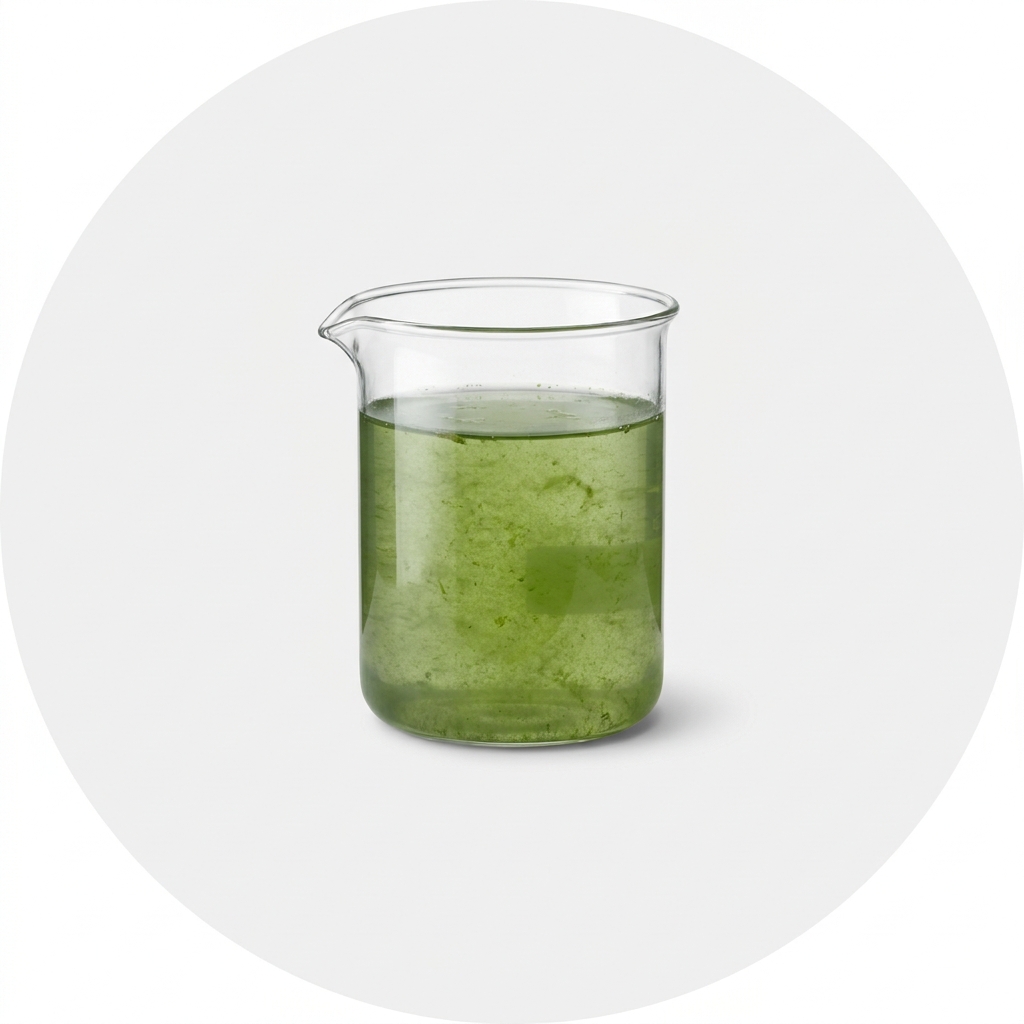
Testing for metals is worth doing early. Copper and iron can slip in through corroded pipes or well water, leaving stains and dulling the water. It's not just cosmetic either; metals throw off your chemistry, cloud the water, and damage equipment.
When I started, I had no idea this was even possible until a faint green tint hinted at copper. Learn from my slip-up: get a test kit made for metals, or take a water sample to your local pool store. Once you know your levels, a metal sequestrant binds to the particles so they can't stain surfaces or interfere with your generator. Deal with metals up front and the whole pool is easier to care for later.
A little sequestrant early on saves you from staining and equipment trouble down the road.
Test and Balance Water
The order that keeps things simple
Think of testing and balancing like following a recipe; the balance is what keeps your generator running smoothly. Start with alkalinity at 80 to 120 PPM, using baking soda to raise it or muriatic acid to lower it. That sets the stage for everything else.
Then pH, in that 7.4 to 7.6 window. I learned the hard way that high pH means eye irritation, after a swim that left everyone rubbing their eyes. Keep chlorine at 1 to 3 PPM, topping up with liquid chlorine or dichlor shock and avoiding cal-hypo. Finally, check your stabilizer (CYA) and keep it at 30 to 50 PPM. Too much and your only fix is partly draining the pool, so add it slowly.
Adjust pH and Alkalinity
Why balance protects your equipment
When alkalinity and pH are in sync, every other chemical can do its job. Set alkalinity first at 80 to 120 PPM, coaxing a low reading up with baking soda. Then hold pH between 7.4 and 7.6, the range where chlorine sanitizes without bothering swimmers.
Salt systems tend to push pH up, so a pH decreaser or muriatic acid will be a regular part of your routine. Getting this right doesn't just make the water more comfortable and cleaner; it helps your generator last longer. A little testing now saves bigger headaches later.
Manage Chlorine and Stabilizer
Chlorine and stabilizer, working together
Once your generator gets going, it turns salt into chlorine. But get your chlorine balanced first: aim for free chlorine between 1 and 3 PPM, with 3 being ideal for sanitation. Short of that, a gentle dose of liquid chlorine or dichlor shock brings it up.
Your stabilizer (CYA) guards that chlorine from sunlight. Without it, chlorine burns off fast and your generator works overtime. A CYA level of 30 to 50 PPM is standard, though some owners prefer 60 to 80 PPM for a bit more cushion, which eases the load on the salt cell and extends its life. Add stabilizer slowly, since the only fix for too much is draining water. And remember, if you've been using dichlor shock, you may have already raised your CYA.
The same idea holds for the day-to-day. Test alkalinity and keep it at 80 to 120 PPM, using an alkalinity increaser or baking soda to raise it and muriatic acid or a pH decreaser to lower it. Then set pH to 7.4 to 7.6. Since salt generators run pH high, you'll usually be lowering it with acid, though a pH increaser handles the rare low reading. Balance these two and your chlorine works efficiently, giving you water that stays inviting and easy to maintain.
Balance Water Chemistry
Start with your pool's volume
Before you touch a chemical, figure out how many gallons your pool holds. That number is the foundation for every dose that follows. From there, a test kit shows your pH, alkalinity, and chlorine. A friend of mine was surprised to find her alkalinity running high, but baking soda brought it back to the 80 to 120 PPM range. With alkalinity steady, set pH to 7.4 to 7.6.
Metals like copper or iron can be quiet troublemakers, so add a sequestrant if they show up. As you dial in chlorine, keep your stabilizer in range so it doesn't burn off in the sun, and check that calcium hardness protects your surfaces. Do all this and your pool is ready for plenty of good days.
Stabilize Alkalinity Levels
Give alkalinity time to settle
Alkalinity buffers your pH swings and keeps the water stable. A friend once skipped this step at opening, and her pool turned into a mess: pH bouncing everywhere and her kids complaining about itchy skin. Test with strips or a liquid kit and aim for 80 to 120 PPM. Too low and your pH swings wildly.
Raise a low reading with an alkalinity increaser (sodium bicarbonate, which is just baking soda), and lower a high one with muriatic acid or a pH decreaser, always in small doses. After adding anything, let the water circulate and retest before adjusting again. Patience really pays here.
Adjust pH Effectively
pH is the foundation
Picture pH as the backbone of your pool's chemistry; if it's off, everything else wobbles. Salt generators naturally cause your pH to drift up as they run, so adjusting it is a priority when you set things up.
Gather your test strips or liquid kit and aim for 7.4 to 7.6. If your reading comes back high, muriatic acid or a pH decreaser brings it down and lets your chlorine work better. If it's low, a pH increaser handles it. Check alkalinity too, keeping it at 80 to 120 PPM as a buffer, and give the water time to circulate before you retest.
Add and Circulate Pool Salt
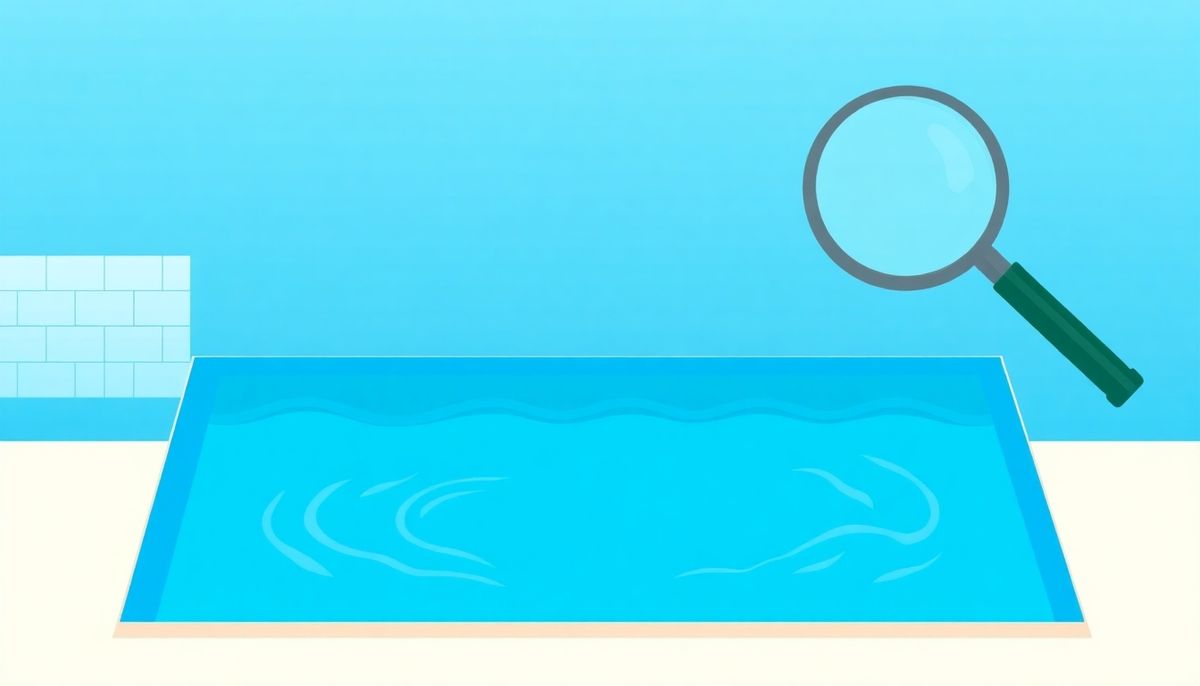
Add and circulate your salt
Adding salt is like seasoning a dish; get it right and everything falls into place. Before you pour in those heavy bags of pool-grade salt, make sure your other levels are dialed in. Salt won't dissolve like sugar in coffee, so spread it evenly across the surface rather than dumping it in one spot, which can cause uneven distribution and even damage your pool surfaces.
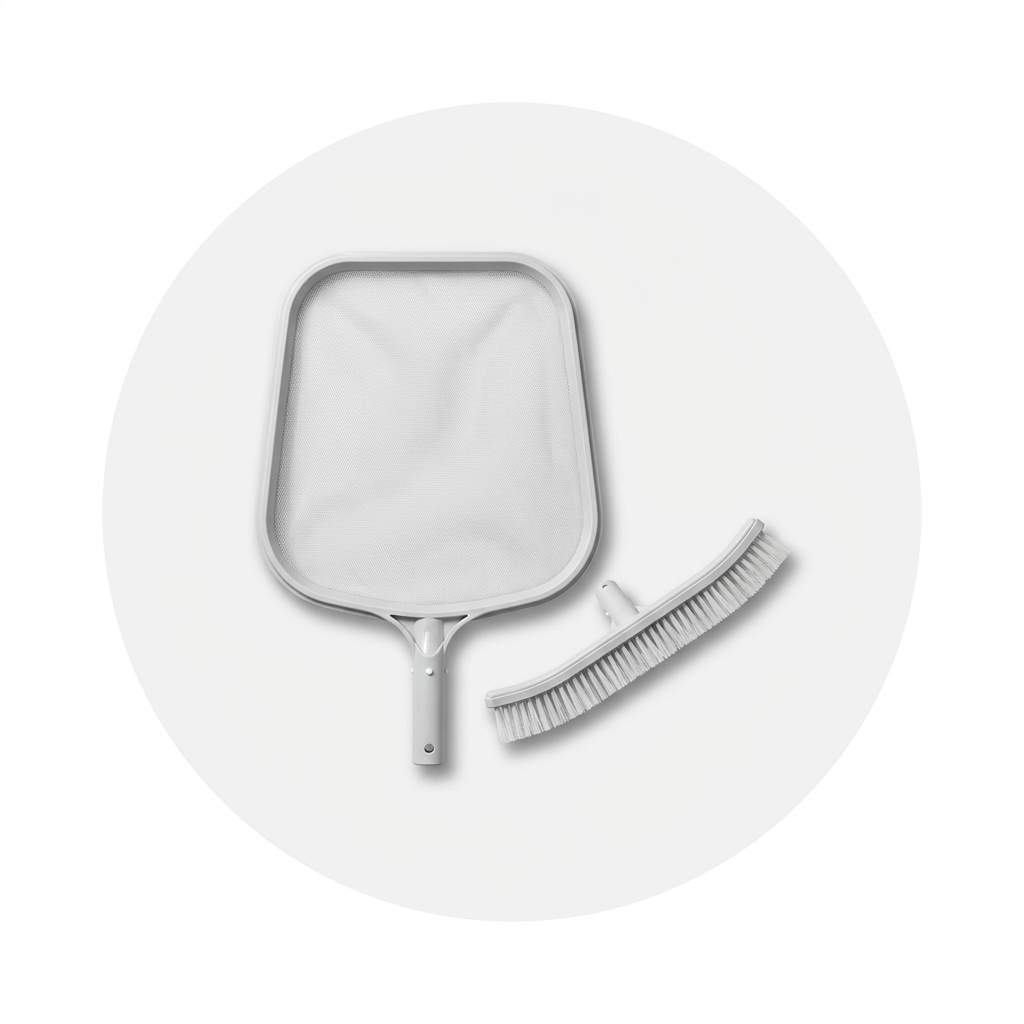
Then take a long-handled pool brush and gently sweep the salt across the bottom so it doesn't pile up. That keeps it from clumping and helps it dissolve evenly. Run your pump and filter overnight to work the salt fully into the water. Once it's dissolved and reached the level your chlorinator calls for, you're ready to turn on the generator and let it start making chlorine.
Spread salt evenly and brush it across the floor; dumping it in one spot can damage your pool surface.
Before you flip on that new generator, run one last check with your kit: pH, alkalinity, calcium hardness, and the salt level itself. Keep alkalinity at 80 to 120 PPM, and I've found the lower end makes pH easier to manage. Hold pH at 7.4 to 7.6, keeping a pH decreaser handy since salt pools creep up. Chlorine should sit around 1 to 3 PPM, with liquid chlorine for a quick boost. Keep your stabilizer at 30 to 50 PPM, and watch calcium closely if your pool is concrete or plaster. With all that in line, adding salt is easy.
Add Salt and Circulate
How much salt you'll need
Now for the salt itself. A saltwater pool works by turning salt into chlorine, which gives you that gentler swim. Use pool-grade salt, usually sold in 40-pound bags. For a 10,000-gallon pool, plan on roughly six or seven bags, depending on the salinity your chlorinator calls for, generally 2,700 to 3,500 PPM.
As you add it, watch for grains settling on the bottom and use a pool brush to break up clumps. Then run your pump and filter for several hours, or overnight, to circulate the salt thoroughly. Once it's fully dissolved and spread evenly, you can switch on the generator with confidence.
Monitor Chlorine and pH Levels
Keep an eye on chlorine and pH
Think of chlorine and pH like a car's oil and tire pressure; check them and everything runs smoothly. Your generator makes the chlorine that fights bacteria and algae, so keep free chlorine between 1 and 3 PPM, with 3 as the target. If it drops, a dose of liquid chlorine or dichlor shock brings it back.
pH affects how well that chlorine works. Salt systems drift upward, so hold pH at 7.4 to 7.6, using muriatic acid or a pH decreaser when it climbs. One hot summer my pH kept creeping up, and a touch more acid than usual did the trick, a good reminder that chemistry shifts with the weather. Test and tweak regularly, and your equipment lasts longer too.
Set Up Your Salt Generator
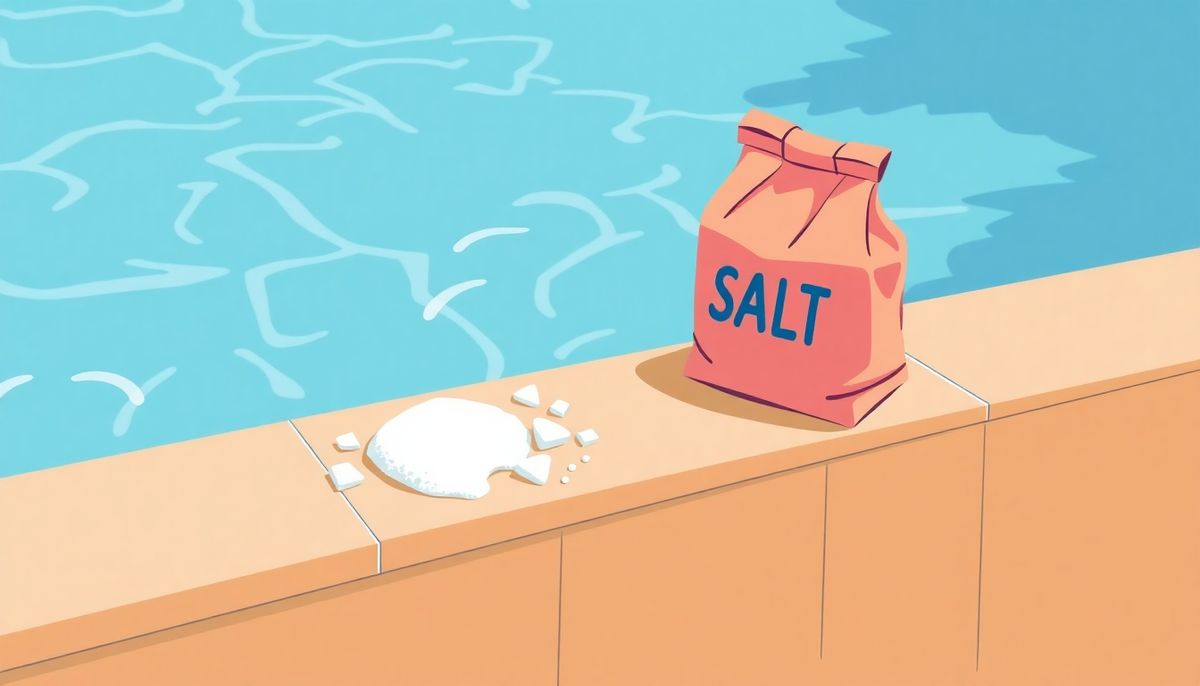
Setting up the generator
Setting up your generator is like fitting together a puzzle; each piece has to be in place first. That starts with balanced water, so check alkalinity, pH, and calcium before it ever turns on. I once brushed off pH, figuring it wouldn't matter, and learned that high pH clouds your water and cuts chlorine production. So keep it at 7.4 to 7.6.
Once your chemistry is set, add your pool-grade salt and spread it out. Run the pump and filter for a few hours to dissolve it fully. It feels tedious, but the payoff is a pool that nearly runs itself, with the generator making chlorine as needed.
Test and Balance Water Levels
One last balance check
Before you call it done, run a full test for pH, alkalinity, calcium hardness, and chlorine. If metals like copper or iron are in play, a special test kit or a trip to the pool store helps you spot and treat them first.
Keep pH at 7.4 to 7.6, since salt pools run high; a pH decreaser or muriatic acid steadies it. Hold alkalinity at 80 to 120 PPM, on the lower end to help pH stay put. Chlorine should be 1 to 3 PPM, topped up with liquid chlorine or dichlor shock, never cal-hypo. And keep your stabilizer at 30 to 50 PPM so the generator doesn't overwork holding chlorine steady. With everything balanced, adding salt is the last piece.
Conclusion

Making the switch to saltwater takes a little upfront effort, but the comfortable, easy-to-manage water is well worth it. If you're ready to keep learning, our free Pool School course covers everything about pool care, from basic maintenance to advanced troubleshooting. You'll learn how to:
- Save thousands on pool repairs and chemicals
- Keep your water crystal clear year-round
- Prevent and solve common pool problems
- Master water chemistry with confidence
Join over 10,000 pool owners who have already transformed their pool care routine. Get started with our free Pool School course today!
What you need
Grab a reliable test kit or strips, pool-grade salt, baking soda and muriatic acid for pH and alkalinity, a metal sequestrant, and stabilizer (CYA), then work through the steps above in order.