










On a hot summer afternoon, nothing beats a clean, inviting pool. Keeping the water clear takes more than the occasional pass with a skimmer, though. You need to know what's happening in your water chemically. That's where pool test strips come in, those slim, colorful strips that tell you whether your pH is balanced and your chlorine is where it should be.
When pool upkeep first landed on my plate, I stared at that little strip of paper, amazed it could tell me so much. One quick dip and it changes color, showing what's happening under the surface.
Every pool is different. Recent rain, a crowd of swimmers, even nearby plants can shift your water chemistry. My neighbor once told me a long story about fighting algae, never realizing her pool's pH was about as acidic as lemonade. Use test strips the right way, and puzzles like that sort themselves out.
In this guide, I'll walk you through how to use these strips correctly so your pool stays clear all season. New owner or seasoned pro, it's a skill worth getting right.
Your Action Plan
- Run your pump on high for at least an hour before testing.
- Collect water elbow-deep in a clean glass cup, away from returns and dispensers.
- Dip a strip briefly and pull it right back out, with no soaking or shaking.
- Wait about 15 seconds, then match the colors to the chart.
- Adjust your chemicals to bring pH, alkalinity, and sanitizer into range.
- Store strips sealed, cool, and dry, and mind the expiration date.
Master Pool Water Testing

Testing pool water sounds simple, but doing it well keeps your pool inviting and safe. Regular testing warns you about chemical imbalances before they wreck your water. Test strips are cheap, easy to find, and fast. One dip checks total hardness, chlorine, pH, and other key numbers in seconds, catching small problems before they turn into big ones.
When I was new to owning a pool, I underestimated how much steady testing matters. One summer, after a rough storm, the water went cloudy. A quick test showed the balance was off because contaminants had washed in. Since then, I test every week, and always after strange weather.
Prep before you dip
Before you dip a strip, run your pool pump for at least an hour so the water is well mixed. Take your sample from elbow depth to skip the junk floating on top, then compare the strip to its color chart right away. That reading tells you how to adjust your chemicals. The more often you test, the clearer the picture. For more on the basics, our Basic Pool Chemistry 101 guide has plenty to offer.
Implement Pool-Test Strip Techniques
Getting good with test strips turns pool care from stressful guesswork into a simple habit.
Start with circulation
Make sure your circulation system is running before you test. An hour of strong flow gets the water ready for an accurate read. Then, using a clean glass cup, reach elbow-deep to collect a fair sample. Don't scoop from the surface or near a chemical dispenser, since those spots can throw off your results.
Dip, wait, and read
Dip the strip quickly and pull it right back out. A fast dip reads best. Let it sit in the air for about 15 seconds so the colors finish developing, with no shaking or extra moisture. Then match the strip to the color chart on the package. Each color points to a chemical level and tells you what to adjust. Keep your strips dry and out of the sun so they stay reliable.
Optimize Water Chemistry Balance
Balancing your pool's chemistry is key to a safe, sparkling pool, and test strips make the job far less intimidating. They give you quick readings on pH, alkalinity, and sanitizers like chlorine and bromine.
Start by learning the target numbers. pH should sit between 7.4 and 7.6. Stray too far and the water can irritate skin or damage your equipment. Alkalinity works as a buffer and should stay between 80 and 120 ppm to keep pH from swinging fast. Sanitizer levels, which keep harmful bacteria out, need regular checking and adjusting.
A balanced pool isn't just about the numbers, it's about heading off cloudy water and algae, and keeping everyone who swims safe.
Once you get the hang of testing and adjusting, you'll have fewer headaches and spend less on chemicals you don't need.
Compare Testing Methods Effectively
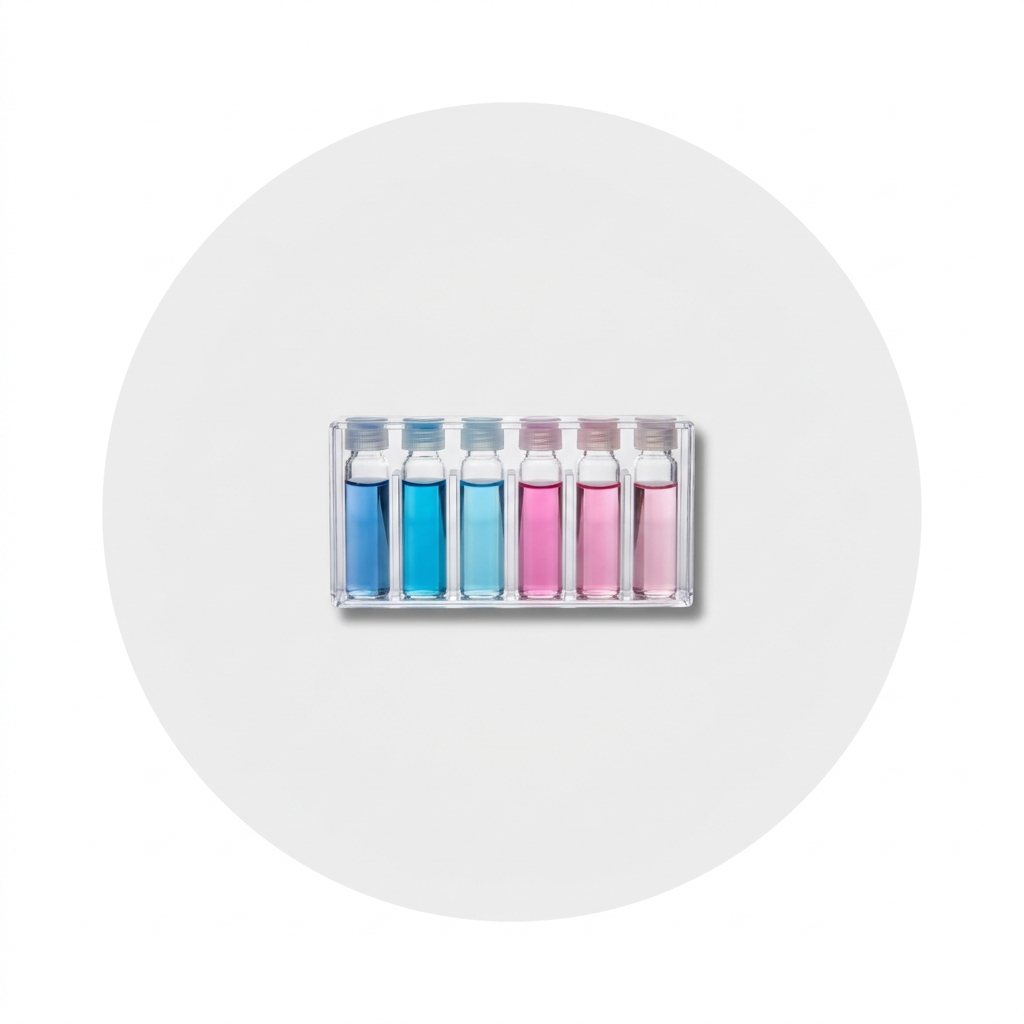
Test strips and liquid kits both belong in your toolbox; they just do slightly different jobs. Strips are about convenience, giving you a fast snapshot of pH, chlorine, and alkalinity. They're the easy answer when you want quick results, and they store well if you keep them dry and out of the sun. The trade-off is a little accuracy, especially if the strips have expired or been stored badly.
Liquid test kits are the pick when you want precision. They give a more detailed reading, which helps with tougher problems, and they can check less common levels that strips don't cover. But they cost more, take longer, and each test means careful measuring and mixing, so there's more room for mistakes.
For everyday upkeep, test strips are plenty; save the liquid kit for when the water just won't clear up.
Optimize Pool-Chemical Balance

There's real satisfaction in stepping into clear, balanced water, and it depends a lot on keeping your chemicals in line. A pool that's too acidic or too alkaline is uncomfortable to swim in and slowly damages your equipment and surfaces.
Weekly testing sets you up for proactive care. Picture a warm week when the family swims every day. All that activity, plus the heat, can shift pH and chlorine quite a bit. With test strips, you can spot and fix those changes fast. Just dip, wait a few seconds, and compare the colors.
That said, strips only work as well as you store them. Keep them dry and out of direct sunlight so a bad reading doesn't mislead you. Little things like that keep everyone who swims safe and happy.
Master Pool-Testing Techniques
Good testing takes a mix of precision, timing, and routine. As always, stick to your prep routine before dipping: run the pump at least an hour, then collect elbow-deep in a clean glass cup, away from surface ripples and chemical dispensers. I once tested without running the pump first, and the results were all over the place.
A quick dip and immediate pull-out is all it takes; no long soak. After a 15-second wait, match the strip to the color chart to see what your pool needs. For trickier chemical checks, a liquid kit rounds out your routine.
Choose the Right Test Method
Each method has its pros and cons, but knowing what you need points you in the right direction. If speed and convenience matter most, strips are hard to beat, with quick reads on pH, alkalinity, and chlorine. My neighbor swore by them during one busy summer, with her kids in and out of the pool all day.
If precision is what you're after, liquid kits take more effort but offer accuracy strips can't always match, and they track a wider range of chemicals. A detail-oriented friend of mine prefers them, especially after heavy storms when the balance turns unpredictable. Whichever you choose, testing on a regular schedule keeps your pool ready to enjoy.
Maintain Accurate Chemical Levels
Weekly testing is the rule of thumb, but if the water looks cloudy or you've just ridden out a storm, an extra check won't hurt. Unusual conditions can throw things off faster than you'd expect.
Always run your pump on high for at least an hour before testing, or stagnant, unevenly mixed water will give you a false read.
I once forgot this step and panicked over algae that wasn't even there. Collect from elbow-depth in a clean glass cup, dip the strip briefly, wait about 15 seconds, and compare to the chart. Store your strips dry and out of the light, and if you ever doubt your results, take a sample to your local pool store for a second opinion.
Perfect Your Test Strip Technique

Ever squinted at a strip wondering if that blue is more sky or navy? It happens to everyone, but the guesswork fades with practice. Once your water is well circulated and you've collected a clean, elbow-deep sample away from surface water, a quick dip is all you need. No soaking.
Those fifteen seconds while the colors develop can feel like forever, but patience pays off. Hold the strip steady, no shaking, and line it up next to the color chart. Strips have weak spots, though. Moisture and sunlight are their worst enemies, so store them cool and dry. Watch the expiration dates too, since old strips send you chasing bad readings.
Master Pool Water Sampling
Sampling your water the right way is the key to accurate readings, whether you just put in a new pool or have kept one for years. Start by turning your pump on high and letting the water circulate for at least an hour so the chemicals spread evenly.
Next, grab a clean, non-metallic container, glass if you can. Reach elbow-deep, away from surface skims and spots near chemical feeders and pool returns, since those areas hold more concentrated chemicals that don't reflect the whole pool.
Dip a strip for just a second, then pull it out. Don't shake it like a Polaroid; that can throw off the results. Let it sit in the air for 15 seconds while the colors develop, then compare to the chart on the package. Do this often enough and it becomes second nature.
Optimize Strip Handling
Treat your strips like the delicate tools they are. I learned this the hard way after leaving a pack out by the pool, only to find them useless after a few hours in the midday sun.
Keep your strips sealed, cool, and dry, since moisture and sunlight can ruin a whole pack before you notice.
Stick to your prep routine before dipping: let the pump run an hour, then reach elbow-deep past the surface gunk and the chemical-heavy spots near dispensers to grab your sample. Dip the strip quickly, and resist the urge to shake off the extra water. Line it up with the color chart while the colors are still fresh. Handling your strips well keeps them accurate for next time, too.
Compare Strips and Liquid Kits
Choosing between strips and liquid kits often comes down to speed versus precision. Test strips are fast and cheap. One quick dip covers pH, chlorine, and alkalinity, which makes them a favorite for weekly checks. The downside: moisture or sunlight can ruin them, and they expire, sometimes without warning.
Liquid test kits take patience and a little practice, but they reward you with precision that's tough to beat. They test a wider range of chemicals and really shine with tricky problems like metal content. The trade-off is a higher cost, more steps, and more room for error. The testing drops also have a shelf life, so you'll replace them now and then. For quick, regular checks, strips are worth it. When precision counts, reach for the kit.
Avoid Common Testing Mistakes

Even a small slip can leave you with cloudy water or worse. Here are the common testing mistakes and how to avoid them.
Keep strips dry until you use them
Humidity, sunlight, or even a slightly damp cupboard can throw off your results. A friend once kept hers in a garden shed. They soaked up moisture and gave inaccurate readings.
Time your test right
Morning tests can skew things because of overnight chemical shifts. Always wait at least an hour after adding chemicals or after heavy rain before you test, so the water can settle and circulate.
Handle the strip gently
Dipping it too long or shaking it off disrupts the chemical reaction you need. A simple dip and a steady hold is enough.
Watch those expiration dates
Old strips give questionable results, like pouring expired milk in your morning coffee, something you regret right away. Checking these little details keeps your pool clean and inviting.
Ensure Accurate Sample Collection
Collecting a good sample is the first step to keeping your water inviting and safe. Before you even think about dipping a strip, prep the water. Turn the pump on high and let it circulate for at least an hour so the chemicals spread evenly.
Next, grab a clean glass container and reach elbow-deep, away from the surface. Surface water often carries oils and residue that skew your reading, and spots near chemical dispensers or returns can hold concentrated levels that give you a false sense of balance.
Dip the strip in quickly and pull it out just as fast. Hold it steady for about 15 seconds, then compare it to the color chart to see what needs adjusting. Store your strips somewhere cool and dry so dampness and sunlight don't wreck their accuracy.
Choose the Right Test-Kit
Different kits suit different needs, so knowing your pool's quirks is key. If you're a weekend swimmer who likes to keep things simple, strips check the essentials, pH, chlorine, alkalinity, even cyanuric acid, in seconds. Just watch out for their enemies, moisture and sunlight.
If your pool tends to have complicated problems, liquid kits give a deeper, more precise reading, which really helps when you're fighting stubborn algae or odd water conditions. The trade-off is more time, more skill, and a bit more money.
Got a saltwater pool? Look into specialty strips that read salt levels along with metals like copper and iron. And keep a backup plan: when your results have you puzzled, take a sample to your local pool store for a professional check.
Store Test Strips Properly
Getting accurate results depends a lot on how you store your strips. A few summers back, I left mine on a sunny table and found them faded and useless right when I needed them.
Keep your strips in their original container with the lid sealed tight to lock out moisture. A cool, dry spot is best, so your pool shed or a kitchen drawer works well, as long as it's away from water. Check the expiration date too; like milk, expired strips can't be trusted. Buy the freshest batch, don't overstock, and write the purchase date on the container so you always use the oldest first. Finally, handle them with clean, dry hands, since even a little moisture or residue from your fingers can throw off the reading.
Compare Test Strips and Liquid Kits

Both strips and liquid kits earn a spot in your testing kit. Think of test strips as the fast option. One dip checks total hardness, chlorine, bromine, pH, alkalinity, and cyanuric acid in seconds. For anyone testing often, especially in the warm months or after a storm, they're a lifesaver. The catch: moisture and sunlight can spoil them, and they have a shelf life.
Liquid test kits are more like a home-cooked meal. They take more time and attention, but they reward you with precision and cover a wider range of tests. The added steps leave more room for mistakes, and the upfront cost is higher, with liquid chemicals that need replacing now and then to stay accurate. Short on time and want a quick check? Strips. Troubleshooting a specific problem? A kit could be the way to go.
Choose the Right Testing-Method
Not all strips are the same, and picking the right type can make a real difference in your routine. Standard strips cover the essentials like pH, chlorine, and total alkalinity for a quick health snapshot. But if your pool has specific issues, like metal contamination or high salt, specialty strips let you match your testing to what your pool actually needs.
Think about how often you test and what's going on outside. In warm weather or after heavy rain, your pool's balance can shift, so you'll want to check more often. Strips are quick and simple, perfect for weekly checks, while liquid kits are more involved and better for a deep look when precision matters. Pairing strips with the occasional professional test gives you a well-rounded approach.
Ensure Accurate Water-Testing
Accurate testing is a careful process where every step matters if you want clear, balanced water. As always, run your pump on high for at least an hour first. After one nasty storm I skipped this and ended up overcorrecting my chemicals, chasing skewed readings. Stagnant water tells a confusing story.
Collect from elbow depth in a clean, non-reactive glass cup, away from the surface and chemical dispensers, since those spots hold concentrated chemicals that don't represent the whole pool. A quick dip and pull-out is all you need; leaving the strip in too long saturates it and distorts the results. Hold it steady, no shaking, and compare to the chart right away. Keep your strips dry and cool so moisture doesn't ruin a whole batch. For a deeper check, or when your results seem all over the place, a pool store can run a fuller analysis.
Conclusion

Once you get the hang of testing, keeping your pool clear becomes second nature. A minute with a strip, a quick adjustment, and you're back to enjoying the water.
Want to become a pool maintenance expert? Our free Pool School course covers everything you need to know about pool care. From basic maintenance to advanced troubleshooting, you'll learn how to:
- Save thousands on pool repairs and chemicals
- Keep your water crystal clear year-round
- Prevent and solve common pool problems
- Master water chemistry with confidence
Join over 10,000 pool owners who have already transformed their pool care routine. Get started with our free Pool School course today!
What you need
Stock up on fresh test strips (or a liquid kit for detailed checks), a clean glass cup for sampling, and the pH and alkalinity adjusters to bring your numbers into range.