



Turning your backyard into a great swim spot with an Intex pool can seem daunting, but with a little guidance the setup is almost as refreshing as the pool itself. The trick to a stress-free build is keeping things simple and being ready before you start. When I set up my first pool, a box of parts became a full pool in an afternoon, and the early nerves gave way to excitement once I'd covered the basics and had my tools within reach.
Breaking the job into small steps makes all the difference. Start by picking the right spot, flat and clear of debris. Friends of mine tried their first setup on uneven ground, and water spilled over one side like a slow-motion flood. Patience pays off. Next, gather your tools and open the box, which is always a little treasure hunt of accessories and instructions.
The real fun starts when family and friends pitch in, and the setup becomes a group effort full of laughter. When everyone gets their hands dirty, you're not just building a place to swim. You're making memories that stick around long after summer ends.
Your Action Plan
- Pick a flat, sunny spot and clear away rocks, sticks, and debris.
- Level the ground within an inch or two, then lay down a tarp.
- Spread out every part and check it against the manual.
- Assemble the frame with a helper, then smooth the liner flat.
- Fill the pool while watching the water line closely.
- Stop filling once the water sits just above the upper hose connection.
Ensure Flat Ground Stability
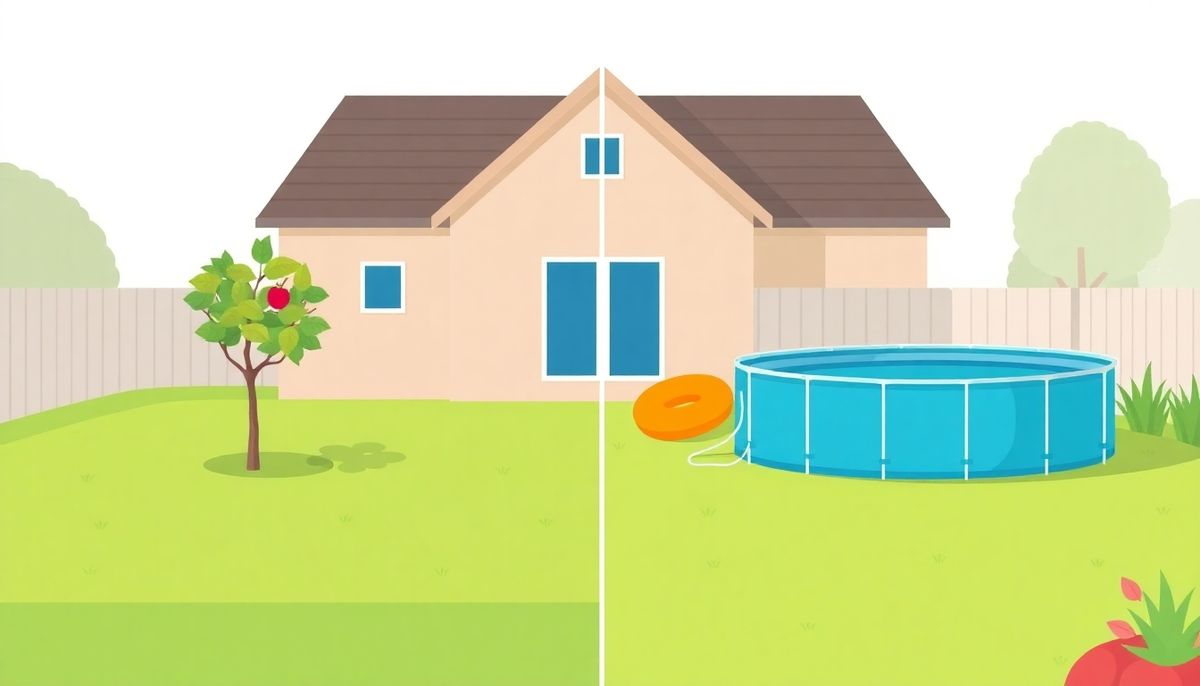
For a pool, flat ground is like the foundation of a house. It's easy to overlook, but it holds up everything else. With an Intex pool, a stable, level base isn't a nice extra. It's a must.
Clear the spot before you build
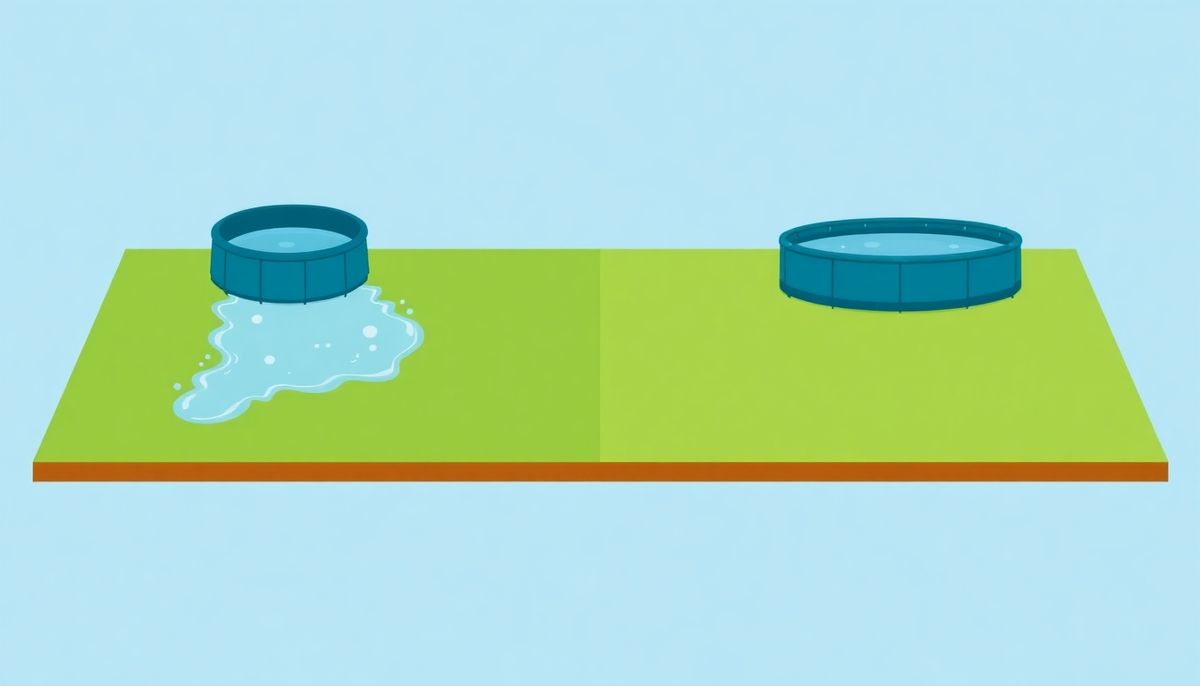
If water slides to one side, before long you've got a small flood and an accidental mud pit. To avoid that, prep the spot first. Find an area that looks flat and close to level with your own eye. If you're setting up on grass, mow it down until you can see the dirt, then clear away rocks, twigs, and any debris that could poke a hole in the liner.
Grab a long board, maybe a 2x4, and lay a carpenter's level on top to check that the ground is really flat. Even an inch or two of difference can cause headaches later. Once you're happy, put down a protective layer like a tarp. It blocks grass roots and gives the liner a smoother surface to rest on. Concrete makes things easier, but don't skip the tarp there either. Sand might look tempting, but resist it. It's a shaky base that could tip your pool over.
A stable, level base isn't optional: if the ground tilts, the water shifts, the frame strains, and your pool can collapse.
Prepare Ground for Pool Setup
Getting the ground ready is the first real job once the box is open, and it decides how well your pool holds up all summer. Skip it, and water can settle unevenly, leaving you with a leaning pool or, worse, a collapse.
Pick a solid, flat spot
Look for an area that's flat, firm, and free of any slope. Steer clear of sandy surfaces, since they shift and throw off the pool's structure. If you're using your lawn, run a weed trimmer over it to strip away the grass and expose the soil. That levels the ground and clears out sharp rocks and twigs that could puncture the liner.
Once the surface is clear, use a sturdy 2x4 and a carpenter's level to check that the ground doesn't vary by more than an inch or two. This keeps water from pooling to one side. Finally, lay down a tough ground cloth or tarp as a buffer between your pool and the earth. It holds back weeds and adds another guard against punctures. On concrete, the tarp still gives you important cushioning. Take your time here, and the rest goes smoothly.
Verify All Pool Components
Sorting through the parts of an Intex pool can feel like a lot at first. Unlike the one-piece kiddie pools of the past, an Intex pool has plenty of pieces that need careful assembly. Before you start, take a slow inventory. Spread the pieces out on your patio or lawn and check each one against the list in the manual. That way you won't be hunting for a missing T joint or support beam halfway through.
I found out the hard way when I skipped this step. I was so eager to get going that I didn't check each part, only to come up short on a key connector right at the end. It turned into a mad dash to find one locally, and a bit of upfront checking would have saved me the trouble.
If you spot any missing pieces, contact Intex customer support right away. They often send replacements, so your plans barely miss a beat. You can also find spare parts online, where fellow pool owners may have good advice on where to buy or how to swap parts.
Check every part against the manual before you build, because one missing connector can stall the whole project.
Level Surface with Precision
Getting the ground level for your Intex pool isn't just a suggestion, it's a must. An unlevel pool puts steady stress on the frame, and once it's full of water, that stress can lead to a collapse.
Find the flattest patch and even it out
Start by finding the flattest spot in your yard. A small dip or bump might seem harmless, but once the pool is full, those spots turn into problems. Use a string level or a long board with a carpenter's level to check the ground. Mark any areas that need work. If a spot is high, shave it down. If it's low, add some soil. It's a bit of a workout, but your future self will thank you.
My cousin, a bit of a DIY buff, swears by a thin layer of sand to smooth out small dips, though he keeps it thin on purpose. Once you're happy, put a ground cloth or tarp over the area. This protects the liner and keeps weeds from popping up during your poolside downtime. With a solid base, the rest of the setup goes smoothly.
You've finally brought that Intex pool home, and now you're facing a pile of parts. The first move toward a stress-free setup is making sure every piece is there and in good shape. Spread everything across your driveway or garden and turn to the manual. Match each part against the checklist. This can feel tedious, but it matters. One missing pole, joint, or connector can wreck your plans faster than a surprise thunderstorm.
Don't skip checking each part for damage, either. A slightly bent beam or a cracked connector might not look like much now, but it could fail badly once your pool is full. If something's wrong, call the manufacturer right away. Plenty of companies respond quickly and will send replacements. Online marketplaces might have what you need too, though it's usually best to get original parts so everything fits. Losing a few days to a part is nothing compared to the headache of a faulty build.
Check Component Inventory
Unboxing a fresh Intex pool can feel like opening a jigsaw puzzle with extra pieces, so a little patience goes a long way. Spread all the parts across your yard or patio to make a visual inventory that might reveal a missing piece before it becomes a mid-assembly headache. This is where the manual earns its keep, walking you through the checklist so you're not scrambling for a key pole or connector later.
During my own setup, I found a key support beam was missing right before final assembly. A quick call to customer support saved the day, and it drove home how much it helps to check everything upfront. Manufacturers often send replacements fast, or a quick search online can turn up the part you need. Resist the urge to jump straight into building. Gathering all the parts first is like laying out the pieces of a board game before you play. Put in the time now, and everything fits together smoothly later.
Prepare Level Ground
Setting up an Intex pool comes down to the foundation, literally. You need a flat, sturdy surface, free of rocks and grass tufts that could throw off its balance.
Choose a sunny, sheltered spot
Scan your yard for a place that gets plenty of sun, away from overhanging trees that drop leaves and debris into your clean water. A sunny area also keeps the water from turning chilly early or late in the day. Once you've claimed the right patch, trim any grass down to the soil. A weed trimmer strips the grass fast so you can get to the bare dirt underneath.
Next, clear away any stones, twigs, or hidden hazards. A 2x4 and a bubble level are your companions here. Slowly drag the board across the site, making sure no point is off by more than an inch. Once you're happy, lay a ground cloth or tarp to protect the liner from punctures and keep weeds down. Skip the sand, though. It shifts around and can leave your pool unbalanced. A solid, stable surface is the goal.
Assemble Pool Structure
Stepping into your backyard with a box full of pool parts can feel like opening a tricky puzzle, but don't worry. The secret to smooth assembly is preparation and a bit of teamwork. Round up your parts, tools, and a willing friend. Lay out all the components on a clean surface so you can picture the structure and confirm nothing's missing.
Build the frame from the ground up
Start with the horizontal beams, sliding each one carefully into the sleeves on the pool liner. Connect these beams to the T-joints, making sure they don't rest directly on the liner so you avoid extra stress and damage. The framework starts to take shape like a skeleton coming together. When you reach that stubborn last T-joint, a friend's help makes all the difference.
Vertical support legs come next. Slot each leg into its liner pocket and add a leg cap for stability. These supports form the backbone of the pool. Once everything's in place, the structure should feel solid. Before you fill the pool, smooth the liner and tighten any loose beams. Nail the assembly and you're just a step away from cooling off.
Assemble With Helpful Assistance
Opening the box on your brand-new Intex pool can feel like staring at an unsolved puzzle. A million parts, diagrams that read like a foreign language, and the nagging worry of putting it together wrong are enough to make any summer fan sweat. But you can turn this daunting job into a fun, shared experience.
First, grab a buddy or family member. Remember trying to set up a tent on a windy beach day? Two heads are better than one, especially when you're lining up those pesky T joints or making sure the liner isn't stretched too far. While one person holds the frame steady, the other can focus on connecting the pieces, a lot like those childhood days building LEGO castles, only with much bigger rewards.
Laying out each part on the ground before you assemble turns your lawn into a strategy board. Every piece gets its spot. As you build, keep talking. Calling out reminders or steps can prevent slip-ups and keep things moving. With someone by your side, the pool comes together faster, and the shared laughter turns a chore into a memory worth keeping.
Ensure Ground is Level
Setting up an Intex pool on level ground isn't just a suggestion, it's a must. Uneven surfaces threaten both the pool's stability and your summer plans. A childhood memory of wading in a lopsided kiddie pool might be sweet, but as adults we're after something steadier.
Size up the site first
Before you build, check the area for high and low spots. If the ground is uneven, grab a shovel and start leveling. A 2x4 and a carpenter's level are your best allies here. Slide the board across the ground and let the level show you where to make adjustments. The goal is no more than an inch of variance across the whole area, a small price for peace of mind.
Don't overlook a ground cloth or tarp. Spread one out as a buffer between the pool and the earth. It guards against punctures and slows the growth of grass or weeds under the pool. If you're using a concrete patio, you're in luck, since its even surface gives you a firm foundation. Even so, a ground cloth is still essential to protect the liner.
Gather All Necessary Parts
Setting up your Intex pool starts with making sure you have every part on hand, and this stage can save you hours of frustration later. Think of it like baking a cake. You wouldn't start without checking you have all the ingredients, right? Same idea here.
Unpack the box carefully and spread all the parts out on a clean, flat surface, maybe your driveway or a roomy garage. This gives you the lay of the land and cuts the risk of losing smaller parts in the grass or gravel. Grab the manual and compare your inventory against the checklist. If any part is missing, contact the manufacturer or order a replacement online. Better to pause now than to find a key piece gone halfway through setup.
When I put together my own Intex pool, I found a connector was missing. Instead of panicking, I placed a quick online order and was back on track in no time. That one precaution meant the assembly went smoothly once everything was there. So gather all the bits with a careful eye, and set yourself up for a stress-free build.
Seek Assistance for Assembly
Setting up an Intex pool goes so much easier with a second set of hands. It's tempting to push through on your own, but a helping hand smooths the whole thing out. This isn't only about splitting the work, it's about using teamwork to turn a daunting job into a manageable one.
Think back to building a backyard fort with friends as a kid, when it was more about hanging out than actual construction. Unfolding the pool liner and lining up the frame can bring back that same spirit. One person can steady the poles while the other secures the T joints, so nothing topples before it's ready.
A second person is practical, too. They can give feedback on how the frame lines up, help spot problems early, and act as a lookout for any missing parts. That extra set of eyes can head off headaches and keep the pool standing tall and sturdy. As the pool fills, you'll both step back and admire what you've done.
Smooth Out Pool Liner
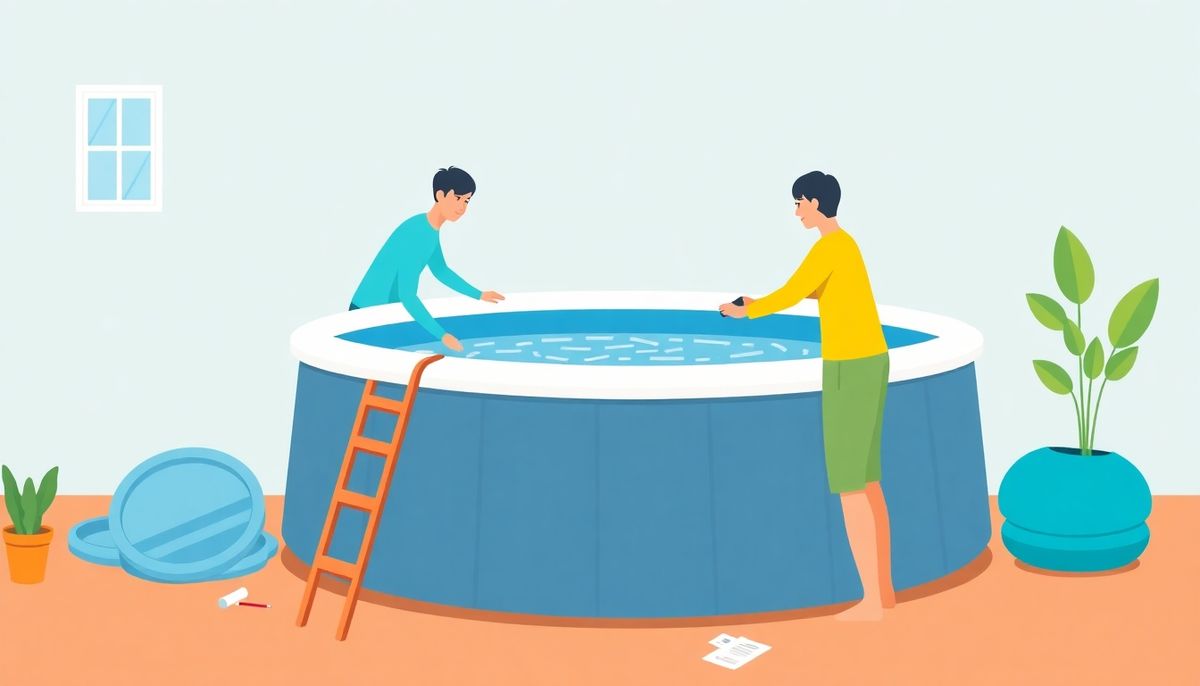
Wrinkles in a pool liner can turn a relaxing swim into an uncomfortable foot massage. Smoothing the liner takes a gentle touch and a bit of patience, and bringing in a friend turns a solo struggle into an easy team effort. Picture the liner as a giant tablecloth: shake it, stretch it, and shift it until it lies flat.
Work the wrinkles to the edges
Start by spreading the liner evenly across your prepared, level ground. One handy trick is to kneel at one end of the pool base and gently pull the liner toward you. This tugs the extra material outward and flattens folds and creases. If a stubborn wrinkle sticks around, a few well-placed tugs at the edges usually smooth it out.
Once the liner is as flat as you can get it, use your feet to gently press down and shuffle any leftover wrinkles toward the edges. This leaves a smooth surface underfoot once the pool is filled. Before you start filling, make sure the liner sits snugly inside the frame, with no part caught under the structure. As the water rises, it'll push the liner into place, but starting with a wrinkle-free base makes it all easier.
Prepare the Ground Surface
When you're getting ready to set up an Intex pool, the groundwork plays a big part in how smoothly things go. It might remind you of wrestling with that wobbly kiddie pool from childhood, but this takes a little more care and pays off with a better result.
Start by scouting a good spot. It's not just about looks, it's about stability. Steer clear of areas that tend to shift, like sandy patches, where the pool could settle unevenly and risk tipping over. After a friend's pool sent a tidal wave across her patio, I've made a point of choosing firm ground.
Once you've picked the location, clear out the debris. Remove rocks, sticks, or anything that could puncture the liner. A garden rake helps smooth things over, but for real peace of mind, use a level to make sure the site isn't off by more than an inch in any direction. Then lay down a protective ground cloth or tarp before you unroll that big liner. It guards against weeds and adds a buffer against any sharp objects you missed. On concrete, a tarp matters even more, since it prevents scrapes on the pool's underside.
Assemble the Pool Frame
Unboxing an Intex pool can feel like the start of an ambitious project, but assembling the frame is where things really come together. First, lay out all the parts you've already checked against the manual. Start with the horizontal beams. Slide them into the sleeves of the pool liner to form the basic circular or rectangular shape.
You might remember assembling furniture that really needed a second pair of hands. This time you've got help, maybe a willing family member, to hold those tricky T joints steady. The connections should come together smoothly, but don't be surprised if the last joint tests your patience. That's where teamwork shines.
Once the horizontal frame is secure, add the vertical support legs. Line up each leg with the matching slots and make sure it fits snugly. Keep an eye on those leg caps. They're key for protecting the liner and keeping the structure sound. Each support should slide into place with a satisfying click, setting the groundwork for a pool that stands strong against summer splashes. Step back and admire the frame. It's ready to be filled.
Smooth and Secure the Liner
Wrestling with a bulky pool liner can feel like folding a king-sized bedsheet on a windy day. It's a job best done with patience and a bit of finesse. Think of the liner as your pool's protective skin, the barrier that holds the water and keeps leaks and tears at bay. Handle it with care from the start, and your pool will be ready without a hitch.
Lay it flat and line it up
Get a buddy to help unfold the liner. Two sets of hands cut the risk of dragging it across rough ground, which could tear it. Lay it out flat on your prepared surface, centered and smooth. If you've ever spread a picnic blanket on a breezy day, you know how much it helps to get it right the first time.
Next, smooth out any creases. These wrinkles might seem minor now, but they can become annoying underfoot later. Walk around the edge of the pool, gently pulling the edges outward. Finally, line up the filter connection holes with your pump area. This saves you headaches later and keeps your pool's plumbing tidy. Once everything's in place, you're ready to build the frame, knowing your liner is snug and secure.
Monitor Water Fill Levels
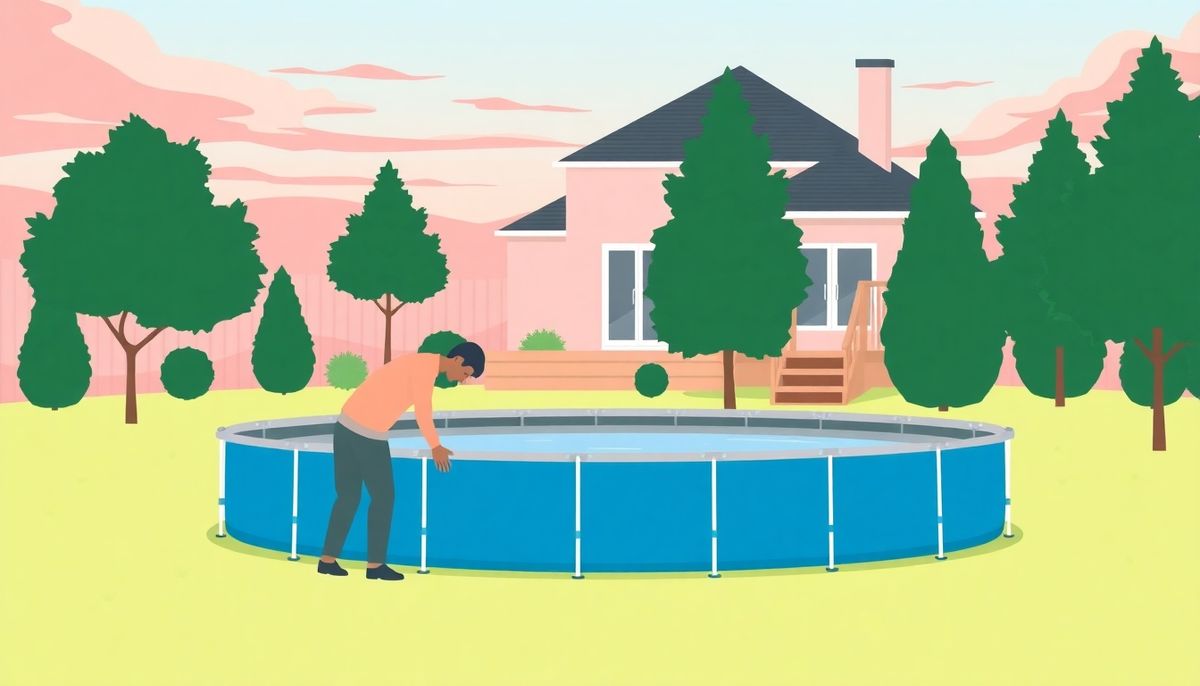
Keeping an eye on the water level as your Intex pool fills is a bit like watching a kettle boil, but with a much bigger payoff. An overfilled pool puts too much stress on the frame and could collapse, while too little water won't give the filtration system the pressure it needs.
Set your hose and watch the fill line closely. It helps to set a timer on your phone and check back at regular intervals, so you don't wander off while the water rises. If the pool is filling unevenly, it might mean your setup isn't quite level, and a small adjustment early on can save a lot of hassle.
Aim to have the water line about two inches above the upper hose connection. That level keeps your filtration system running well, so your water stays clean and clear. Once the water reaches the right level, turn off the hose right away.
Stop filling once the water sits about two inches above the upper hose connection to keep the frame safe and the filter working.
Ensure Proper Surface Preparation
When my neighbor first tackled an Intex pool setup, he learned the value of good surface prep the hard way. His excitement was easy to see, but after the pool tilted awkwardly, he realized he'd skipped a crucial step. A solid, level foundation is everything.
Start by picking a location that's flat and free of debris. Sticks, stones, and even small rocks can puncture the liner or leave uncomfortable bumps. Use a garden rake to clear the area well. Then check the ground with a long board and a carpenter's level. Any variation beyond one to two inches can spell trouble, leading to uneven water and stress on the structure.
After leveling, lay down a tough ground cloth or tarp. This layer acts as a barrier between the pool and the ground, guarding against scrapes and unwanted plant growth. If you're setting up on concrete, don't skip this step. It cushions the pool and adds another line of defense. Resist the urge to use sand as a base. It might seem soft and inviting, but it shifts and settles unevenly, causing the pool to lean. A well-prepped surface protects your investment and paves the way for a smooth setup.
Conclusion
Now that your pool is set up and full, it's time to talk about keeping it clean. Clear, healthy water doesn't happen by accident, and a simple routine keeps it that way all season.
Want to become a pool maintenance expert? Our free Pool School course covers everything you need to know about pool care. From basic maintenance to advanced troubleshooting, you'll learn how to:
- Save thousands on pool repairs and chemicals
- Keep your water crystal clear year-round
- Prevent and solve common pool problems
- Master water chemistry with confidence
Join over 10,000 pool owners who have already transformed their pool care routine. Get started with our free Pool School course today!
What you need
To finish the job you'll want a tarp or ground cloth, a carpenter's level and a 2x4, and a filter pump with cartridges plus starter chemicals to keep the water clear.