




Stand at the edge of a sparkling inground pool and you'll see the spots where water, tile, and decking meet—small gaps that can grow into big problems if you ignore them. That's where pool caulking earns its keep. It's not just another chore. It's your main defense against water sneaking in where it shouldn't.
Caulking is a flexible sealant that protects the bones of your pool by keeping water out of places it can damage. It's more than filling a gap. It's about making your pool last and keeping repair bills down over time.
Pool owners overlook this part of pool care all the time. But there's real calm in knowing your investment is protected. Good caulking also cleans up the look, giving you crisp lines and a well-kept edge. Whether you've owned a pool for years or you're just starting out, learning to caulk well is a skill worth having.
Your Action Plan
- Inspect the expansion joints and caulk each season for cracks, gaps, or brittleness.
- Cut out and peel away all the old caulk with a utility knife.
- Clean and fully dry the joint so the new caulk bonds.
- Load a caulking gun with pool-specific caulk and lay a steady bead.
- Smooth the bead with a wet finger or a finishing tool.
- Let it cure 24 to 48 hours before any water touches it.
Repair Pool Caulking Efficiently
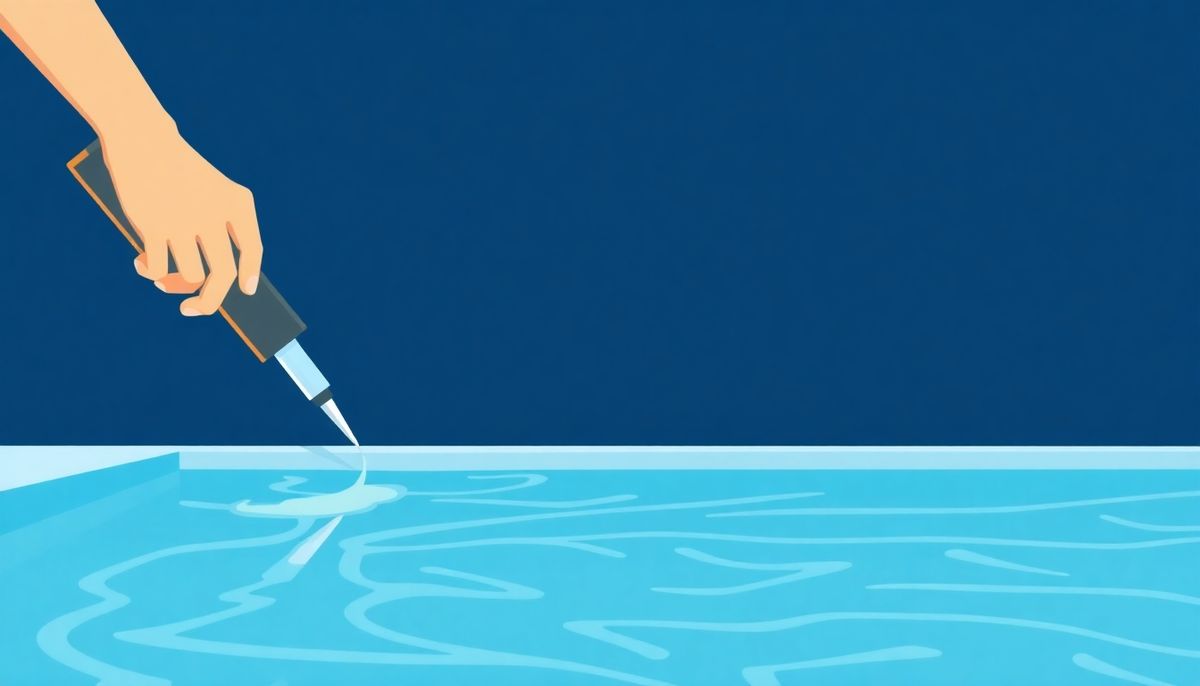
Small cracks in your caulking rarely stay small. Left alone, they let water reach the structure and turn into an expensive fix. So it pays to deal with them early.
Gather your tools and clear the old caulk
Start by gathering what you'll need: a good caulking gun, a tube of pool-specific caulk, and knee pads to keep you comfortable. Get rid of the old caulk first. Take a utility knife and slice along the edges of the cracked caulk, then peel it away. If you're lucky, it comes off in strips. For stubborn spots, a putty knife helps.
Clean, apply, and smooth
Once the surface is clear, rinse away debris with a hose and let the area dry all the way. Load your caulking gun and apply slowly, keeping a steady hand so the bead lays down evenly. Squeeze the trigger gently and guide the gun along the seam.
After you've laid the bead, smooth the caulk with a wet finger or a finishing tool so it settles in snugly. Let it cure per the manufacturer's instructions, usually 24 to 48 hours, before any water touches it.
Fixing a small crack today saves you a massive concrete repair bill tomorrow.
Inspect Caulking for Damage
Even the best seal needs help over time, and weather is the main culprit. As temperatures rise and fall, your pool's structure shifts—expanding and contracting—and that movement cracks the caulk. Leave the cracks, and water slips behind the expansion joint, where it can cause expensive structural problems.
Make inspection a habit
Get in the habit of checking the caulking regularly. Kneel by the pool on a warm afternoon and look for spots that are brittle or discolored. If you like doing things yourself, re-caulking makes a satisfying weekend project. Round up a sturdy caulking gun, quality pool caulk, and gloves. A steady hand and a little patience get you a smooth, watertight seal. If it feels like too much, hiring a pro is money well spent.
When you keep up with caulking, you're protecting your pool's structure, not just the way it looks.
Prevent Future Structural Issues
Check and maintain your caulking regularly, and you can avoid repairing water-damaged concrete or, worse, dealing with a shifted pool foundation.
Schedule a seasonal inspection
Start with a seasonal inspection. This matters even more where temperatures swing hard. Look for cracks, gaps, or discoloration, and fix them right away with fresh caulking. One habit worth building is tying this task to the change of seasons, so it never slips past you during a busy stretch.
It also helps to spend a little more on quality materials. High-grade caulk costs more up front, but it lasts longer and works better, so it pays you back. If you're not sure about tackling it yourself, a pro is a smart call. The point is to stay ahead of it. A small effort now saves you big headaches later.
Apply Caulk Correctly
Caulking your pool sounds intimidating, but it's really about patience and precision. Pick a sunny day, since dry conditions work in your favor.
Prep the joint
Start by cleaning the expansion joint thoroughly. Any debris or leftover caulk keeps the new caulk from sticking. Grab a utility knife and a soft brush and take your time until every bit of old material is gone.
Lay a smooth bead
Hold the caulking gun at a steady 45-degree angle, squeeze the trigger gently, and run a consistent bead along the joint. Keep a slow, even pace—rushing leads to a sloppy line. If you've ever iced a cake, the technique is close: a light touch gives you a smooth surface.
Then use a finishing tool or your finger—dipped in soapy water for a smooth glide—to press the caulk deeper into the joint so it fills every crevice. Let it cure fully before it meets water or foot traffic, usually about 24 to 48 hours. The patience you put in now pays off in both function and looks.
Prevent Pool Damage with Caulk

Keeping the caulk around your inground pool in good shape is a lot like keeping your roof watertight—one small slip can snowball. The caulk keeps water out of spots where it can do real damage.
Over time it turns brittle from the everyday wear of shifting temperatures and constant sun. This is where the expansion joint earns its keep, absorbing the stress as your pool's concrete frame expands and contracts with the weather. Without good caulk, that joint fails, and moisture gets in.
I once spent a summer afternoon re-caulking my own pool, and it taught me to value patience and precision. With a caulking gun and a plan, I laid each bead carefully, making sure it met at the edges and sealed off every spot where water could get in. It was slow work, but knowing this simple step could save me from expensive repairs was all the motivation I needed.
Identify Damaged Pool Caulking
Those sunny afternoons by the pool can look flawless, but trouble can be brewing just beneath the surface. Cracked or missing caulking isn't only an eyesore—it's a warning sign.
Look for cracks and gaps
Any visible cracks or gaps in the caulking tell you the material has lost its stretch. That's normal wear from sun, temperature changes, and the pool structure constantly expanding and contracting.
Watch for moisture
Notice dampness or water pooling near the joints? That can mean the seal has broken down. Water seeping into those cracks reaches places it was never meant to go and leads to bigger structural problems over time.
Feeling handy? Before you replace the caulk, understand what the job involves. It's about restoring a key line of defense, not just patching a spot. If it feels like too much, calling a pro can save you headaches and money later.
Choose Quality Caulk Products
Choosing caulk is a bit like picking ingredients for a recipe. What you start with shapes how it turns out. Not all caulks are the same, and the wrong pick leaves you with more than a cosmetic problem. Go with caulk made specifically for pools, since it has to stand up to constant water, changing temperatures, and UV rays.
Silicone-based or polyurethane-based caulks give you the best flexibility and durability. Generic caulk tends to peel off in chunks; pool-grade caulk is built to handle what a pool throws at it.
Don't forget color
Color isn't only about looks. The right shade blends in with your pool instead of standing out. Read reviews, check the manufacturer's recommendations, and if you can, ask a pool maintenance pro.
Spending on pool-grade caulk protects the structure, not just the appearance, and spares you costly repairs later.
Hire a Professional Caulker
Cracked caulking can turn a relaxing backyard into a maintenance headache that keeps growing. Knowing when to bring in a pro makes the difference.
A single missed spot can let water seep into the expansion joint. Once tiles start lifting and cracking, you're staring at a big repair bill—which is why some jobs are worth handing off.
A professional caulker understands exactly how weather affects pool structures. They can quickly spot problem areas an untrained eye would miss and seal every seam just right. That protects your investment and keeps your pool looking as fresh as the day it was installed. While DIY has its appeal, handing this task to a pro can save you time, effort, and future expense.
Seal Expansion Joints Properly
Expansion joints are a must for concrete pools. They let the pool flex with temperature changes instead of cracking. Those joints need a reliable caulk seal to keep water out, like a raincoat for your pool. When the caulk gets tired and crumbly, it's time for a refresh. Check the seal regularly, especially if your pool goes through big seasonal swings.
Reseal the joints yourself
If you're feeling handy, resealing makes a satisfying weekend project. Grab a caulking gun, fresh sealant, and maybe a knee pad—your knees will thank you after a few hours crouched by the poolside. Start with clean surfaces so the new caulk sticks properly. Apply it carefully, smoothing it evenly for a neat finish. A steady hand here can save you real money on repairs later.
Don't brush this task off. Well-sealed expansion joints are a small bit of your time that pays off big, keeping your summer spot in great shape for many seasons.
Identify Cracks and Damage
Even the tiniest split in your caulk can invite trouble and lead to costly repairs if you leave it alone. Staying watchful is your best move.
Check the caulk now and then for signs of age or brittleness. Even subtle weather changes make pool materials expand and contract, weakening the caulk over time. This slow wear might not jump out at you, but it's worth a closer look. A small crack today opens the door to water tomorrow, putting your pool's structure at risk.
Take a slow walk around your pool, paying close attention to the expansion joints where the concrete meets the pool lining. Those spots are especially prone to damage. If the task feels like too much, it might be smart to call a professional. A little care today keeps your pool a source of joy instead of worry.
Prepare for Caulking Project
Getting started on a caulking project takes more than a tube of sealant and a free afternoon.
Gather your kit
Grab a caulking gun, a sharp utility knife, a sturdy scraper, and a roll of masking tape. A leaf blower makes quick work of clearing away debris that could get in the way. Then check the forecast. A dry, mild day is ideal, since caulk doesn't stick well when moisture hangs around or the temperature swings too much.
Prep the joints
Spend a few minutes looking over the current state of your expansion joints. Clear out stubborn dirt or old caulk clinging to the edges. Getting rid of that old material isn't glamorous, but it's what lets the new caulk bond. If you see algae or grime, a little scrubbing with a pool-safe cleaner works wonders.
Think about your comfort, too. Kneeling pads or an old cushion can be a lifesaver for your knees. Map out your plan ahead of time, and decide whether you'll work solo or bring in a helper. An extra set of hands speeds things up and makes the job more fun.
Apply Caulk Evenly
Applying caulk evenly is part chore, part craft. It calls for patience and precision, because you're after a smooth finish that looks good and does its job.
Start with clean surfaces. Make sure all the old caulk is gone and the areas are free of dirt and debris. A quality caulking gun makes a big difference, along with a steady hand and an even pace. The trick is applying steady pressure as you move along the expansion joint. If you're feeling rusty, practice on a scrap piece of material first. It's like learning to write with your off hand—awkward at first, but soon it feels natural.
If your pool edge is visible from the street, think about how the caulk line will look to people walking by. This isn't just about keeping water out—it's about curb appeal too. A damp sponge or a finger dipped in soapy water smooths the line and makes sure the caulk fills every gap.
Finally, look over your work with a critical eye. Once the caulk dries, check for gaps or uneven spots and fill them in right away.
Replace Old Caulking Promptly
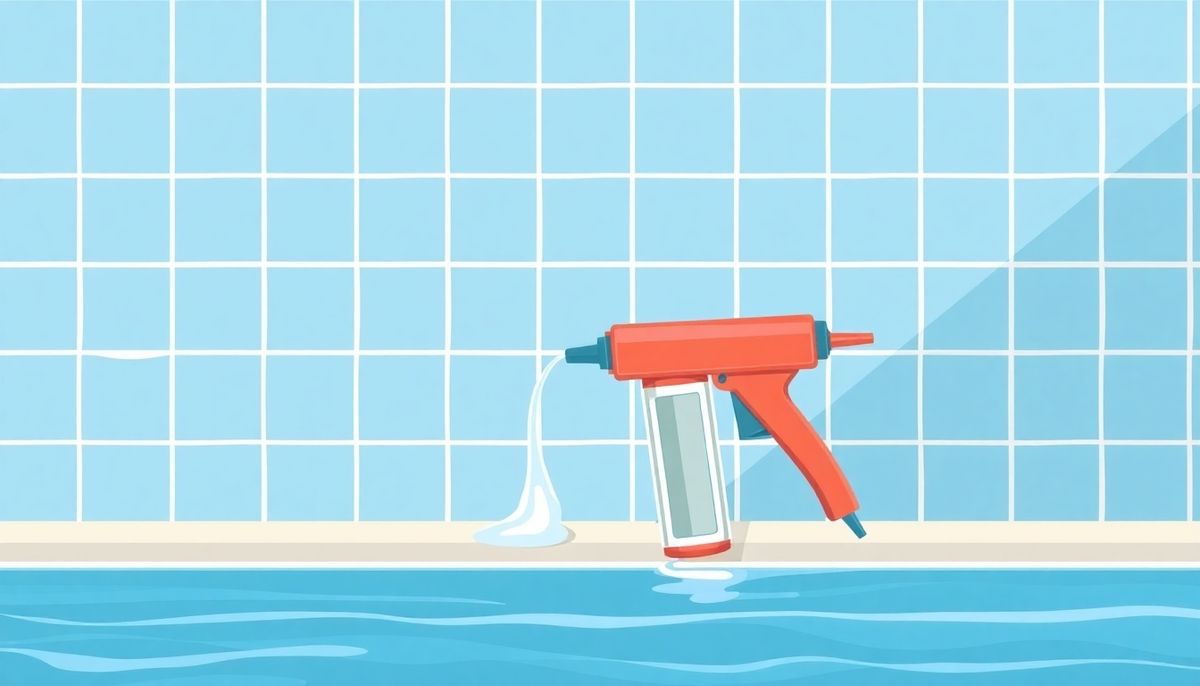
There's something satisfying about a clean pool edge, free of cracks and blemishes. When the caulk starts to show wear, that's not just cosmetic—it's a warning sign.
Why timing matters
Brittle caulk and small cracks put your pool's structure at risk. Ignore signs like these and water gets in, then freezes, expands, and tears up what's underneath, leading to costly repairs. Replacing worn caulk promptly matters most where temperatures swing, since every shift from heat to cold pushes your pool's materials to their limits. Deal with wear at the first sign and you keep moisture out before it causes damage that costs far more than a weekend project.
If you like doing things yourself, replacing pool caulk can be rewarding. A caulking gun and a sunny afternoon are enough to restore the seal that protects your pool. If you're unsure, a pro spares you the headaches and future expense.
In cold climates, replacing brittle caulk before winter keeps the freeze-thaw cycle from cracking the concrete underneath.
Identify Cracks and Holes
A walk around your pool might turn up tiny splits or small holes in your once-perfect caulking. They can look minor, yet they set off a whole chain of problems, because the caulk is a key barrier protecting your pool's structure.
Inspect the expansion joints
Catch these cracks early. Run your fingers gently along the expansion joints—the areas most likely to fail. On a sunny afternoon, the light helps show cracks you'd otherwise miss. Keep in mind that weather takes a toll: as the seasons change, temperature swings make your pool expand and contract, straining the caulk and breaking down even the toughest materials over time.
Staying alert and dealing with these issues early prevents serious structural damage and costly repairs. A little maintenance today keeps your pool a relaxing spot tomorrow.
Prevent Moisture Intrusion
Caulking is more than a cosmetic touch-up—it's your first line of defense against moisture. Ignore brittle or cracked caulk and water seeps into places it shouldn't, doing quiet damage before you even notice. A tiny crack that gets shrugged off as cosmetic can, months later, mean a big repair bill once water creeps behind the tiles and reaches the structure.
The caulk seals the expansion joints, which let your pool flex with temperature changes. Without good caulking, water slips into those joints, expands and contracts with the weather, and eventually causes serious damage. That's especially true where the seasons swing hard and the freeze-thaw cycle is brutal.
Replacing worn caulk isn't just a seasonal chore—it's a way of preserving your pool. Whether you take it on as a weekend project or call in a pro, make sure it's done with care. It's often the smallest cracks that turn into the biggest headaches.
Consult a Professional
A lot of pool owners feel overwhelmed when caulk problems show up. That's when an expert's touch really pays off. Calling a pro isn't only for people short on time or skill—it's for anyone who wants peace of mind. Pros bring years of experience and a deep feel for the materials and techniques involved.
Just as you'd trust a mechanic with your car's engine or a dentist with your teeth, a pool specialist brings know-how that's hard to match. They spot not only the obvious cracks but the weak spots that slip past an untrained eye. That foresight matters most in areas with harsh weather swings, where the risk of structural damage runs higher.
A pro also gets a flawless application done efficiently, so your pool is out of use for less time. They have access to commercial-grade materials that often last longer than what you'll find at the local hardware store. Hiring a professional isn't just about getting the job done—it's an investment in your pool's health and long life.
Protect Your Pools Structure
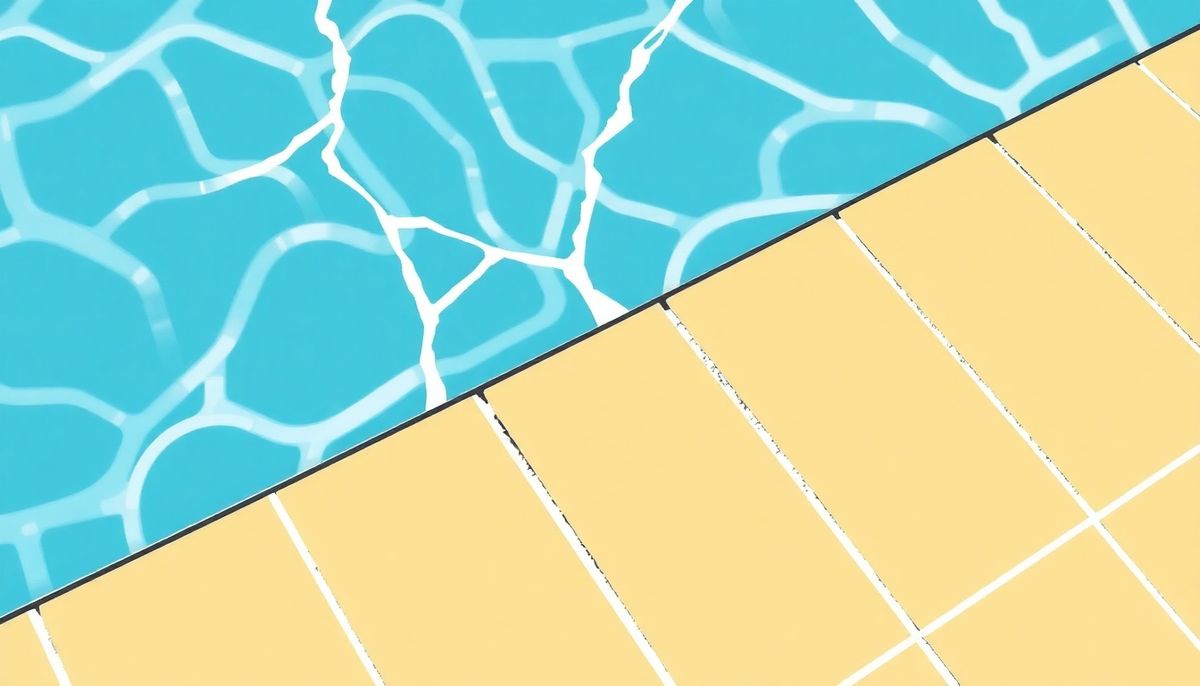
Pool care can feel like a never-ending list of tasks. Protecting your pool's structure with good caulking might be the quiet standout, keeping water out of the expansion joints.
Protecting your pool starts with a good look at it. Brittle or discolored caulk should raise a red flag right away. It's not about looks—those cracks are doorways for water, which does real damage as temperatures rise and fall.
Do it right
Taking on the caulking yourself calls for patience and precision. Clear the area of debris and make sure the surface is dry so the caulk sticks well. Aim for a smooth application that fills every crevice. The job means time on your knees, but a well-sealed pool is worth it. If DIY isn't your thing, a pro gives you peace of mind. Either way, this small step guards your pool against costly repairs for many summers.
Inspect and Repair Pool Caulking
Small gaps left alone turn into big problems, letting moisture into places it shouldn't be. Over time that moisture swells and shrinks with temperature changes, wearing away at your pool's foundation. Checking your caulking regularly is as important as checking your car's oil.
At least once a season, take an easy walk around the pool and look over the caulking for signs of age or damage. Weather and time never let up, and even the toughest caulk can weaken, leaving expansion joints exposed. Those joints are built to handle your pool's natural movement, but they can't do their job if the seal fails.
When repairs come up
Take your time. Start by carefully removing the old caulk, leaving no debris behind. Clean the area well, since any dirt weakens the new seal. With a fresh tube of quality sealant, slowly fill the joint and smooth it evenly as you go. If DIY isn't for you, hiring a pro costs money up front, but it's far cheaper than the repairs that come from water damage left unchecked.
Conclusion
This article shared some ideas to help you take care of your pool. Get started on your pool care today.
Want to become a pool maintenance expert? Our free Pool School course covers everything you need to know about pool care. From basic maintenance to advanced troubleshooting, you'll learn how to:
- Save thousands on pool repairs and chemicals
- Keep your water crystal clear year-round
- Master water chemistry with confidence
- Prevent and solve common pool problems
Join over 10,000 pool owners who have already transformed their pool care routine. Get started with our free Pool School course today!
What you need
Grab a caulking gun, a tube of pool-specific silicone or polyurethane caulk, a utility knife, and a finishing tool, then set aside a dry afternoon to reseal your expansion joints.