





























Warming up a pool sounds expensive. But you can put the sun to work for almost nothing. On chilly mornings, a solar-heated pool means you slip in without the icy shock. Every year, pool owners ask the same thing: how do you stretch the swimming season without watching the energy bill climb? The answer is simpler than you'd guess. You can build a solar pool heater yourself for less than $100.
Years ago a friend got tired of freezing during his swims, so he spent a weekend messing around with cheap materials. With a few garden hoses, a piece of plywood, and some creativity, he warmed his pool well. That fix kicked off a hobby building solar projects, and plenty of people have copied his approach since.
This guide walks you through building your own heater. From picking materials to how solar heating actually works, you'll learn how to turn your pool into a place you want to swim, without draining your bank account.
Your Action Plan
- Pick a spot that gets six to eight hours of direct sun, ideally facing south.
- Gather black irrigation poly tubing, a small sump pump, clamps, and a plywood base.
- Coil the tubing tightly on the raised, sunny base and secure it with zip ties.
- Connect the pump so it pulls cool pool water in and returns it warmed.
- Add a solar cover to hold the day's heat overnight.
- Check the tubing for leaks and debris through the season.
Create Your Solar Pool Heater
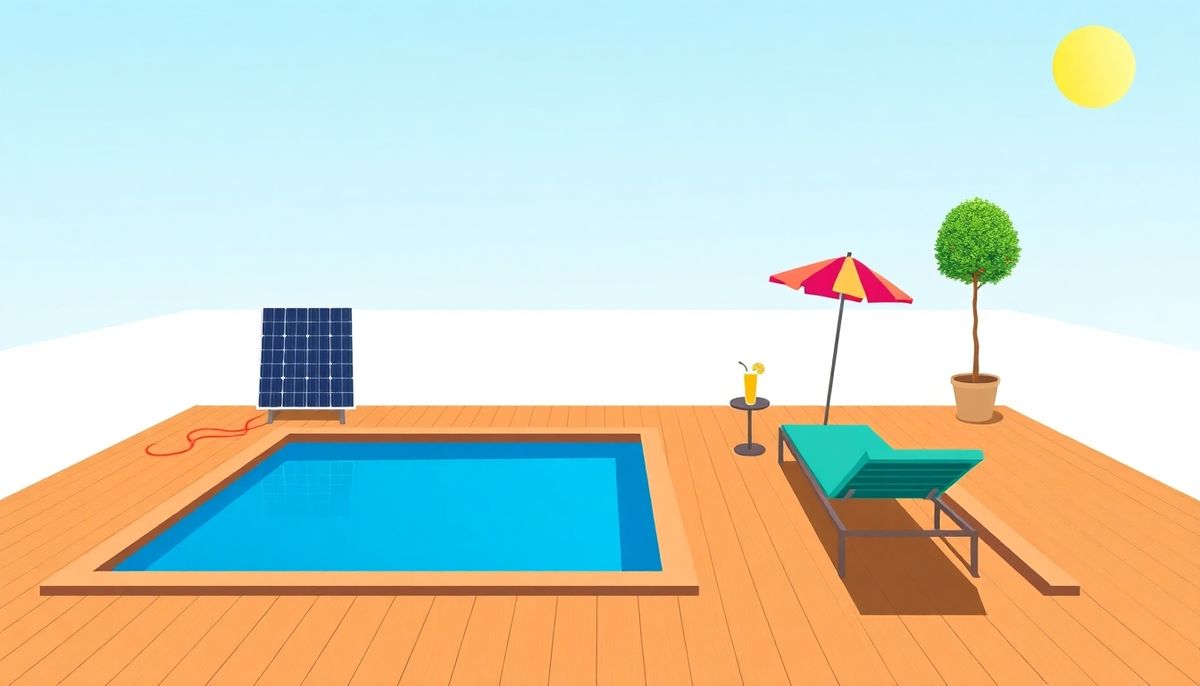
Building your own heater saves money and feels good to pull off. Gather your materials: about 100 feet of black irrigation tubing, a small sump pump, hose clamps, and a flat, sunny surface like plywood or an old pallet. The black tubing is the real trick. Its dark color soaks up the sun's heat and warms the water running through it.
Coil the tubing tightly on your surface and hold it with zip ties or clamps. Connect one end to the sump pump, which pulls cooler water from your pool. The other end sends the warmed water back. You're building a simple water loop that runs on nothing but sunlight.
My own start was a doubtful look at a coil of tubing. But once the water came back noticeably warmer, I was sold. You won't match a professional heater, but watching your own build work is worth it.
The black tubing does the work here—its dark surface soaks up sunlight and hands that heat straight to the water flowing through it.
For best results, put the setup where the sun hits all day, against a south-facing wall or up on a sunlit roof. Give it time, since the system needs a while to circulate and slowly raise the pool's temperature.
Choose the Right Location
Where you put your heater matters as much as how you build it. It's just a matter of mapping out your yard's shadows.
Track the sun across your yard
Watch how the sun crosses your backyard through the day. Ideally the heater gets six to eight hours of direct sun. A south-facing spot is usually best because it catches the steadiest light. If south isn't an option, a western exposure works too, grabbing the strong afternoon rays.
Steer clear of anything shaded by trees, fences, or buildings. Shade drains your heater's power fast and leaves the pool feeling more Arctic than tropical. Make sure the surface you anchor to is solid and slightly raised, which helps water circulate and keeps ground-level debris out of the way. A little planning saves money and buys you a longer season.
Gather Essential Supplies
Gathering supplies is the first real step. Start with black irrigation tubing. About 100 feet usually does it, but grab extra so the water spends more time in the sun. This tubing is the main pathway, soaking up solar energy as water flows through.
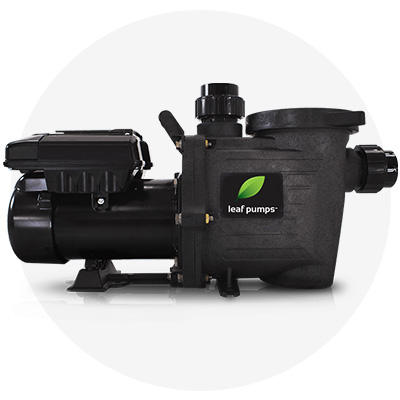
Next, a small, energy-efficient sump pump. It's the quiet workhorse that pulls cooler water from your pool and pushes it through the tubing. Pick one that suits your pool size without costing a fortune. You'll want a plywood board as a sturdy base to keep the tubing coiled and raised; paint it black for extra heat absorption.
Zip ties hold everything snug. You may also need a few plumbing fittings and adapters to connect the tubing to your pool's pump system. Put these pieces together and you've got a warmer pool and a project to be proud of.
Optimize Heating Efficiency
To get the most heat, focus on placement first. An open, sunny area lets the black tubing pull in as much light as possible all day, and a south-facing spot catches the sun from morning to evening.
Coil it tight
How you arrange the tubing matters just as much. Winding it into a tight coil adds surface area, so more heat gets absorbed. A loose coil works, but a tight spiral heats better because every inch sees the sun. If you're handy, a simple frame to raise the coil improves exposure and lets gravity help move the water, easing the load on your pump.
Stick with black polyethylene tubing; it's built to absorb heat. Skip garden hoses, which don't have the right diameter or material. Finally, add a solar cover to hold warmth overnight.
A solar cover is the cheapest upgrade you can make—it traps the day's heat overnight so your heater isn't starting from scratch each morning.
Harness Sun-Power for Pools
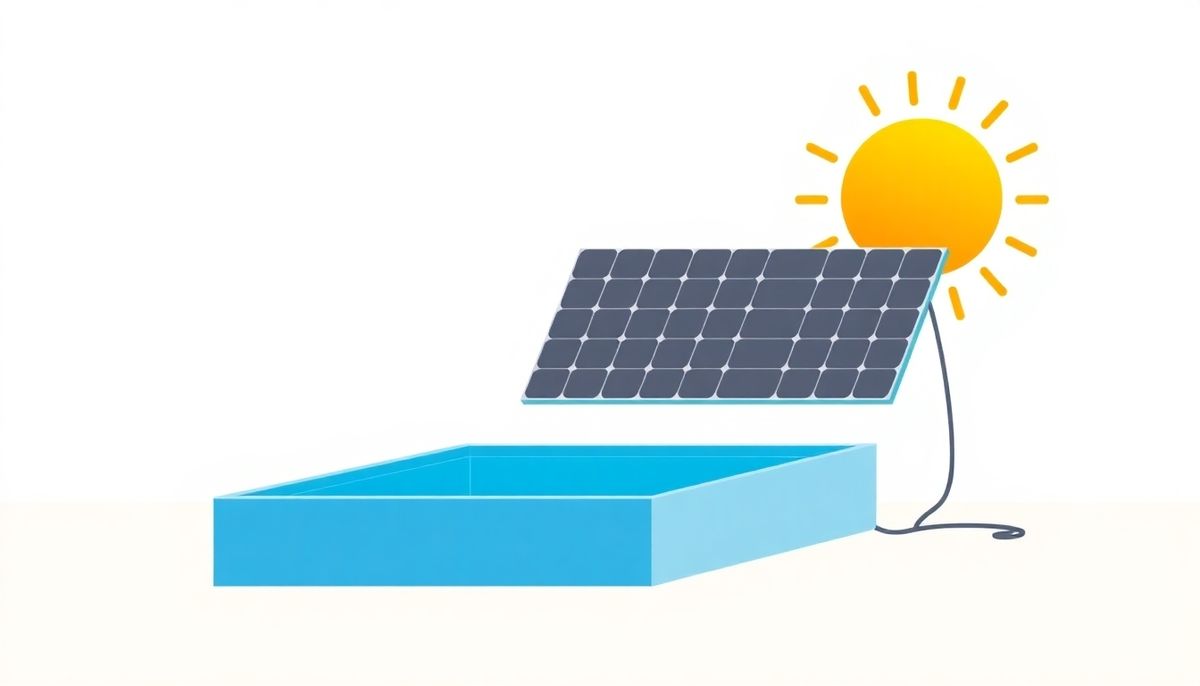
Turning your backyard into a sun-warmed spot doesn't have to cost much. Under $100 and a few smart tweaks, you can heat your pool even on cold days. The setup sends solar heat straight into the water using a sump pump, black irrigation tubing, and a sunny place to lay it all out.
Here's how it works: the sun heats the black tubing, and that warmth travels into the pool. It cuts your energy bills and makes for a satisfying weekend project. I built one last summer, and my kids were fascinated by how fast the water warmed up.
Placement is key, so put the heater where it catches sun most of the day. It's not as strong as industrial panels, but building something that works and helps the planet is hard to beat. Don't forget the solar cover; it holds onto that heat overnight so the pool stays inviting.
Build a DIY Solar Heater
Building your own heater is simpler than you'd think. Find a sunny spot near your pool, like a patio or roof space. That's the base for the main component: a coil of black irrigation poly tubing that grabs the sun's heat and warms the water flowing through. You'll also need a small sump pump to move the water.
Lay out the collector
Pick up about 100 feet of tubing at most hardware stores for a modest price. Lay it out in a flat spiral on plywood and hold its shape with zip ties or clamps. This catches the most sun, working a bit like snakes basking to warm up: an old idea helped along by modern materials.
Once the spiral's ready, hook the pump to your pool with simple PVC connectors so water flows from the pool, through the tubing, and back. Raising the setup slightly lets gravity help. Turn on the pump and watch it quietly get to work. It won't match a commercial system, but it's a cheap, eco-friendly option, especially for above-ground pools.
Maximize Solar Heating Efficiency
Heating your pool with the sun is part art, part science, and smart placement is the biggest lever. Find a sunny spot with no trees or buildings in the way so your coil soaks up light all day.
Stopping heat loss matters just as much as gaining it. Wrapping the base with reflective material like aluminum foil aims more of the sun's rays onto the tubing. A solar cover on the pool traps heat overnight and cuts evaporation, so the sun's work doesn't go to waste.
Don't be shy about adjusting things. Check the tubing for leaks or clogs that slow the flow, and raise the coil a little to help water circulate. Even small changes lead to big improvements over a season.
Choose the Right Materials
The materials you pick can make or break the build. The heavy lifter is the black tubing, which uses the sun to warm your water. Go with black irrigation poly tubing over a garden hose; its material and diameter pull in more heat. A 200-foot roll usually does the job for about $25 to $30.
Base, pump, and fittings
For the base, plywood is strong enough to hold the coils and can be raised for better sun. An old wooden pallet works great too and keeps your budget in check. You'll need a sump pump to push water through the tubing; a modest submersible runs around $40.
Clamps and zip ties keep the tubing from shifting, and you probably have some in the garage already. Don't forget fittings to connect the tubing to your pool's plumbing without leaks. A little weather-resistant black paint on the plywood adds a few degrees for very little cost.
Maximize DIY Heating Efficiency
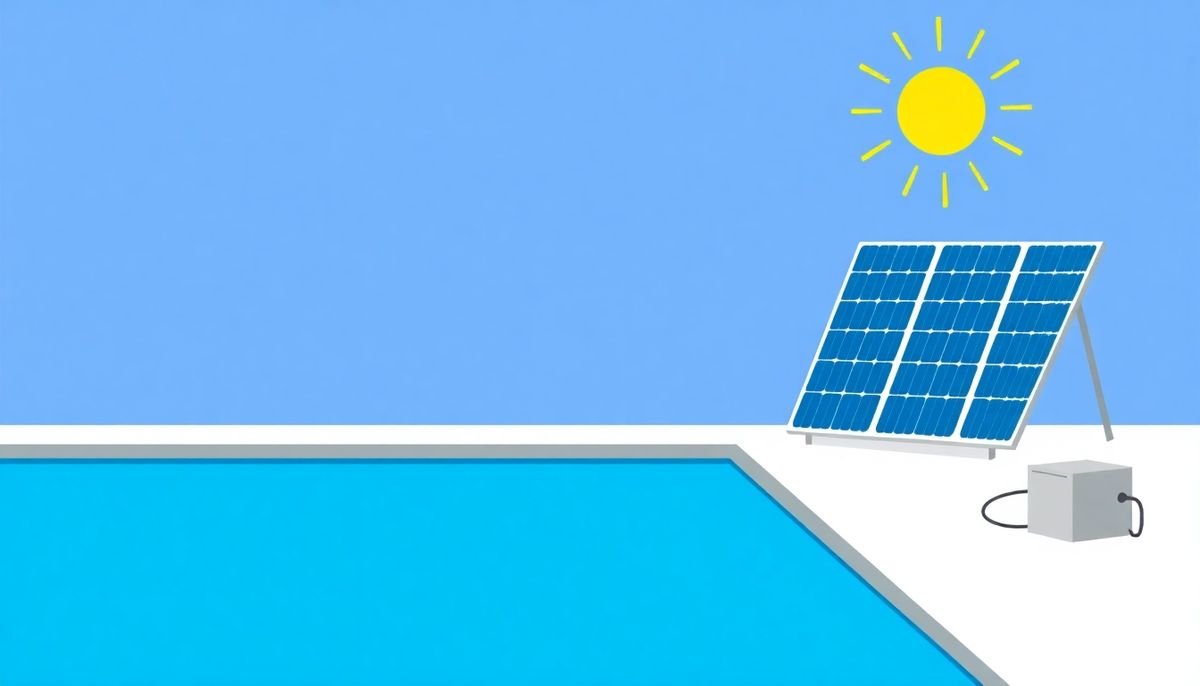
To squeeze every bit of efficiency from your heater, start with orientation and angle. A south-facing setup catches the most light all day. Putting the tubing on a slanted surface, like a roof or a frame, gives it more direct contact with the sun.
Pairing your setup with a solar cover works wonders. The system warms the water during the day, and the cover holds that heat overnight, like a lid on a hot cup of coffee. Its main job is stopping warmth from escaping.
Maintenance matters too. Check the tubing for leaks or clogs, and keep it clear of dust and debris so sunlight gets through. On especially sunny days, bump up the flow a little to heat more water. Insulating the return tubing with foam or reflective material cuts heat loss on the way back to the pool. Small upgrades add up.
Create a DIY Solar Heater
Building a solar heater can be a surprisingly rewarding weekend project. Mine started with a neighbor asking how to lower his pool heating costs. The answer was right there under the sun.
Gather black polyethylene tubing, a small sump pump, and a couple of hose connectors. It's surprising how a handful of parts can turn sunlight into warmth. Pick a spot that gets sun most of the day; my garage roof was ideal, clear of shadows and clutter.
Unroll the tubing in a flat, coiled pattern like a big snail shell for the most surface area, and secure it with zip ties. Connect one end to the pump, drop the pump into the pool's cooler water, and let it run. Water moves through the sunlit tubing, warms as it goes, and flows back in. Adjusting the angle of the coil helped mine run better. Add a solar cover to lock in warmth for cooler nights.
The right materials are the difference between a smooth build and a frustrating one. Start with black irrigation poly tubing. Its dark color absorbs sunlight efficiently and warms water faster. Unlike a garden hose, poly tubing is consistent and durable, exactly what a solar setup needs.
For the frame, a simple wooden platform or a repurposed pallet makes a sturdy base. Set it in a sunny spot, against a south-facing wall or on a roof, so it catches the most sun and lets gravity help the water flow.
Don't overlook clamps and connectors. Stainless steel clamps resist rust and corrosion, which matters for a system that's always in water and sun. Finally, a reliable sump pump rounds out the list. Check garage sales or online marketplaces for a used one and keep the project well under $100.
Optimize Pool Heating Setup
Getting the sun to keep your pool warm on a tiny budget can feel like a small miracle, but a few smart choices make the difference. Put the heater in the sunniest spot you have, raised up to catch more light.
Think about the length and diameter of your tubing. A longer coil gives the water more time in the sun. If you can, use smaller-diameter tubing, since it puts more water in contact with the heated material and improves absorption.
A reflective surface under the tubing helps more, bouncing extra sunlight onto the coils. And a solar cover that traps warmth overnight keeps the water temperature up, so your heater has less to do the next day. Small tweaks like these can turn a basic build into an efficient, sustainable heater.
Avoid Costly Solar Panels
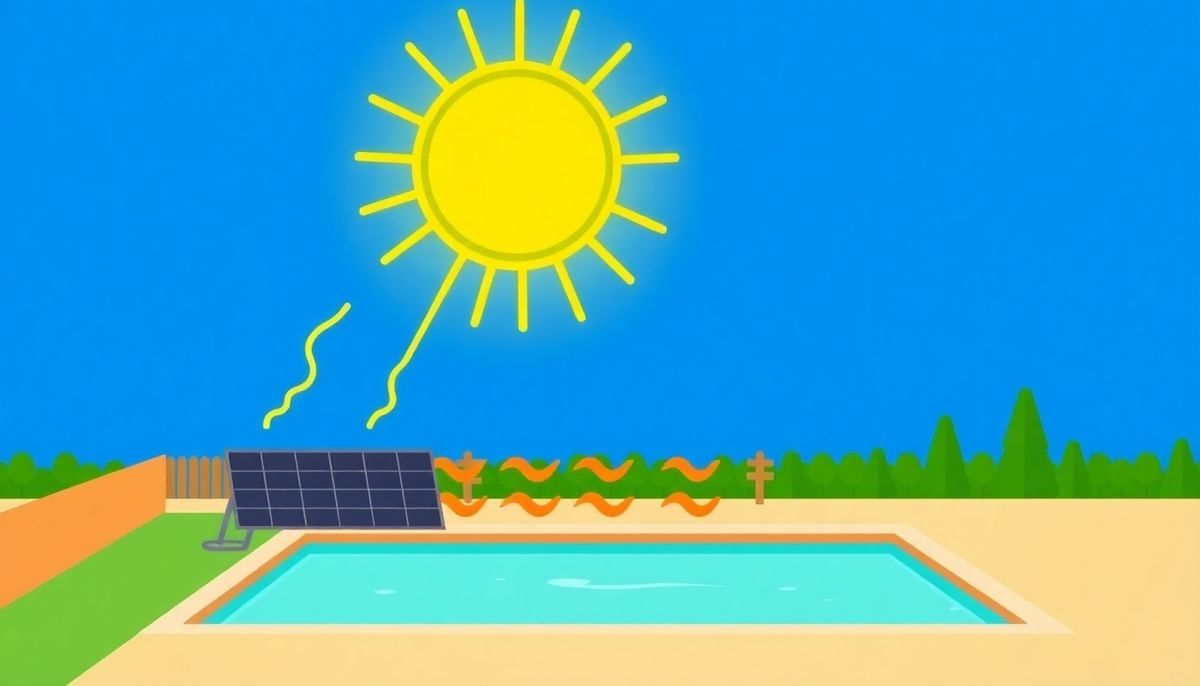
Why spend hundreds on commercial solar panels when a little effort gets similar results for a fraction of the price? Those sleek systems are tempting, but the price tag rarely matches what you need for something as basic as heating a pool.
DIY vs. commercial panels
My neighbor Tom splurged on high-end panels, only to find they weren't very efficient during cloudy months. Watching him get frustrated pushed me toward DIY, and I've never looked back. With a sump pump and a few coils of black tubing on a sunny patch of yard, I turned chilly water into a comfortable place to swim for less than $100.
The best part isn't just the low cost; it's how simple and adaptable it is. Unlike commercial panels, you can tweak your design however you like.
For basic pool heating, a $100 DIY coil often does the job a pricey commercial panel promises, without the cloudy-day disappointment.
Building a heater from scratch pays off in savings and satisfaction. Gather black irrigation tubing, a small sump pump, adapters, and some wooden planks. Together they funnel the sun's warmth into your pool.
Placement is key. Pick a sunny area, ideally a rooftop or raised platform. Roll the tubing into a flat spiral and fasten it to a sturdy board with zip ties or clamps. That's your solar collector; as sunlight hits the black surface, it warms the water flowing through.
Connecting it is simple. Attach the pump to one end to pull cooler water from the pool. The water winds through the sun-warmed tubing, comes out heated, and rejoins the pool. It won't turn your pool into a hot spring, but it's satisfying to watch a weekend project stretch your season and keep the bills down.
Maximize Sunlight Efficiency
Catching every ray saves money and feels like a small win. Pick a place that gets sun most of the day, with no trees or buildings casting shadows. Raising the setup even a little off the ground helps prevent heat loss.
Dial in the angle
Once you've settled on a location, think about the angle. In most areas, tilting your coils to face south at roughly the same angle as your latitude boosts performance a lot. Add reflective surfaces beneath or around your coils; metal sheets or foil bounce extra sunlight onto the tubing for a real gain.
Layout matters just as much. Spiral the tubing tightly so the water runs through as many sunlit loops as possible before returning. If you're good with tools, a wooden or metal frame keeps the coil neat and tangle-free.
Choose Cost-Effective Materials
Picking materials that won't break the bank but still capture the sun's energy is the whole game. Start with black irrigation poly tubing, the core of your system. A friend once found leftover tubing from an old landscaping project in her shed and saved a good bit reusing it.
For the pump, a used model often runs great after a little cleanup. Thrift stores and neighborhood marketplaces can be goldmines. When you need a base, an old pallet or a spare piece of plywood makes a great platform that keeps the tubing in full sun.
Clamps and fittings hold everything together, and standard ones from the hardware store are fine. Resourcefulness is your best friend here. Small, smart choices keep your budget under $100 while giving you a system that works.
Master DIY Pool Heating Techniques
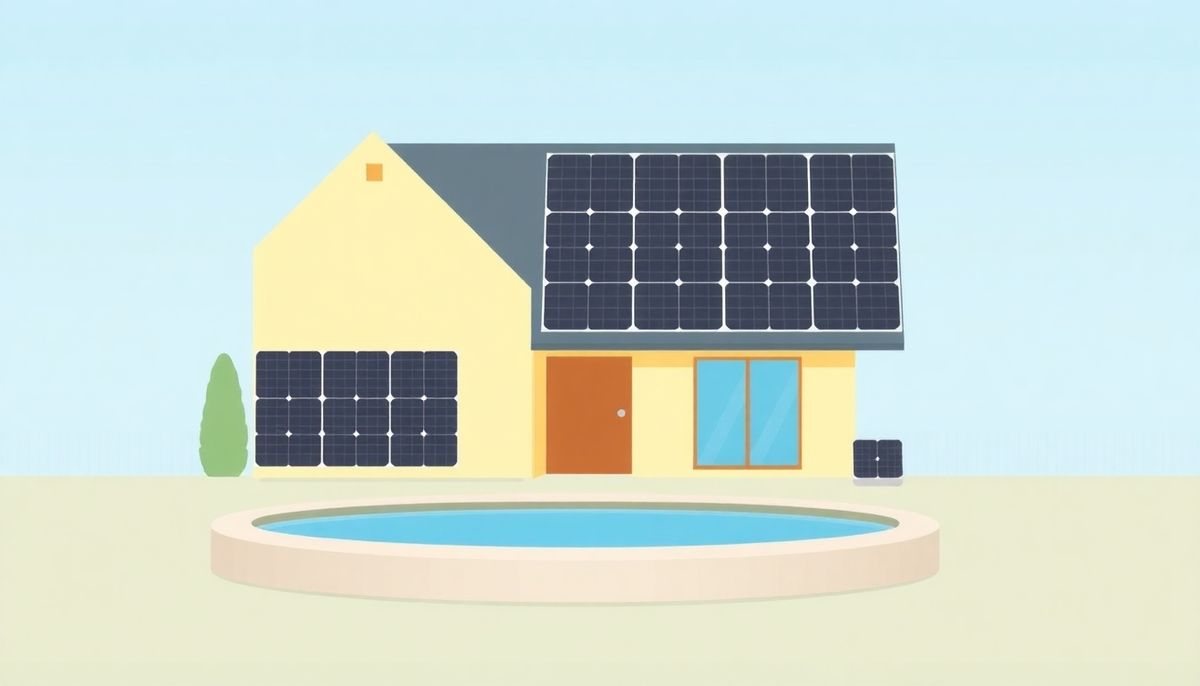
The sun has always been a generous helper for heating water, and putting it to work is easier than you'd think. Imagine lounging by a pool warmed by something you built for less than the price of a concert ticket. It's cheap, and it brings a little engineering fun into your backyard.
The heater runs on simplicity. The core is a coil of black polyethylene tubing, chosen because it soaks up sunlight and passes the warmth to your pool. A small, sturdy sump pump does the hard part, drawing cooler water in and sending it back warm.
Finding the right spot is half the fun. You want a sunny place that catches the most rays, like a south-facing patch of ground or a solid rooftop. For less than $100, you'll need basic supplies like tubing, clamps, and a pump, all easy to find at the hardware store.
Build Your Solar Pool Heater
Under a strong sun, a simple fix can turn your pool into a warmer place to swim. The core is the black tubing, which soaks up the sun's rays remarkably well. Gather a coil of black irrigation tubing, a sump pump, a few connectors, and sturdy zip ties, plus a wooden panel or wire rack to mount the tubing flat in a sunny spot.
Pick a location with the most direct sunlight, like the roof of your shed or a sunny corner of the yard. Coil the tubing carefully onto the panel and hold it with zip ties to keep its shape. Connect the pump so one end pulls water from the pool and the other returns it warmed.
This won't rival commercial systems, but it's great for above-ground pools and gives you a low-cost, eco-friendly way to stretch your swimming season.
Conclusion
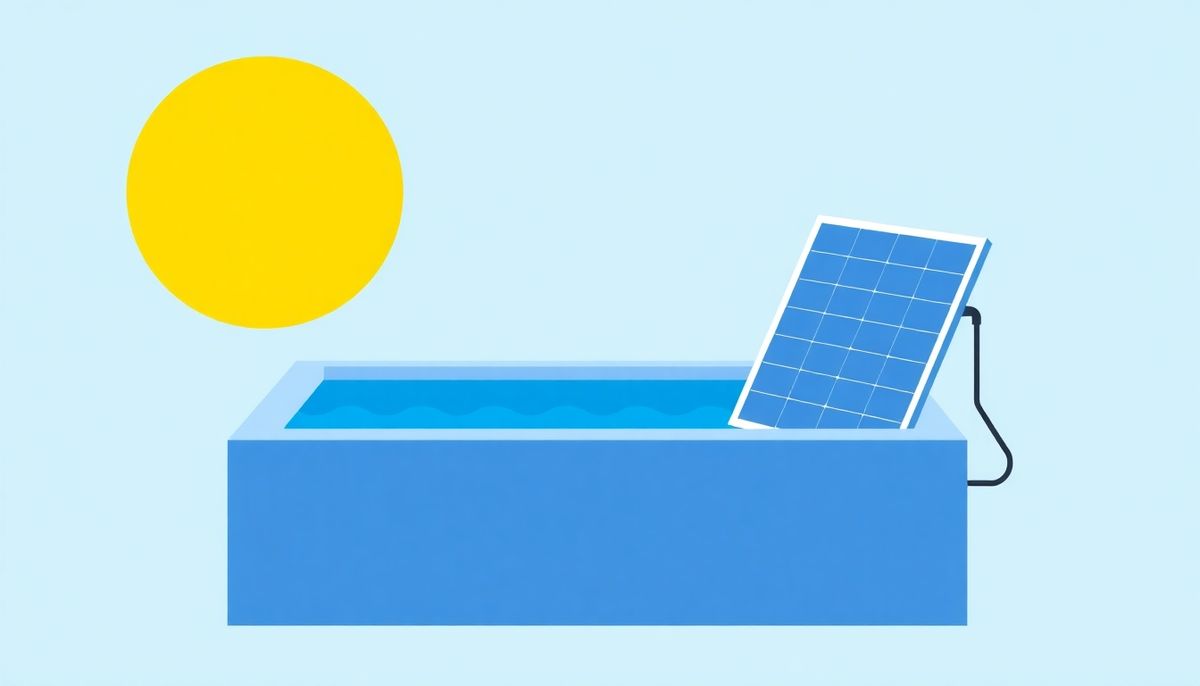
Building your own solar heater is a great first step toward enjoying your pool more for less. With a coil of black tubing, a small pump, and a sunny spot, you can stretch your swimming season without draining your savings.
Want to go further? Our free Pool School course covers everything you need to know about pool care. From basic upkeep to advanced troubleshooting, you'll learn how to:
- Save thousands on pool repairs and chemicals
- Keep your water crystal clear year-round
- Prevent and solve common pool problems
- Master water chemistry with confidence
Join over 10,000 pool owners who have already transformed their pool care routine. Get started with our free Pool School course today!
What you need
To build your heater, grab black irrigation poly tubing, a small sump pump, clamps and fittings, and a solar cover to lock in the heat overnight.